Install the Left LED Indicator Module
5.
Install the fan modules in the server.
See “Install a Fan Module” on page 70.
6.
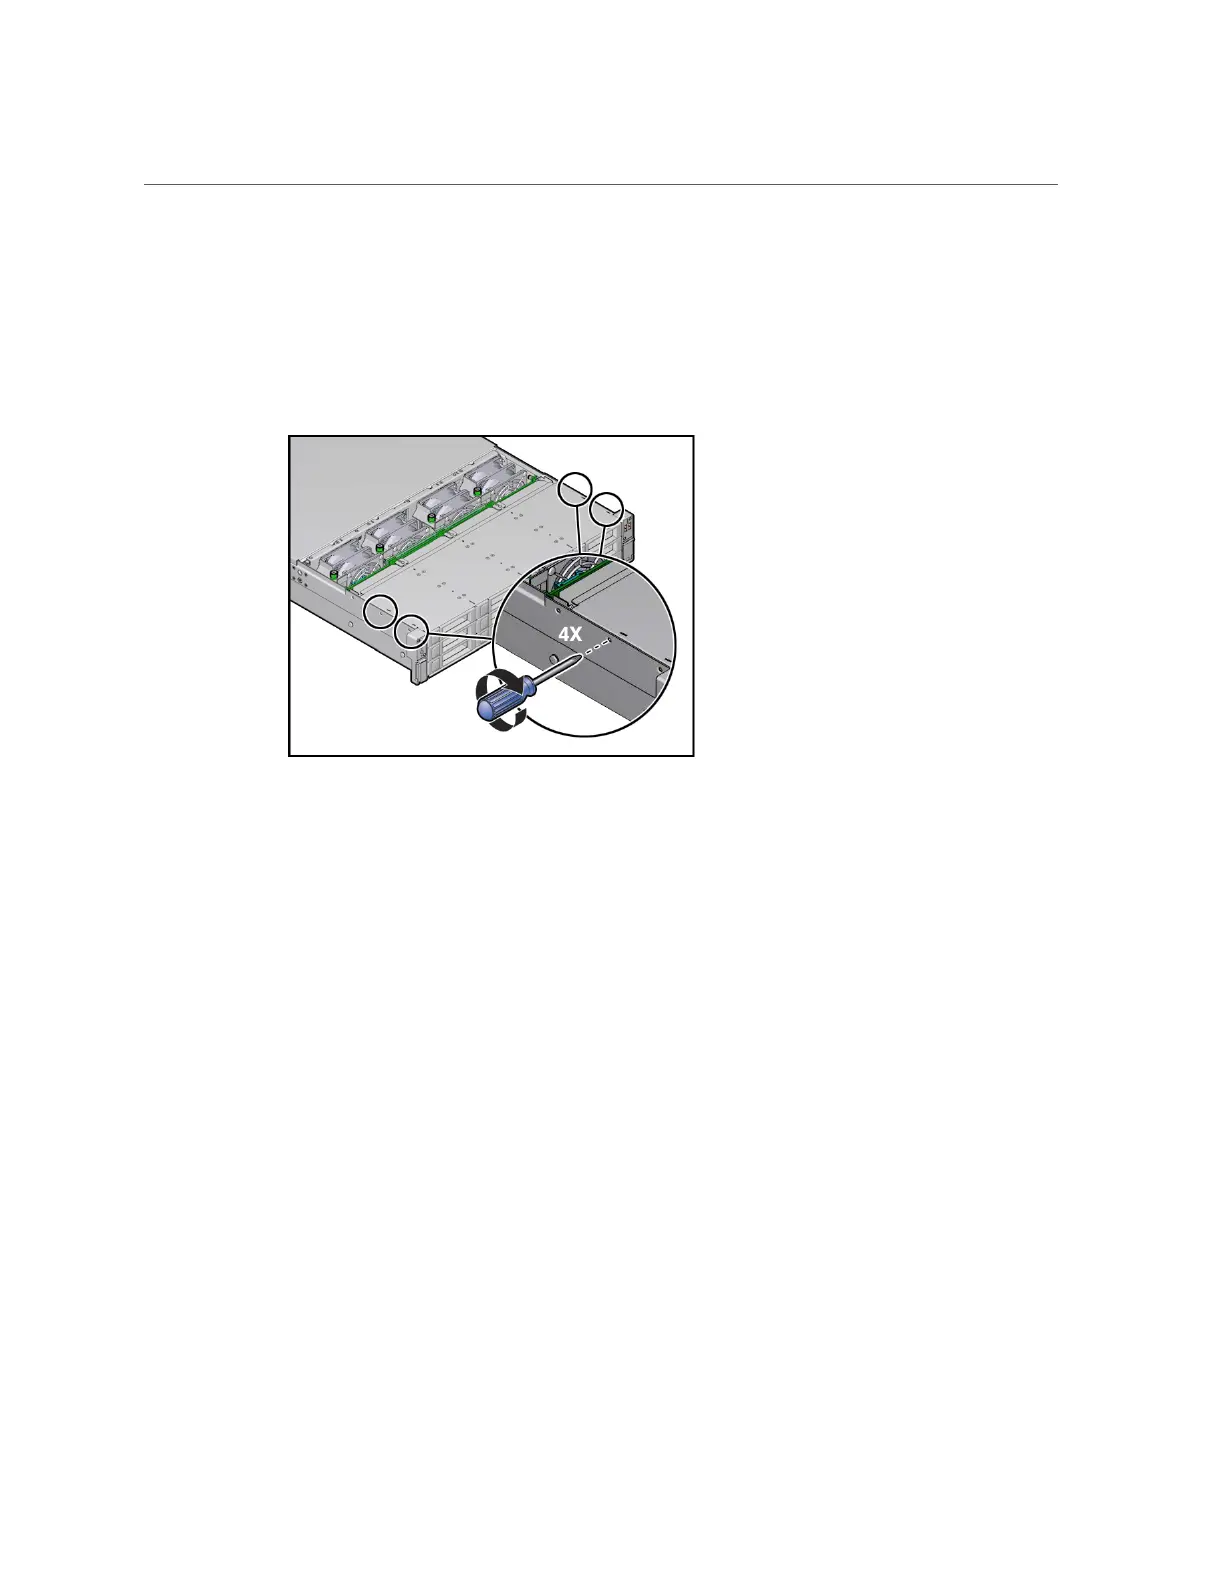
Install the four No. 2 Phillips screws (two on each side of the chassis) that
secure the disk cage assembly to the server chassis.
7.
Install the server fan assembly door.
See “Install the Fan Assembly Door” on page 163.
8.
Return the server to operation.
a.
Install the server top cover.
See “Install the Server Top Cover” on page 161.
b.
Return the server to the normal rack position.
See “Return the Server to the Normal Rack Position” on page 165.
c.
Reconnect the power cords to the power supplies, and power on the server.
See “Reconnect Power and Data Cables” on page 167 and “Power On the
Server” on page 167. Verify that the power supply AC OK LED is lit.
Related Information
■
“Server System-Level Status Indicators” on page 27
■
“Remove the Left LED Indicator Module” on page 131
Servicing Components That Require Server Power-Off 137