THE NEW PIPER AIRCRAFT, INC.
PA-32-301FT / 301XTC
MAINTENANCE MANUAL
PAGE 14
Jun 1/03
5C20
74-10-00
(7) Install coil
(a) Place the frame on the T-125 assembly fixture. Insert the coil into the frame, being sure
that it is back against the stops. Insert coil wedges between the bridge and the frame.
(b) Drive the two wedges tight, using a hammer and flat punch. Attach the ground wire coil
(either black or white - depending on coil type) to the frame with a screw. Torque to 20 in-
lbs.
CAUTION: IF THE HIGH TENSION LEAD PROTRUDES ABOVE THE MAGNETO
FRAME, IT CAN MAKE DIRECT CONTACT WITH THE DISTRIBUTOR
GEAR AND CAUSE THE MAGNETO TO MALFUNCTION.
(c) Position the coil high tension lead flush to 1/32 (.031) inch below the parting surface of the
magneto frame.
(8) Install contact points - All magnetos
Attach contact point assembly on the bearing cap using appropriate screw.
(9) Install rotor cam
(a) Install cam using a light hammer and T-151 cam and rotor set.
(b) Drive the cam until it bottoms in the rotor cam slot.
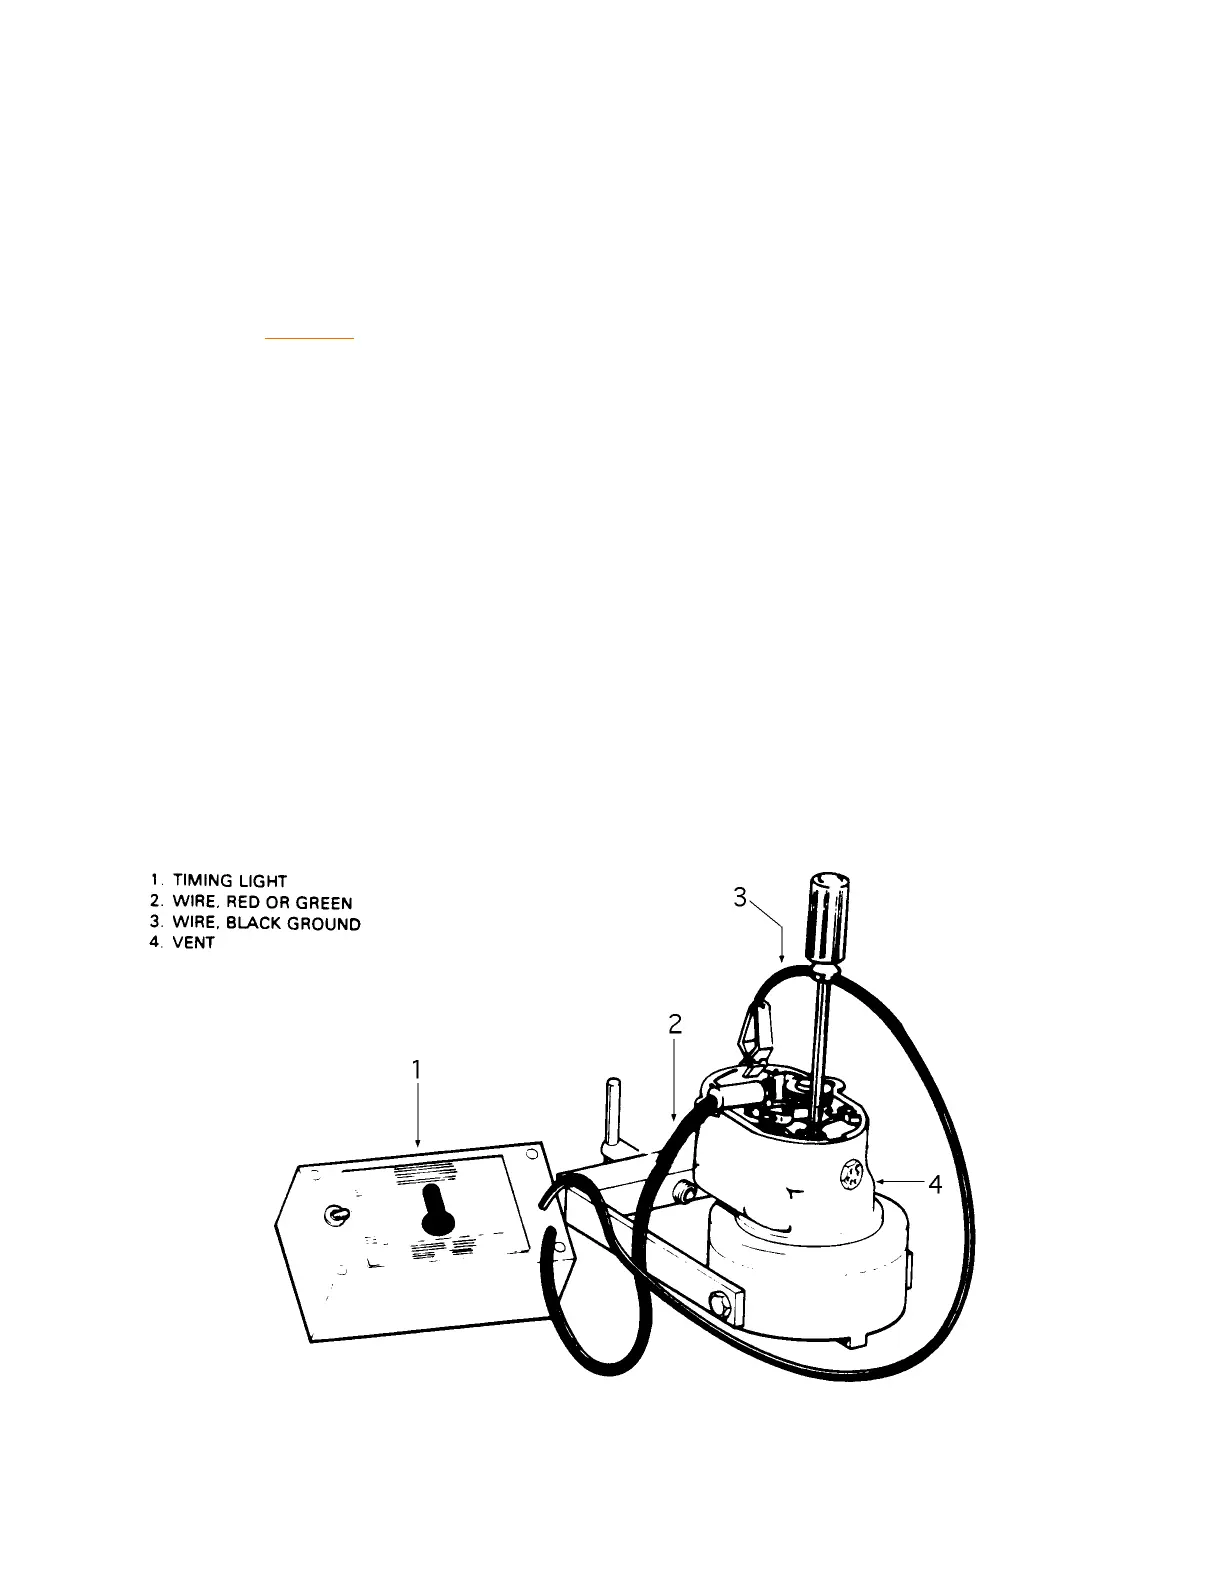
(10) Time the magneto internally - Set primary points - All magnetos
(a) Place the magneto on the T-125 assembly fixture, flange down, with the T-509 timing base
adapter removed.
(b) In the right magnetos only (i.e. - non-impulse coupled), install the T-123 timing plug on the
rotor shaft before placing the magneto on the T-125 assembly fixture.
(c) Looking directly down on the magneto, align the magneto so that the coil is oriented in the
12 o'clock position.
Magneto Internal Timing
Figure 12