Installation
SEL-351P Quick-Start Installation and User's Guide (Portuguese) 7
Mounting
Refer to Figure 1.
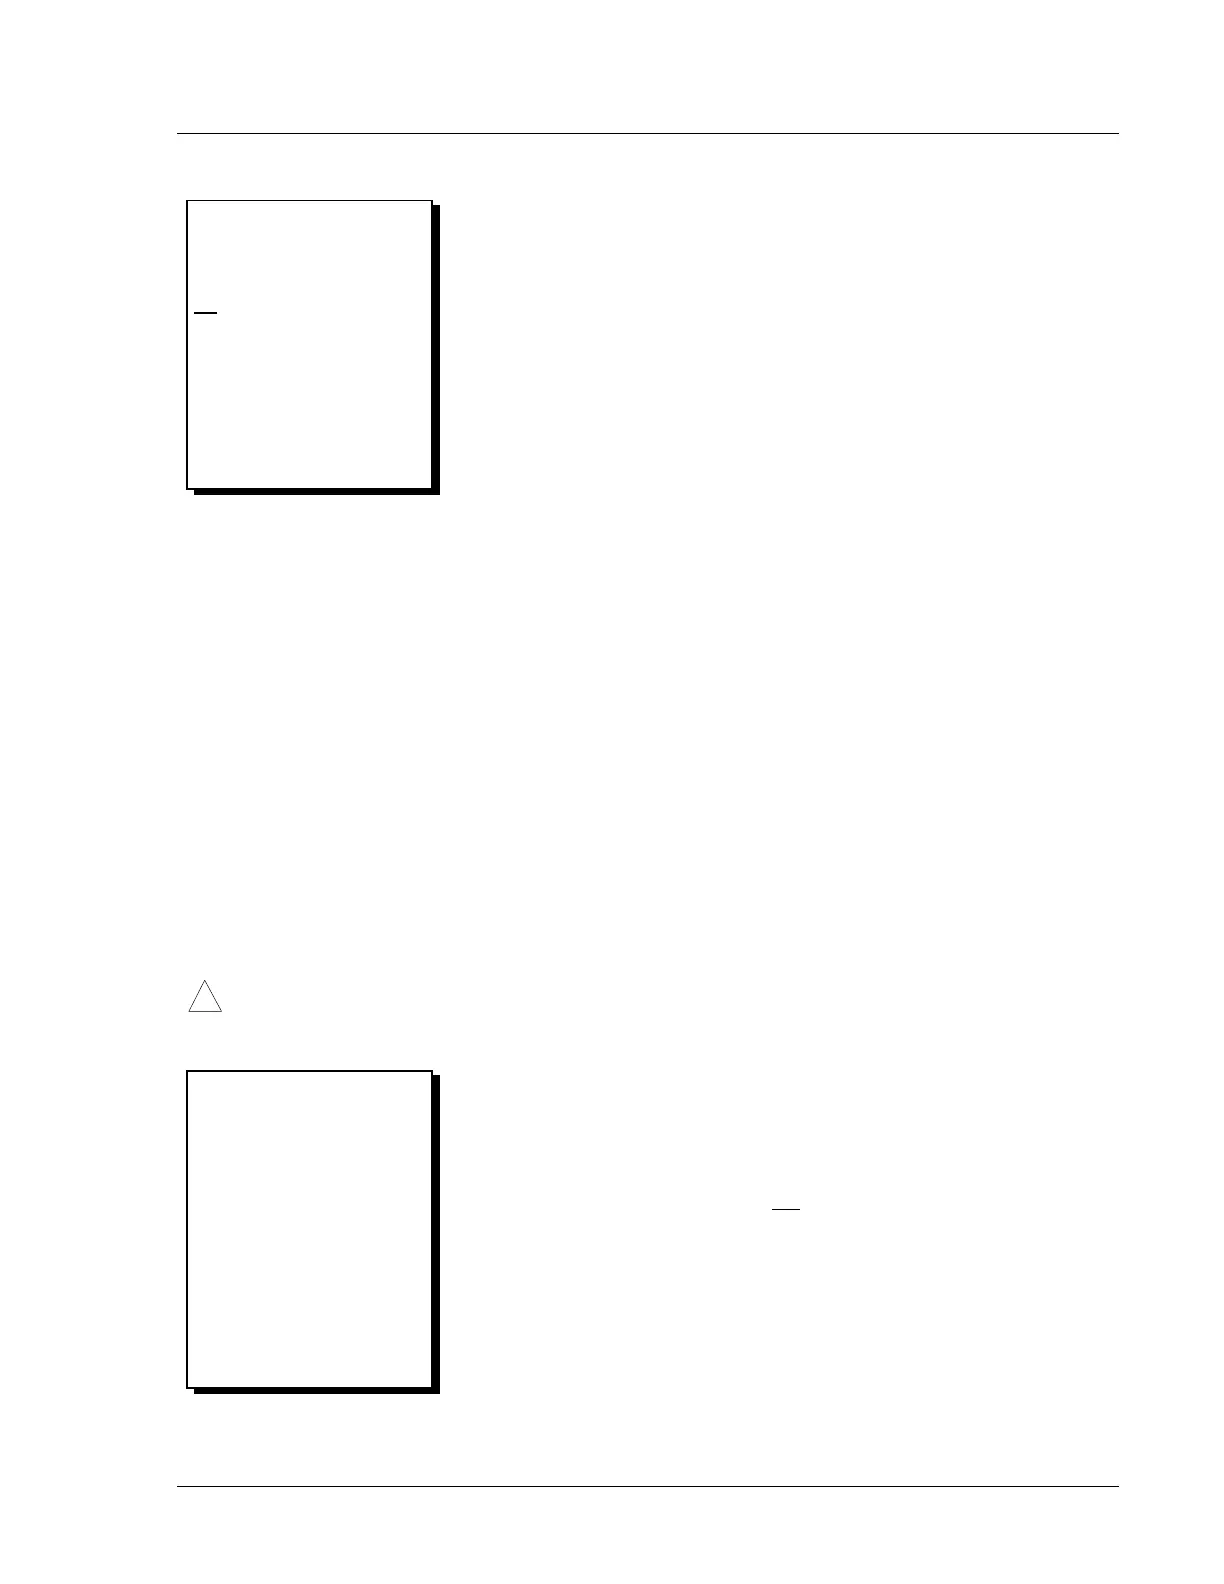
Panel Cutout
The front view dimensions 7.000 x 13.000 inches (177.8 x 330.2 mm)
refer to the panel cutout dimensions needed for mounting the SEL-351P.
The panel cutout dimensions are slightly smaller than the SEL-351P
front-panel overlay, thus providing appropriate coverage of the
SEL-351P front panel when mounted, yet allowing for front panel
interface access. SEL-351P front panel overlay details can be seen in
Figure 7.
Mounting Holes
The six mounting holes are each 0.20 inch (5.2 mm) diameter. A size
#6-32 bolt or mounting stud, with lock nuts is recommended.
Wire Harness Mounting
The two studs on top of the SEL-351P can be used to attach wire clamps
for a wire harness draped over the top of the unit. The two studs accept
#10-32 lock nuts.
Side Panel Connections
Refer to Figure 2 and Figure 3. Figure 3 shows what is “behind” the
side panel connections shown in
Figure 2.
!
WARNING: Connect the GROUND terminal to ground before making any other connection on the side
panel. The GROUND spade is 0.25 x 0.03 inches (6.4 x 0.8 mm).
Extra I/O
The extra I/O (output contacts OUT101 through ALARM and
optoisolated inputs IN101 through IN106) is not needed for the basic
recloser control functions. The extra I/O is available for SCADA
connection or other control and is not
polarity sensitive. The
optoisolated inputs must be ordered with the appropriate dc voltage
rating.
The connectors for the extra I/O accept wire size AWG 24 to 12. Strip
the wires to 0.3 inch (8 mm) and install with a small slotted-tip
screwdriver.
Room for Connectors
and Wiring:
The dimensions in Figure 1 do
not
make any allowances for
connectors and wiring that may
be attached to the side panel
(see Figure 2). Some connec-
tions (e.g., fiber-optic modems)
can protrude up to 4 inches
(about 10 cm) out from the
surface of the side panel.
Explained in Other Sections:
The serial ports and IRIG-B
shown in Figure 3 are
explained in the Communica-
tions section. The Wake-up
port is explained in the front of
Section 10 in the SEL-351P
Manual Técnico. The front-
panel LEDs and operator
controls shown in Figure 3 are
explained in the Front-Panel
Interface section.