Service and maintenance
11.3 Repair/Upgrading
SIPART PS2 with and without HART
Operating Instructions, 10/2013, A5E00074631-11
233
Installation of the screens
• The enclosure is damaged due to screwing in the self-tapping screws improperly.
• Ensure that the available thread pitches are used.
• Turn the screws anticlockwise until they engage noticeably in the thread pitch.
• Tighten the self-tapping screws only after they have engaged.
1. Insert the screens into the recesses of the macrolon enclosure.
2. Place the O-rings on the screens.
3. Fit the pneumatic terminal strip on both studs so that it fits flushly.
4. Screw-on the three self-tapping screws.
5. Place the cover and tighten it.
6. Reconnect the pipelines and feed the pneumatic power supply.
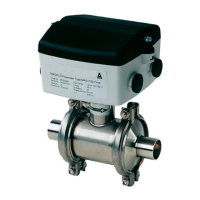
Positioner in stainless steel, aluminum and flameproof aluminum enclosure
Removal, cleaning and installation of the screens
1. Disconnect the pneumatic auxiliary power supply.
2. Remove the pipelines.
3. Remove the metal screen from the bores carefully.
4. Clean the metal screens, e.g. using compressed air.
5. Insert the screens.
6. Connect the pipelines again.
7. Feed the pneumatic auxiliary power supply.
Send defective devices to the repairs department, together with information on the
malfunction and the cause of the malfunction. When ordering replacement devices, please
provide the serial number of the original device. You can find the serial number on the
nameplate.
Technical support (Page 271)
 Loading...