108
TIP WIPE ASSEMBLY ADJUSTMENTS
This procedure is used when there is purge contamination during part builds or there is
premature tip wear.
1. Remove the purge bucket assembly.
2
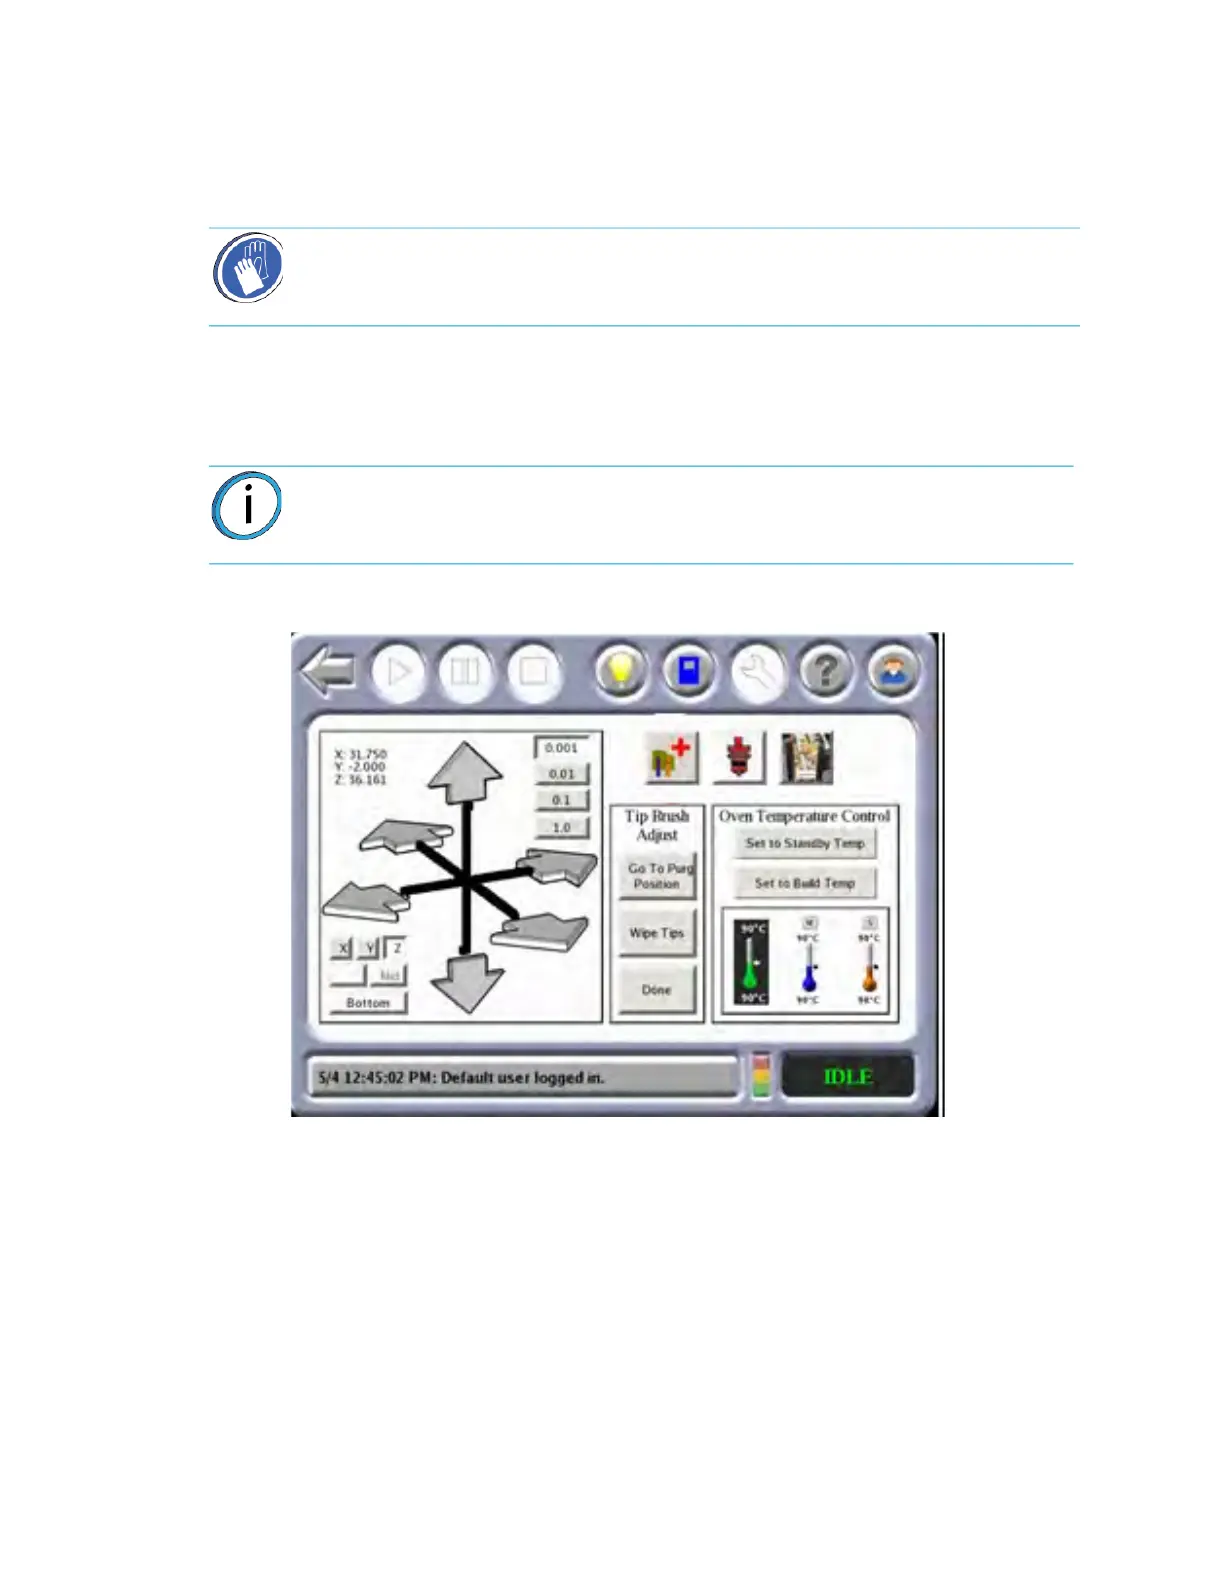
. Use the G
o to Purge Position option in the Operator Control menu to move the
head to the brush location. Use the gantry move buttons to position the model tip
over the brush/flicker assembly.
Figure 5-8: Go
To Purge Position
3. Make fine vertical adjustments so that both model and support flickers provide
a
pproximately 0.020 inch (0.508 mm) of interference with the tips.
Figure 5-9: Qu
ick Adjust Tip Wipe Asembly
Gloves/Sleeves Required: Use proper protective equipment during this
procedure as surfaces are hot.
Note: The support tip will automatically lower when Go to Purge Position is
used.
 Loading...


