118
WEEKLY MAINTENANCE
VACUUM THE BUILD ENVELOPE
Vacuum the build envelope to remove build material waste, debris, and dust.
CLEAN/INSPECT TIP WIPE ASSEMBLY
Inspect the Tip Wipe Assembly once a week. Replace parts as necessary when wear is detected. See
“Consumable Orders” on page 1 for more information. The brush and flicker are replaced as an assembly.
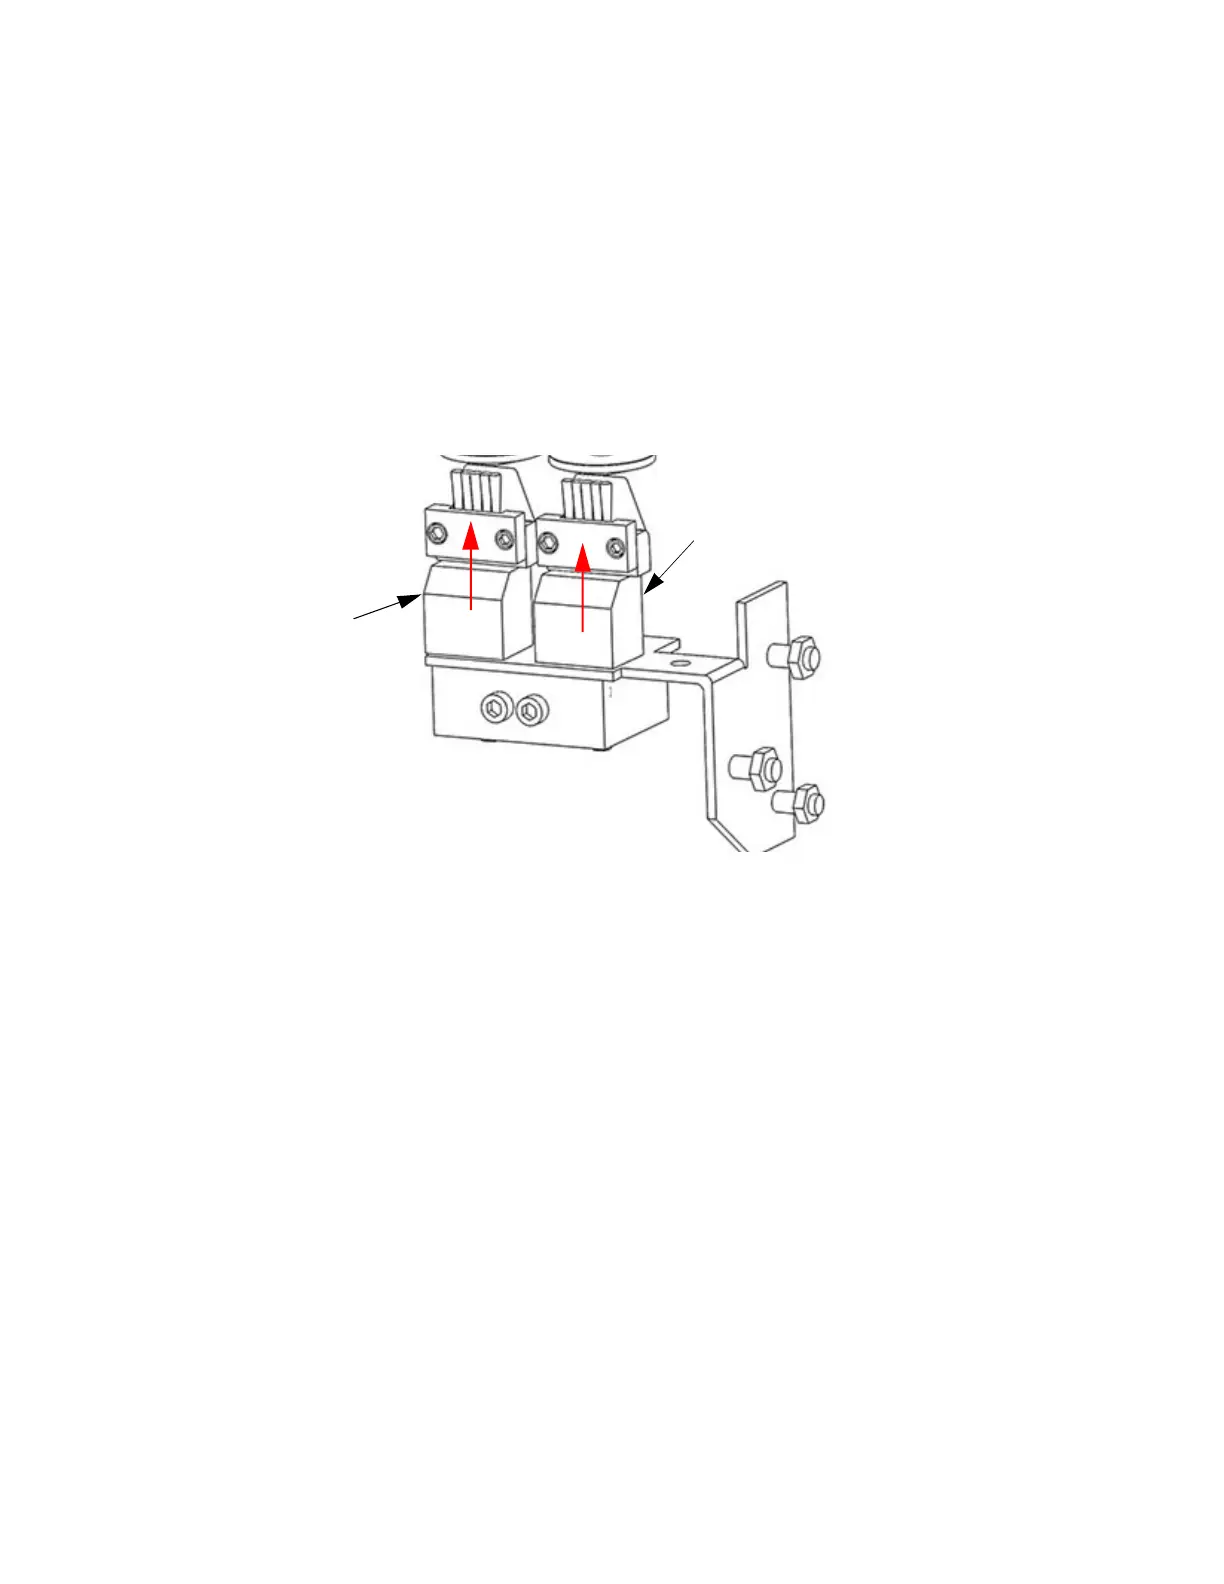
1. Remove the Tip Wipe Assembly by lifting straight up. (See Fi
gure 6-4).
Figure 6-4: Ch
ute Cleaning
2. Remove the Purge Ledge assembly by lifting it straight up.
3
. Use a cleaning brush (in the system start-up kit) to remove debris from around the Tip Wipe and
P
urge Ledge area.
4. Clean and inspect the surface around the locating pins - make sure that the Tip Wipe Assemblies
a
nd Purge Ledge can sit flush on the surface.
5. Inspect the Kapton tape around the upper funnel chute. Replace the Kapton tape if wear or tears
a
re evident.
• The Kapton tape is secured to the upper funnel chute with self-adhesive material. To replace the
t
ape, peel the tape from the chute.
• Clean the area around the top of the upper funnel chute with Isopropyl alcohol and a clean, lint-
f
ree cloth.
• Peel the backing material from the new Kapton tape and carefully position the shield in place on
t
he upper funnel chute - the top edge of the adhesive area should be even with the top of the
chute.
• Press the Kapton tape in place to secure.
6
. Inspect the Purge Ledge assembly (Fi
gure 6-5):
• The purge surface should be free from pock marks or surface irregularities.
•
Install a new purge ledge assembly if necessary. Use a PPSF purge ledge assembly when using
P
PSF or ULTEM material.
Tip Wipe
Assembly (2X)
Purge Ledge

 Loading...


