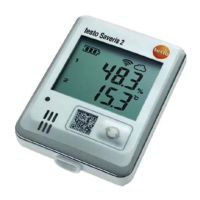
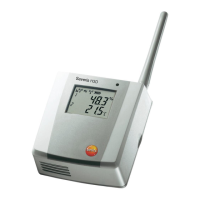
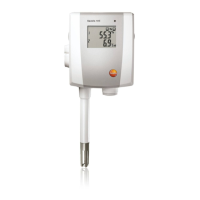
5 First steps
105
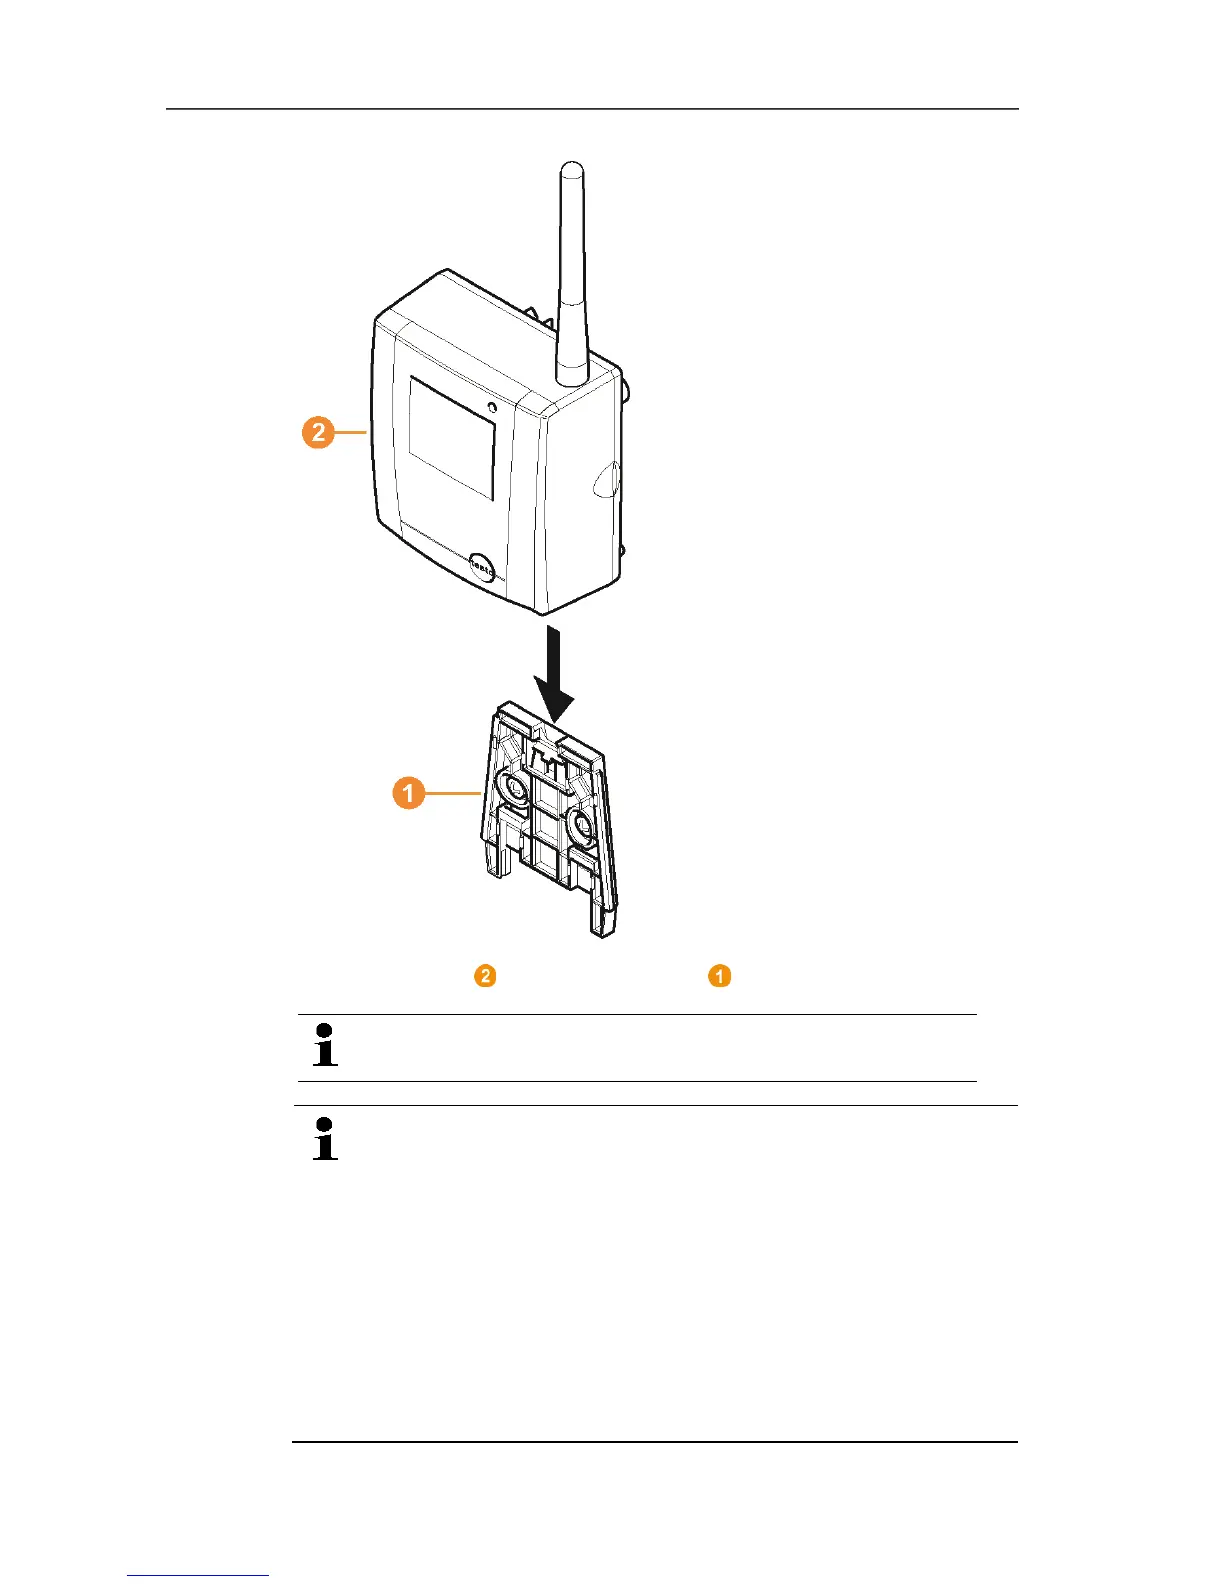
5. Place probe on the wall bracket until it engages.
Please refer to "Removing probe from wall bracket" for
removing the probe from the wall bracket.
Pos: 103 /TD/Ers te Schritte/testo Sa veris/Hinweis Schutzgeh äuse @ 8\mod_12973442 48560_79.docx @ 77003 @ @ 1
The radio probes T1/T1D/T2/T2D can be protected with the
Saveris protective housing (article no. 0572 0200) against
impact or prepared for high-pressure cleaning.
The two halves of the protective housing are force fitted
together, even if the coupling has already been loosened.
To loosen it, use a screwdriver to carefully unscrew the
external screws. Do not damage the surrounding seal.
When assembling the Saveris protective housing, the
screws must be tightened and the unassigned connections
must be sealed with the supplied plug to ensure IP
protection to IP 69 K.