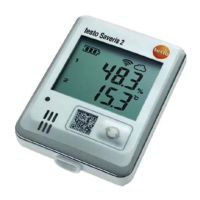
5 First steps
80
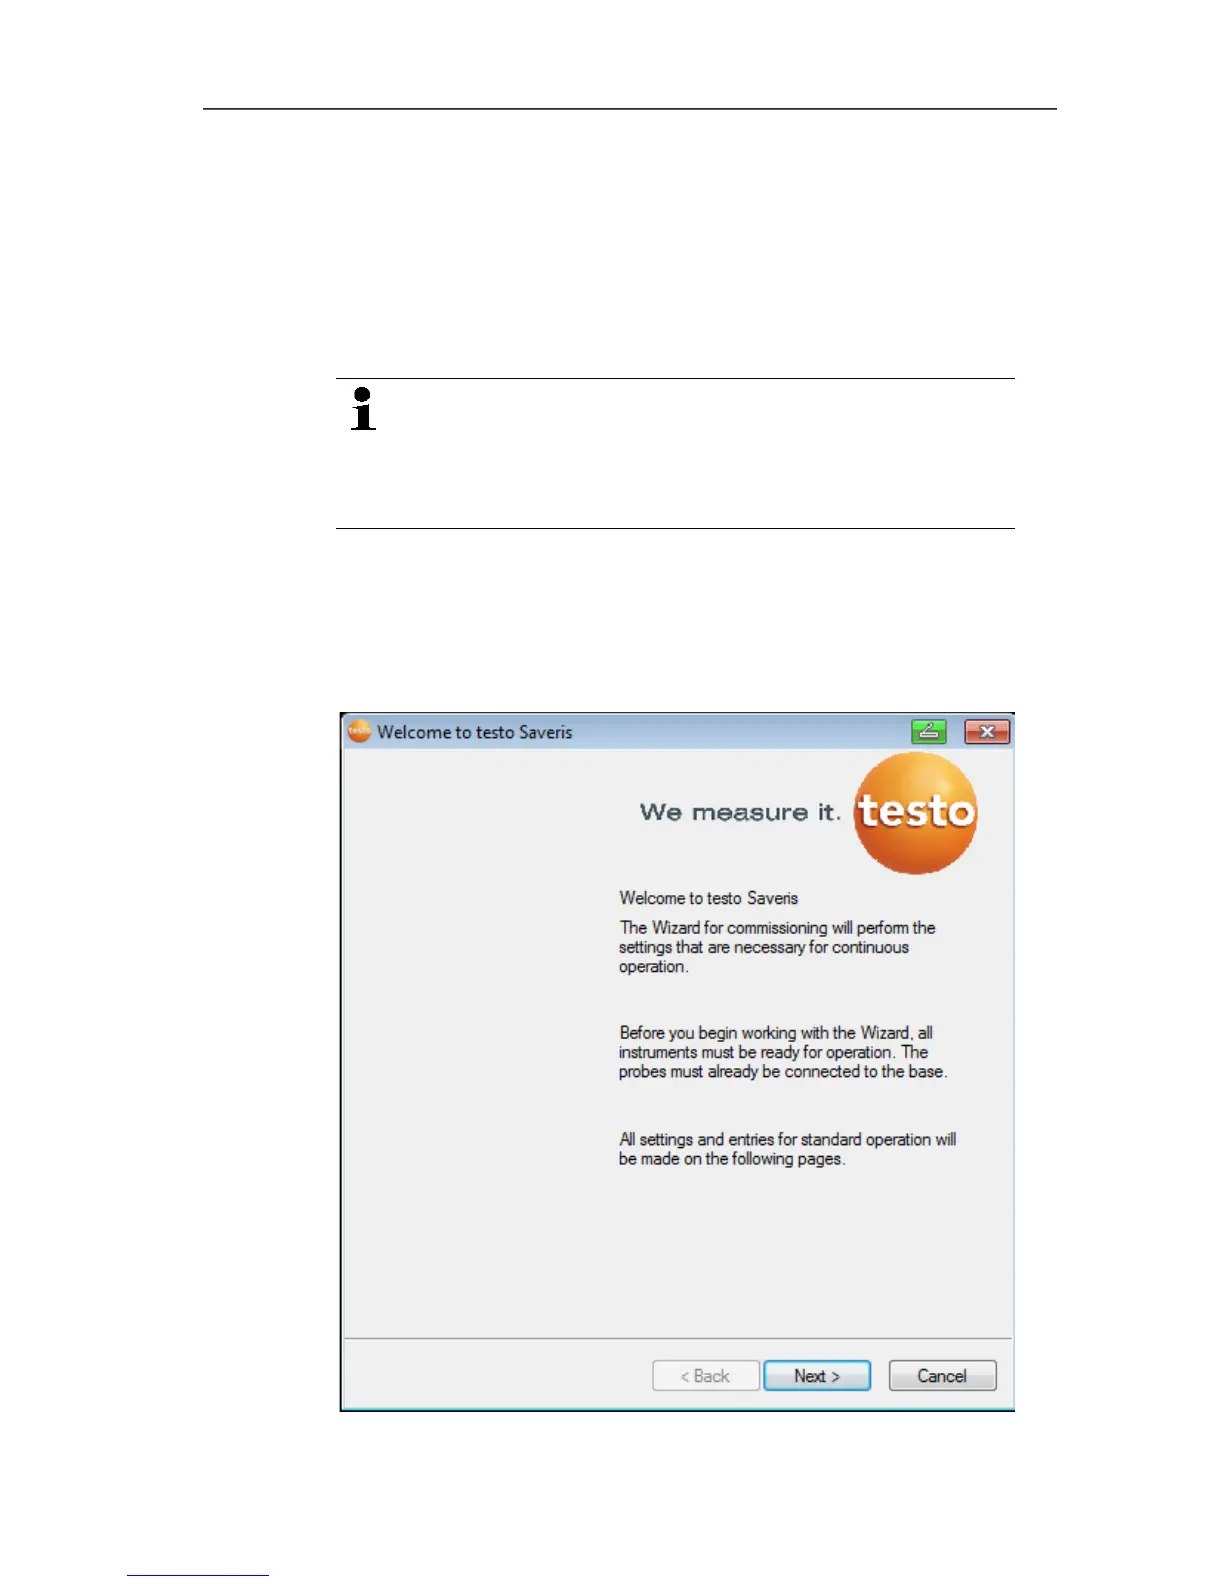
6. Click on [Finish].
- The Ethernet probe is restarted, synchronized with the Saveris
base and the number of connected Ethernet probes in the
display of the base is increased by 1; see Displays, page 17.
Pos: 86 /TD/Erst e Schritte/testo Saver is/Hardware erwei tern/03 Ethernet-Fühler einbinden/Ether net-Fühler mit der Saveri s Base verbinden @ 2\mod_1 207050082922_79.doc x @ 13997 @ 4 @ 1
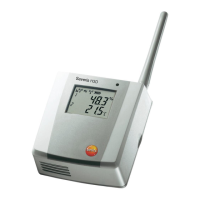
5.14.5.2. Connecting Ethernet probe with the Saveris base
> Connect Ethernet probe to the network.
You can connect the Ethernet probe to the Saveris base
or integrate it into a network via a network hub or
connect the probe directly to the Saveris base via a
network cable; also see Connecting the network cable
to the Saveris base page 43.
Pos: 87 /TD/Erst e Schritte/testo Saver is/Hardware erwei tern/03 Ethernet-Fühler einbinden/05 Etherne t-Fühler inbetrieb neh men @ 1\mod_120342155198 4_79.docx @ 8237 @ 4 @ 1
5.14.5.3. Starting up Ethernet probes
1. Via Start | All Programs | Testo | Startup Wizard, start the
wizard to start up new hardware components.
- The wizard opens with the welcome screen.
2. Click on [Next >].