5 First steps
99
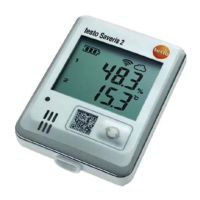
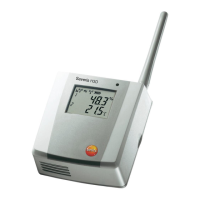
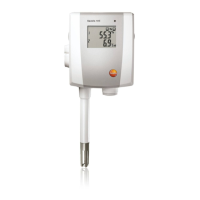
• Radio probe
◦ Radio probe assigned to a stationary zone.
◦ Radio probe assigned to a mobile zone.
• Ethernet probe
• Router
• Cockpit unit
• Extender
• Converter.
An asterisk (*) after a component indicates that the
synchronisation of this component with the system is not
yet complete (e.g. in the case of configuration changes).
1. Open Radio probe.
- The active channels of the radio probes registered on the
system are displayed.
2 Click on a channel to open the settings and check the Radio
quality.
> Repeat step 2 for all other probes.
If no values have accumulated for a probe for a while,
check whether a connection exists between the probe
and the Saveris base by briefly pressing the connect
button at the probe. The LED at the probe shows the
connection status; also see "Meaning of the LED
displays at the probes ".
Pos: 95 /TD/Erst e Schritte/testo Saver is/06 ****Probelauf /Systemtest durc hführen @ 10\mod_1321361 553028_79.docx @ 103136 @ 3 @ 1
5.15.2. Testing the system
For a simple system test:
• In the System main menu:
◦ All probes are visible, synchronisation of the probes is
complete (none have an asterisk * after their name)
◦ All components have the current firmware version
◦ Under operating data: the last probe data transfer was
recently
◦ The communication statistics of the individual probes are
good
• In the data view of the zones:
◦ No noticeable alarms occurred during maintenance