6 Using the product
127
6.5.1.2. Configuring scheduling
All alarms across the entire system are paused/activated
via scheduling.
1. Click on Activate scheduling.
- The Alarms scheduling button is activated.
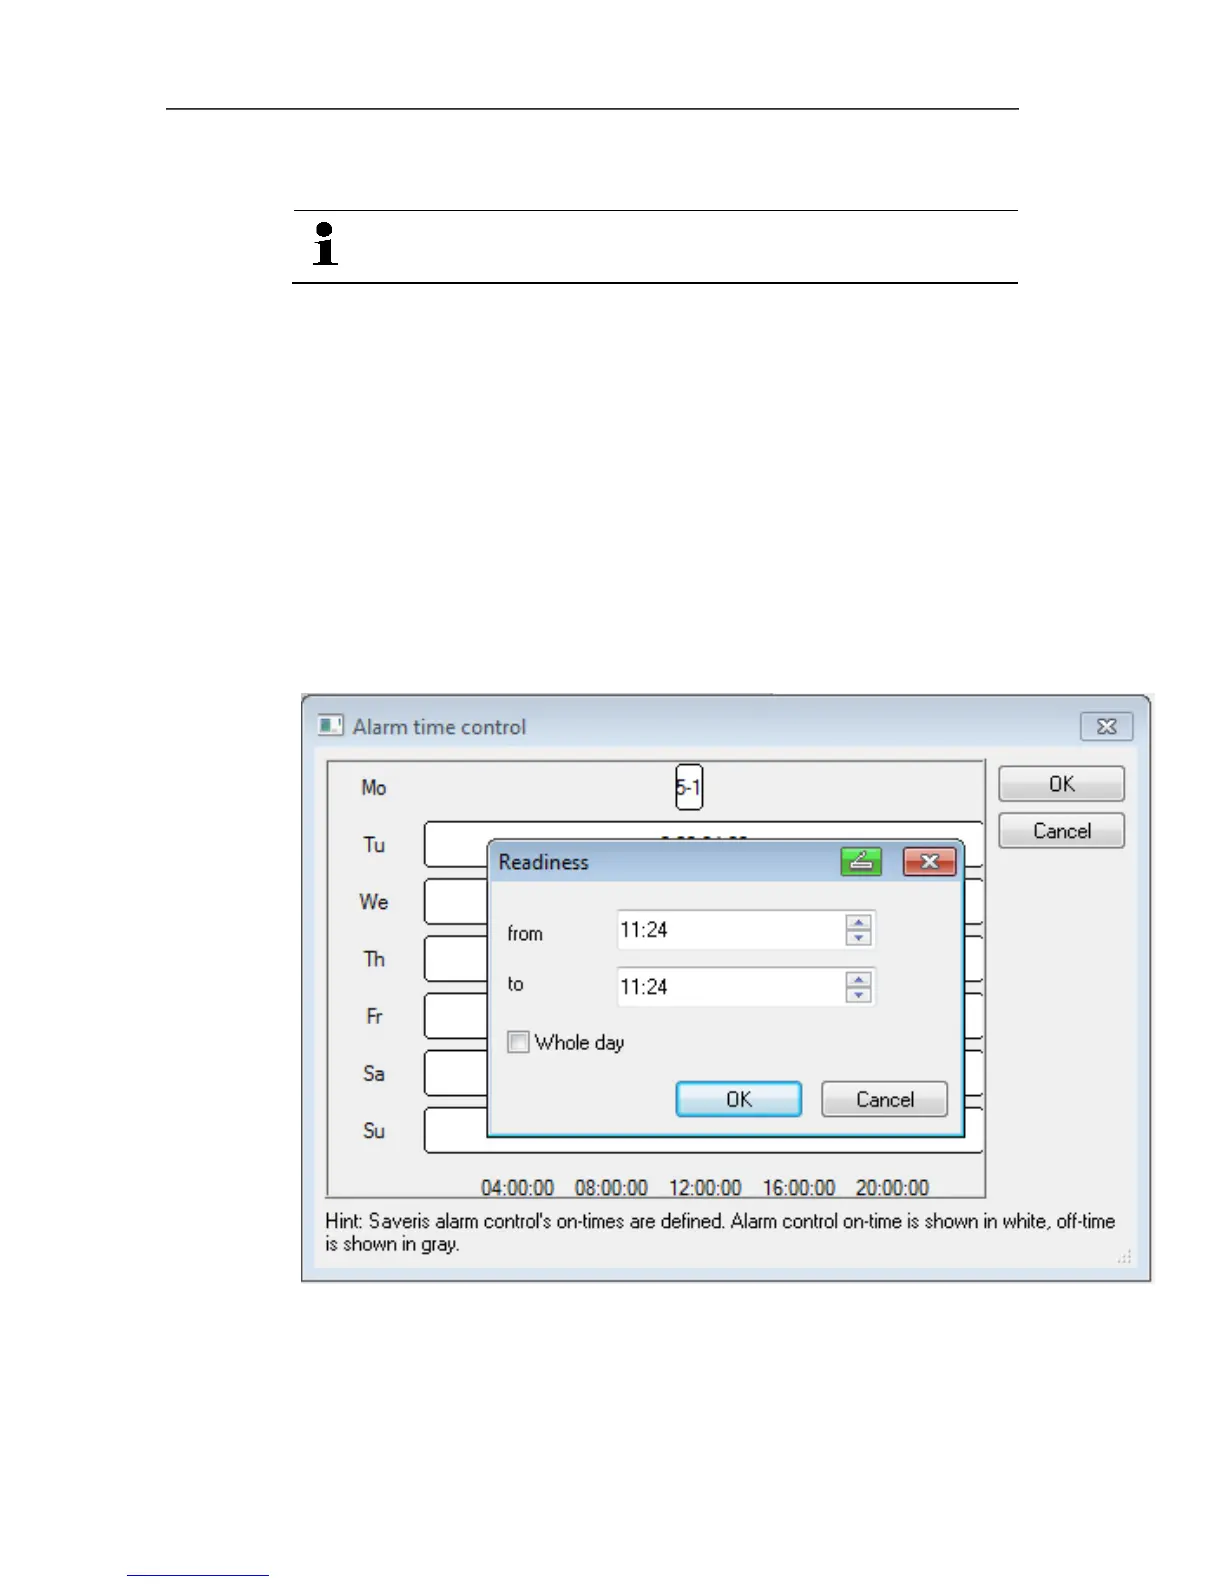
2. Click on Alarms scheduling.
- An input window with a complete scheduling system is
displayed. The scheduling is filled out from Monday to Sunday
0:00 – 24:00 ex-works.
3. Click on a time entry with the right mouse button and select
Delete.
- The selected time entry is deleted.
4. Click on the blank time entry with the right mouse button and
select New.
- An input window is displayed, enter the alarm ON times (from,
to or all-day) here.
5. Click on OK to confirm the entry.
- The input window is closed, the modified times are displayed in
the scheduling overview.