5 First steps
104
Pos: 102 /TD/Ers te Schritte/testo Sa veris/07 **** Montage der Hardware/03 Füh ler montieren @ 0\mod_1189 157541812_79.doc x @ 4114 @ 3 @ 1
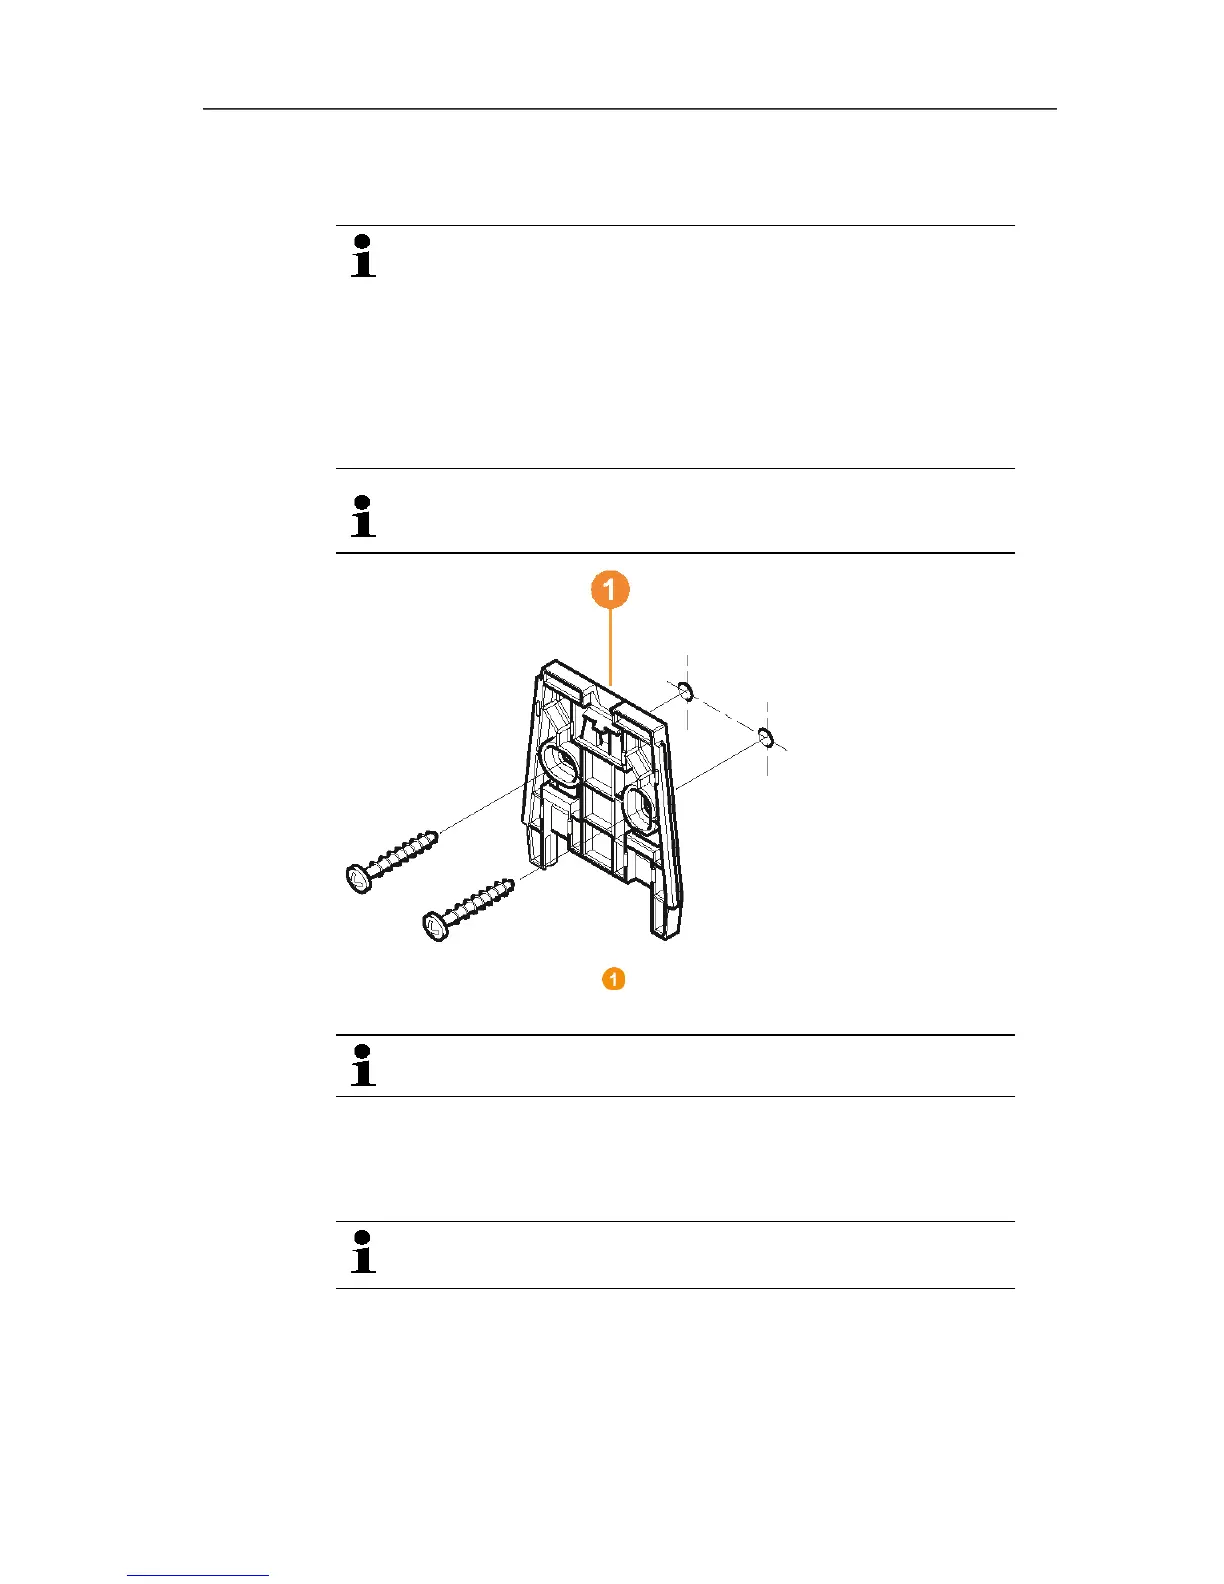
5.16.3. Mounting the probe on the wall
When selecting the location, take into account the
following points:
• The range of the probe may not be exceeded; see
Performing the test run, page 98 and see
Connecting radio probe, page 49
• Attach the probe in such a way that the readings
cannot be distorted, e.g. by exposure to direct
sunlight
The mounting materials (screws, anchor plugs etc.) are
not included in the delivery.
1. Position wall bracket at the desired location.
2. Using a pen, mark the locations for the fastening screws.
The distance between the fastening screws is 30 mm.
3. Prepare the fastening location for the attachment in accordance
with the material (e.g. drill hole, insert anchor plug).
4. Fasten wall bracket using appropriate screws.
The wall bracket must be screwed down with the
smooth surface facing the wall.