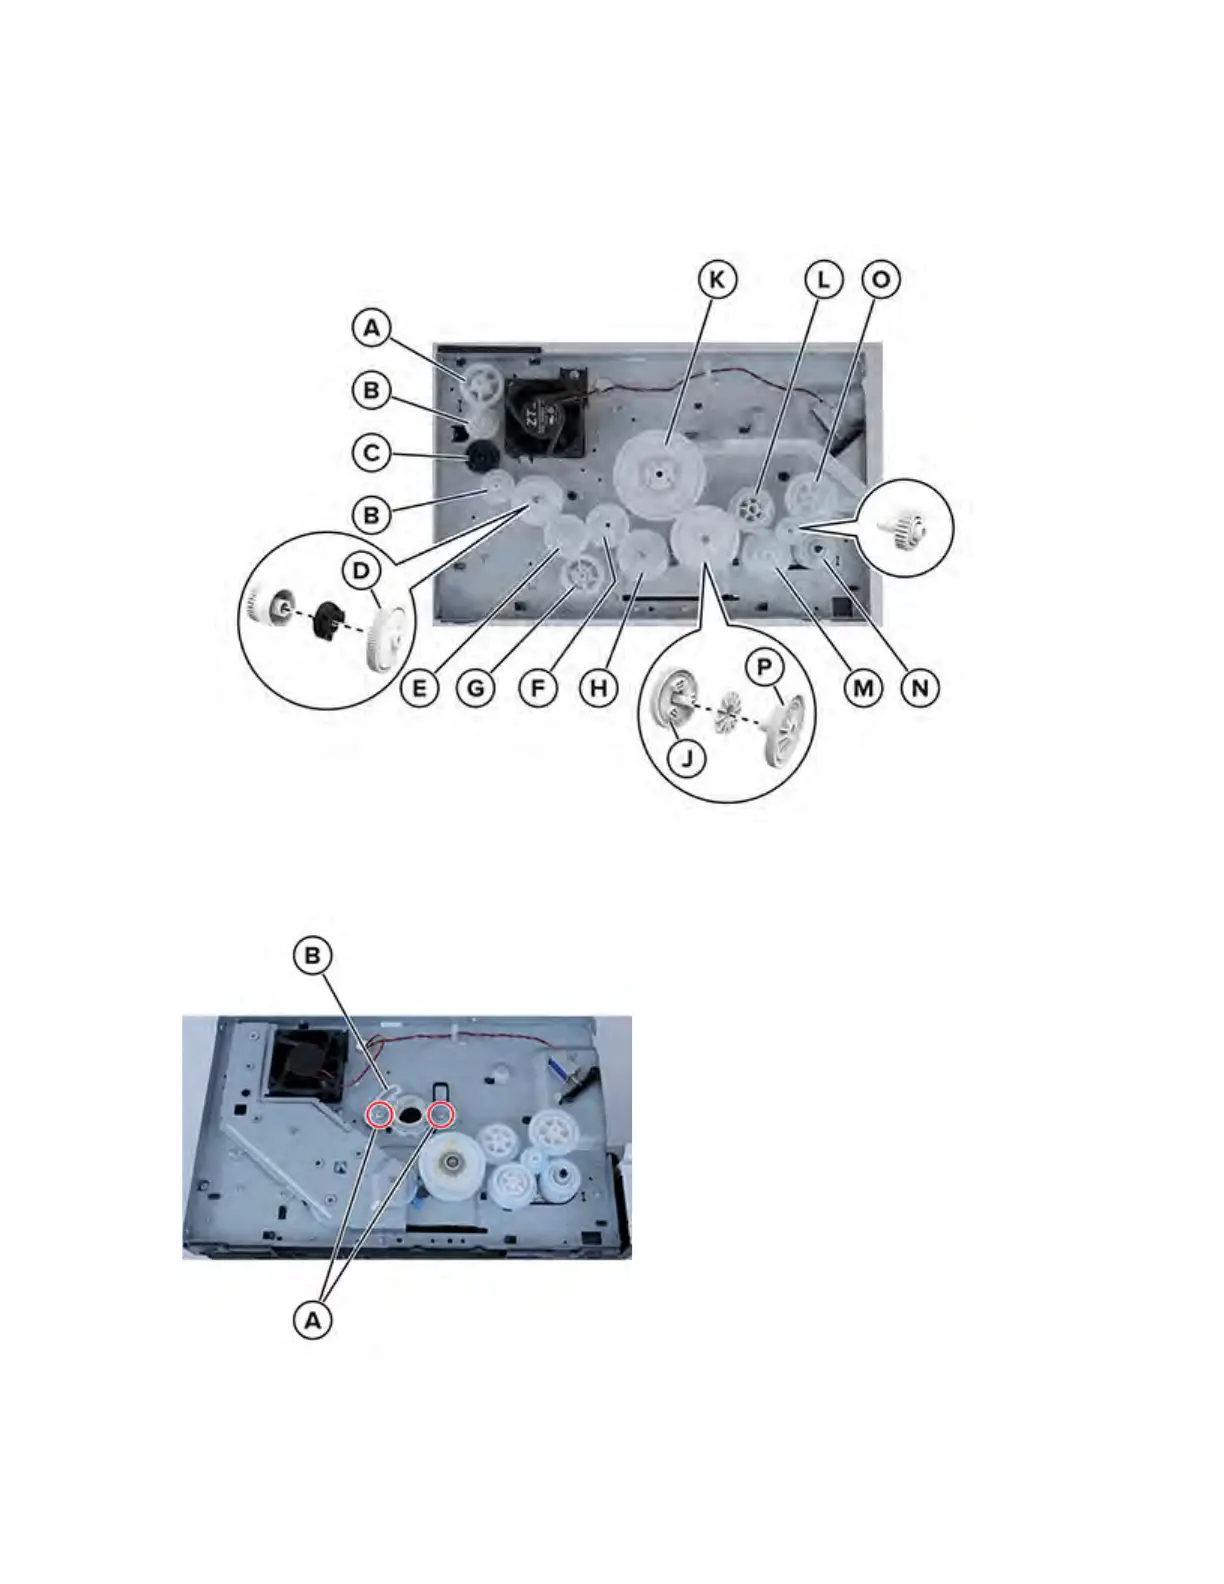
• Note the letter or number on the gears, and then use the following illustration to match their
proper location and position in the printer.
• Some locations have multiple gears stacked on top of each other.
4. Remove the left front door link. See Left front door link removal .
5. Remove the two screws (A), and then remove the coupling (B).
150
Xerox
®
B310 Printer
Service Manual
Parts Removal