Action Yes No
Does the problem remain?
Step 3
1 Make sure that the tray is not
overfilled.
2 Make sure that the paper
guides are not set too tight
against the paper.
Does the problem remain?
Go to step 4. The problem is solved.
Step 4
Check the tray for crumpled,
damaged, or deformed paper.
Are there crumpled, damaged, or
deformed paper in the tray?
Go to step 5. Go to step 6.
Step 5
Replace the crumpled, damaged,
or deformed paper.
Does the problem remain?
Go to step 6. The problem is solved.
Step 6
1 Enter theDiagnostics menu,
and then navigate to:
Printer diagnostics &
adjustments > Sensor tests
2 Find the sensor (input).
3 Make sure that the sensor
actuator freely moves and is
not stuck.
Does the sensor status change
while toggling the sensor?
Go to step 8. Go to step 7.
Step 7
1 Remove the right cover. See
Right cover removal.
2 Make sure that the JMTR1
sensor cable is properly
connected to the controller
board.
Does the problem remain?
Go to step 8. The problem is solved.
Step 8
Perform a print test.
Does the problem remain?
Contact the next level of support. The problem is solved.
72
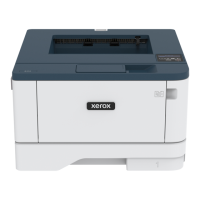
Xerox
®
B310 Printer
Service Manual
Diagnostics and Troubleshooting
 Loading...
