January 2010
4-19
Phaser 7760 Color Laser Printer
REP 7.1
Repairs and Adjustments
Revised
REP 7.1 Tray 1 (MPT)
Parts List on PL 2.11
Removal
1. Remove the Rear Cover (REP 14.2).
2. Remove the Rear Left Middle Cover (REP 14.4).
3. Open the Left Door Transport (Left-Hand Cover).
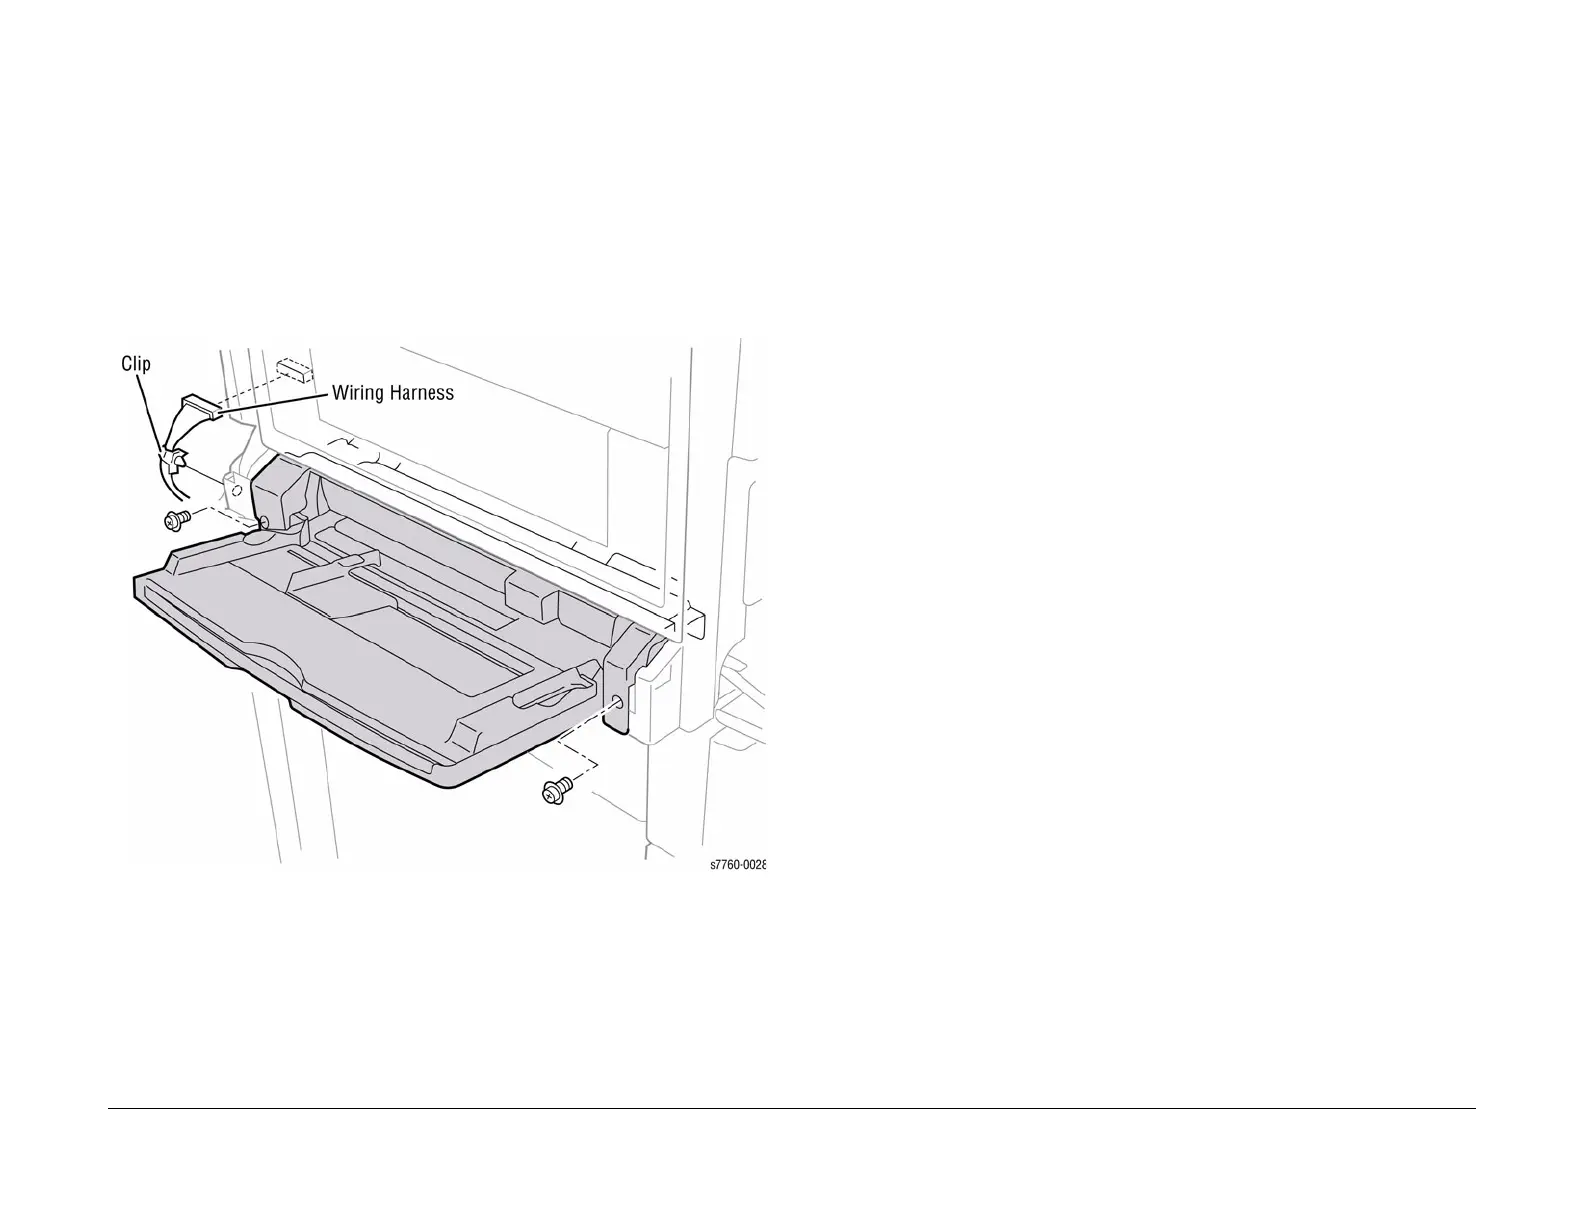
4. Removing Tray 1 (Figure 1).
a. Disconnect the wiring harness and Clip from the printer’s frame.
b. Remove the 2 screws securing Tray 1.
c. Pull Tray 1 out of the Printer while slightly lift on the right-hand side of the assembly.
Figure 1 Removing Tray 1 (MPT)
Replacement
CAUTION
DO NOT pinch the wires between the left bracket and the left screw hole.
NOTE: The Duplex Chute must be in up position before installing Tray 1. Open Door A, position
the Chute in the proper position, and then close the door.
1. Open Door A, position the Chute in the proper position, and then close the door.
2. Install Tray 1.