January 2010
4-71
Phaser 7760 Color Laser Printer
REP 12.49, REP 12.50
Repairs and Adjustments
Revised
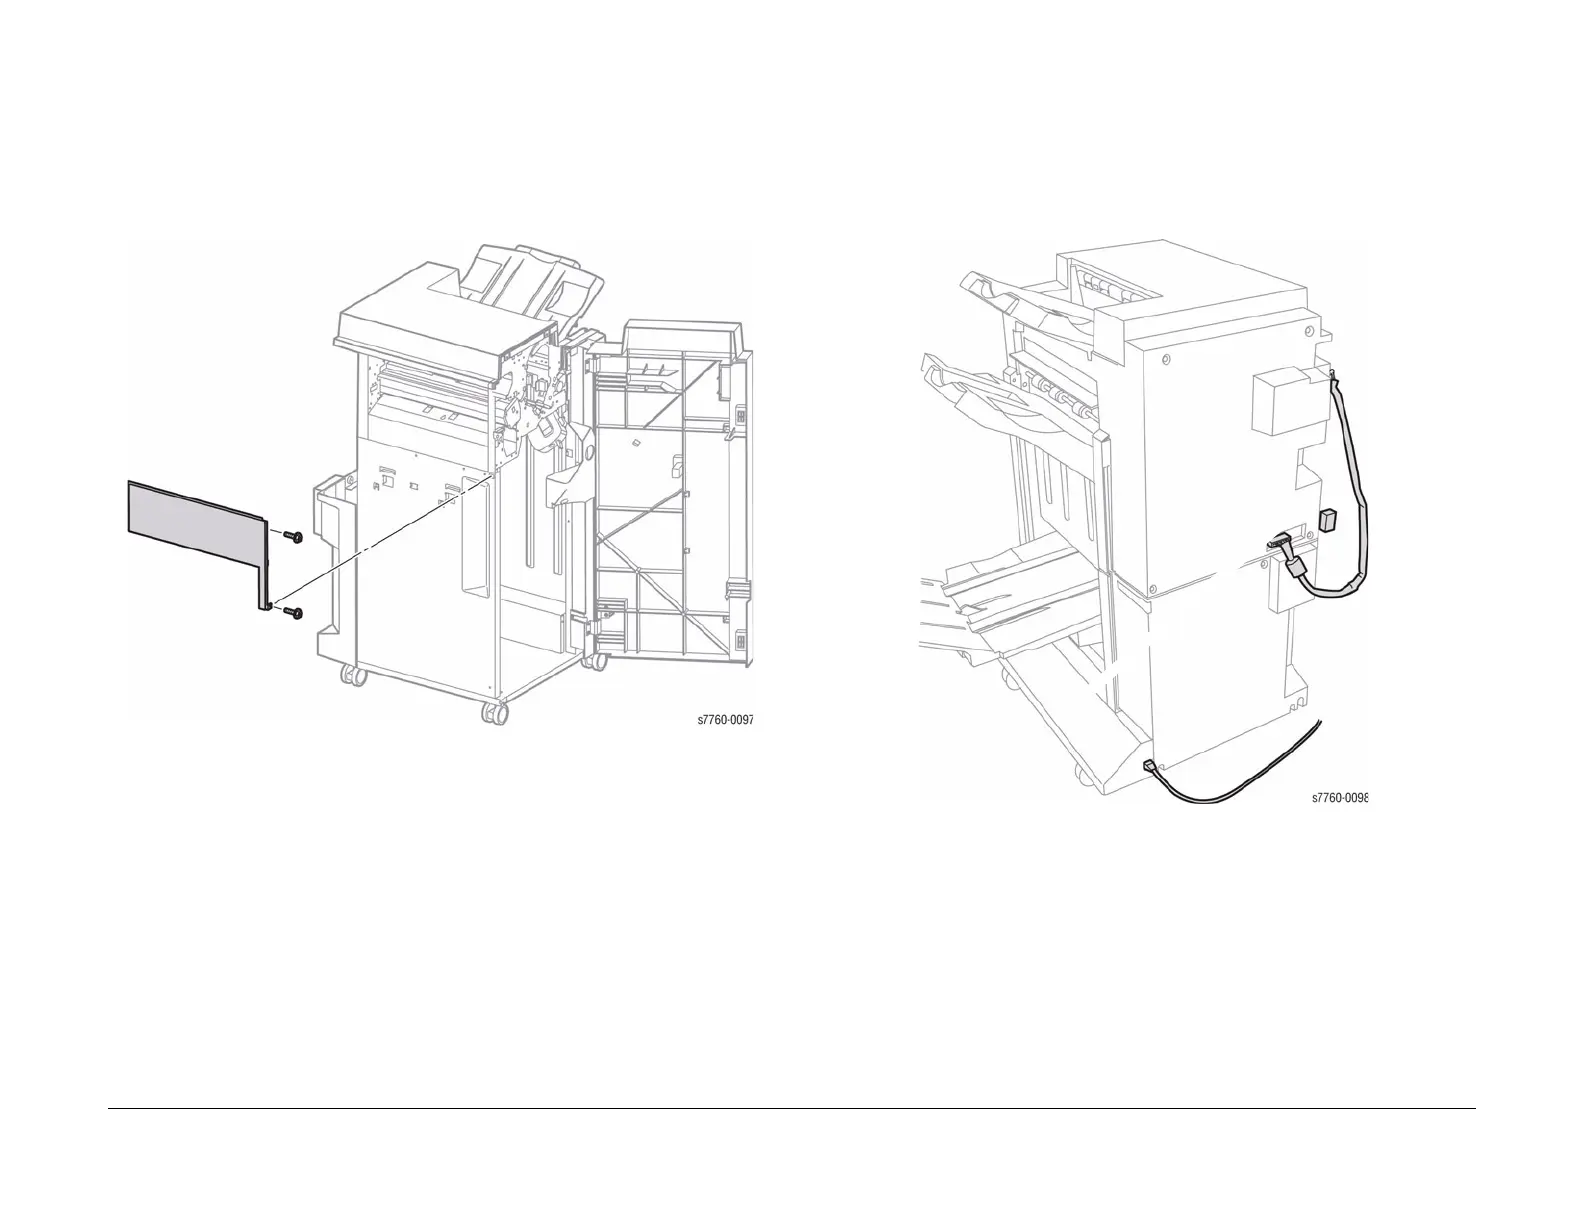
REP 12.49 Finisher Left Top Cover
Parts List on PL 21.3
Removal
1. Separate the Finisher from the Printer (REP 12.50).
2. Loosen the 2 screws securing the Left Top Cover.
3. Slide the Left Top Cover to the front to remove (Figure 1).
Figure 1 Removing Left Top Cover
REP 12.50 Finisher
Parts List on PL 21.1
Removal
1. Remove the Horizontal Transport Connector Cover (PL 21.2).
2. Disconnect the Power Cord, connector CN2, and P8444 (Figure 1) (refer to Section 7, H-
Transport PWB Plug/Jack Locations - Figure 3).
Figure 1 Disconnecting Connectors
3. Open the Front Door.