Copy Procedure
Xerox WorkCentre 3550
User Guide
28
scanned, the output will be “head to toe”. If “head to toe” orientation originals are scanned,
the output produced will be “head to head”.
Select the 2 Sided option required using the up/down arrows and press OK.
4. Additional Copy options are available through the Menu button. For information about
programming additional options, refer to Copy Options on page 29.
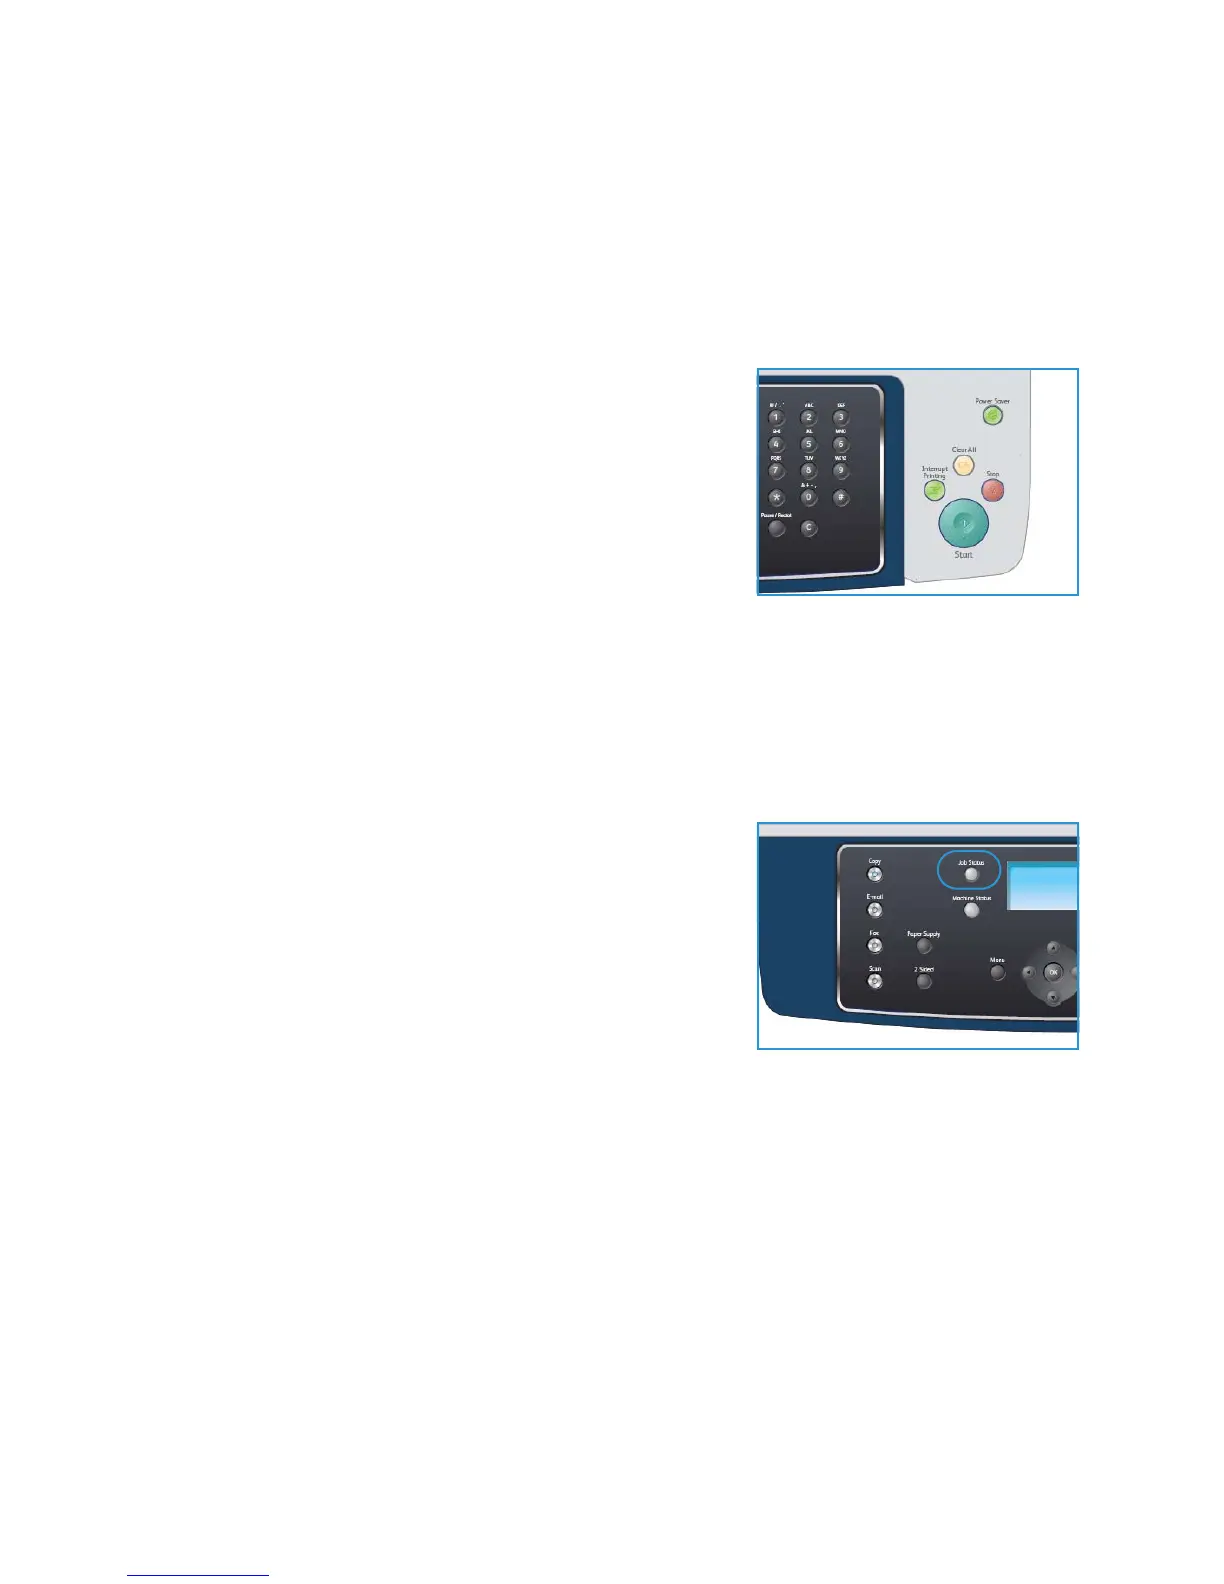
Enter the Quantity
• The maximum copy quantity is 999.
• Use the keypad on the control panel to enter the number of
copies required. The number entered is displayed in the
upper right-hand corner of the display.
Note: To cancel an incorrect entry, press the C button and
enter the correct quantity.
Start the Job
1. Press the Start button. Each document is scanned only once.
2. If using the document glass to scan 2 sided originals, the machine displays a message when ready
to scan side 2. Continue scanning until all sides have been scanned.
The images are scanned and the copy job is printed.
Check the Job Status
1. Press the Job Status button on the control panel to display
job status information.
2. A list of Active Jobs is displayed. Select your job using the
up/down arrows and press OK.
3. The following Job Options are available:
• Required Resources: Use this option to view the media
requirements for the job.
• Delete: Select this option to delete the job. Use the
left/right arrows to select Yes or No.
• Details: Select this option to display details about the job. The job name, owner, type, status
and submission time is displayed.
Stop the Job
Follow the steps below to manually cancel an active copy job.
1. Press the Stop button on the control panel. A confirmation is displayed, press Stop again to cancel
the current copy job.
2. To cancel a queued job press the Job Status button on the control panel to display the active jobs.
3. Use the up/down arrows and select the job required, press OK.
4. Select Delete and OK.
5. Select Yes to delete the job or No to return to previous screen.