Scan Procedure
Xerox WorkCentre 3550
User Guide
62
Document Glass
The following steps explain how to load documents using the document glass:
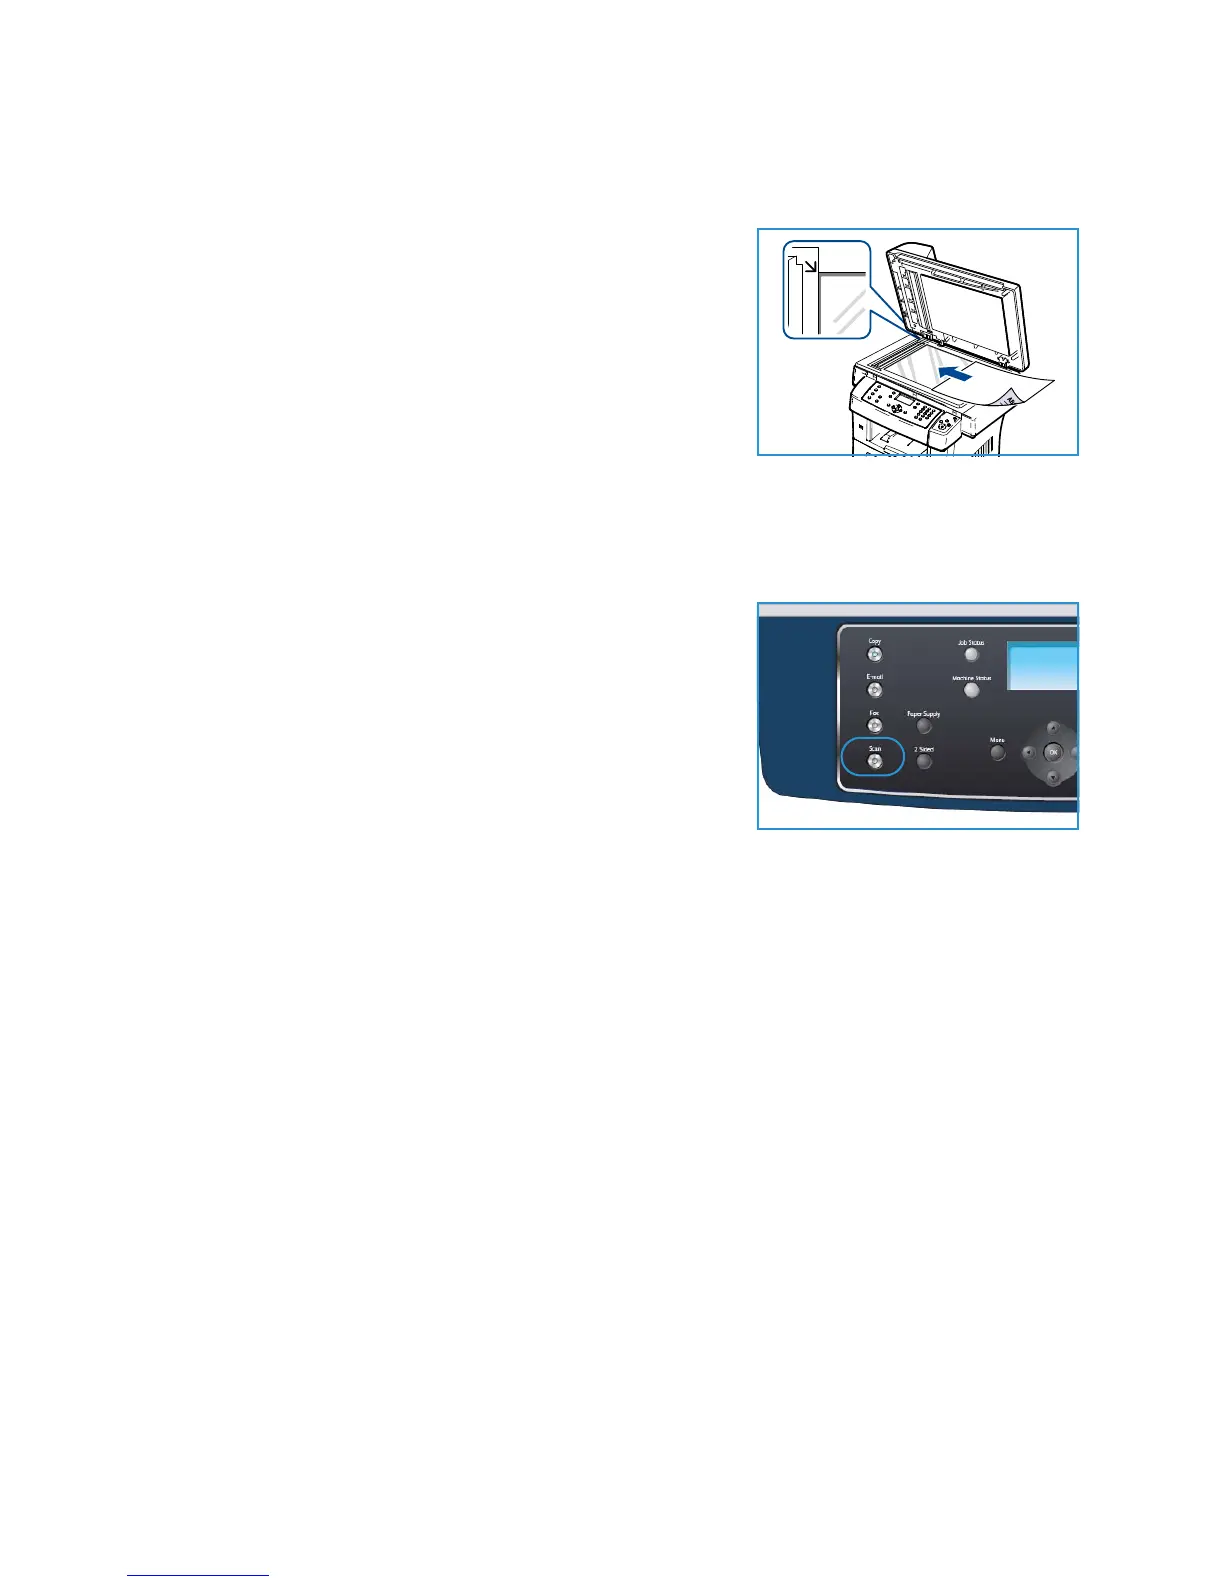
1. Raise the document feeder.
2. Place the document face down on the document glass,
aligned with the tip of the registration arrow near the top left
of the document glass.
The default document size is 8.5 x 11” or A4. For other sized
documents change the Original Size option. Refer to Scan
Options on page 66 for further information.
3. Lower the document feeder.
Select the Scan Destination
Scan to USB
1. Insert a USB Memory Device into the USB memory port on
your machine. Refer to Inserting the USB Memory Device on
page 102 for instructions.
2. Press the Scan button on the control panel.
3. Press the up/down arrows to highlight USB.
4. Press the 2 Sided button or Menu button to customize Scan
settings. Refer to Select the Features on page 64.
5. When the scan settings are selected, press OK to scan your
originals.
Scan to Local PC
To u s e Scan to Local PC, the machine must be connected to your PC or workstation via USB cable. The
scan driver must be installed on your PC prior to use. For instructions, refer to the System Administrator
Guide.
1. Press the Scan button on the control panel.
2. Press the up/down arrows to highlight Local PC.
3. Press the 2 Sided button to customize Scan settings.
4. Press OK. If you see the Not Available message, check the port connection.
5. Press the up/down arrows until the scan destination you want highlights and press OK. The default
setting is My Documents.
The images are scanned and filed to the destination selected.

 Loading...


