Loading Paper
Xerox WorkCentre 3550
User Guide
120
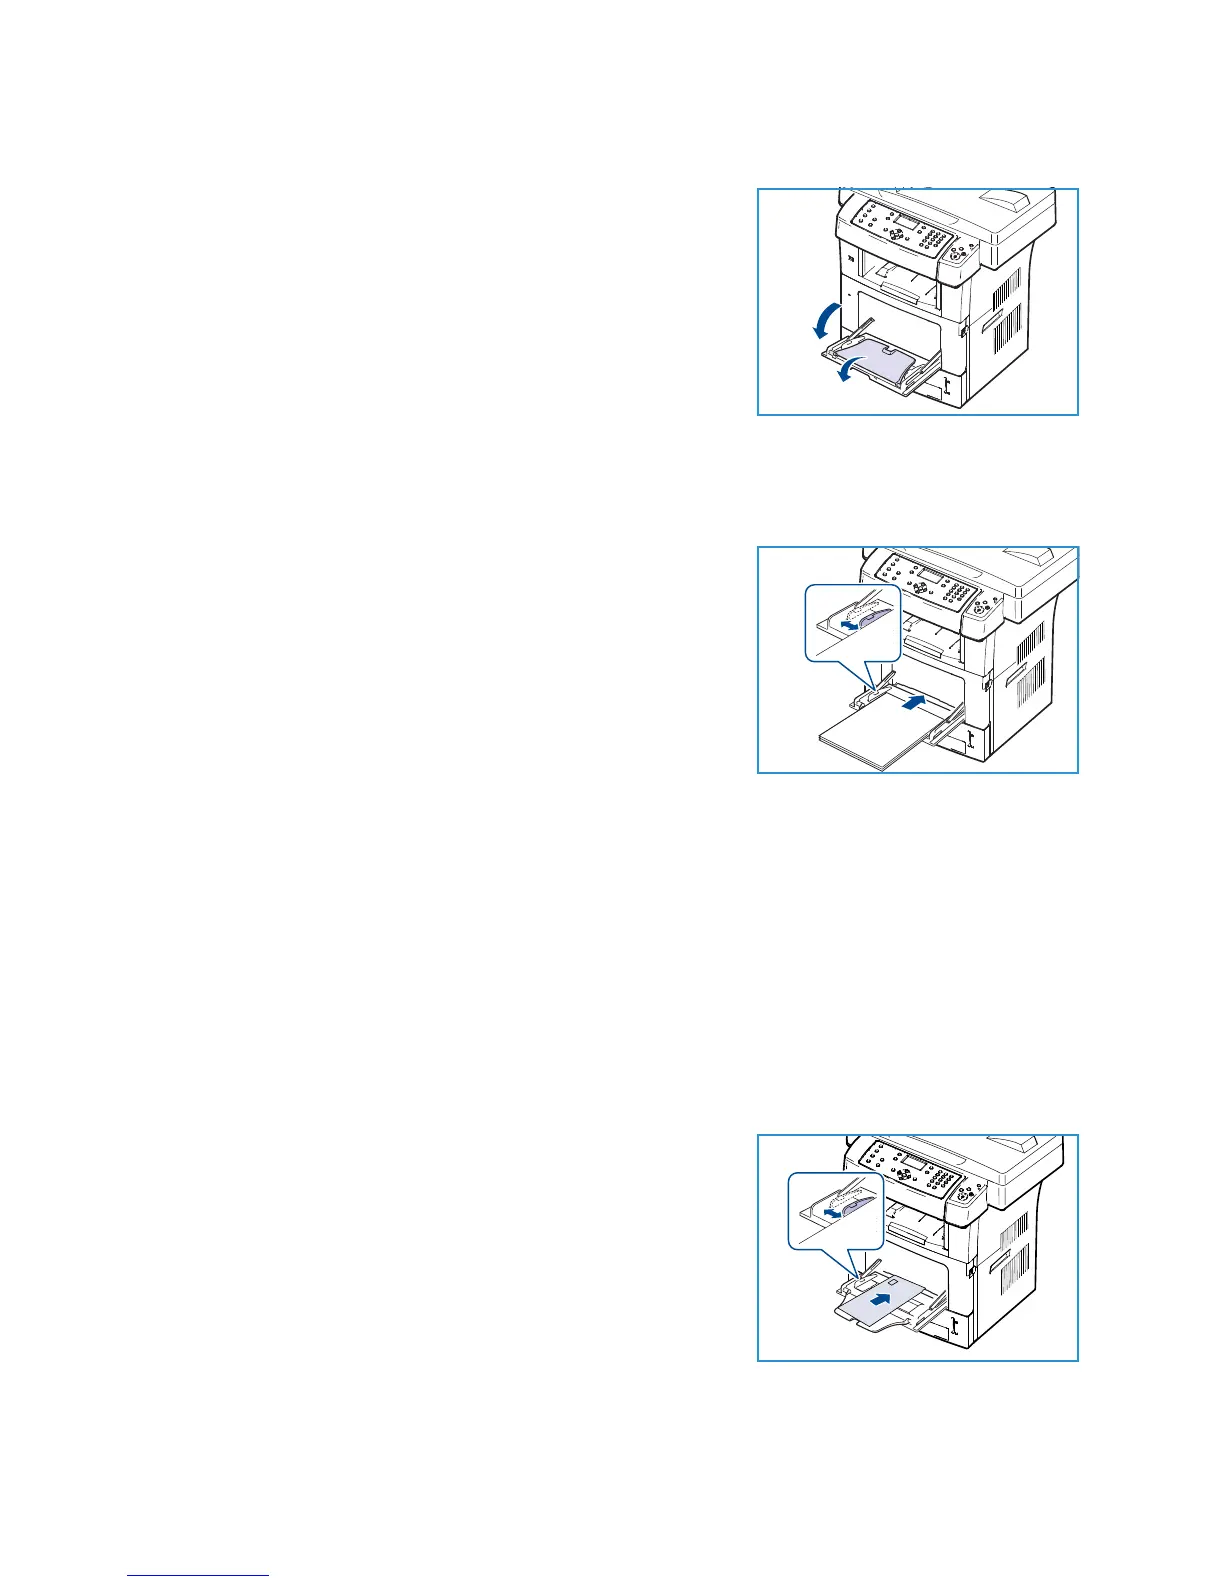
Loading the Bypass Tray
1. Lower the Bypass Tray, located on the front of the machine
and unfold the paper support extension.
Note: Remove any curl on postcards and labels before
loading them into the Bypass Tray.
2. Prepare a stack of paper for loading by flexing or fanning
them back and forth. Straighten the edges on a level surface.
Note: The Bypass Tray can hold a maximum of 50 sheets of
20 lb (80 g/m²) bond paper, 5 transparency sheets or 5
envelopes.
3. Load the print material with the print side facing down and against the right edge of the tray.
Note: Hold transparencies by the edges and avoid touching the print side.
4. Adjust the paper guide to the width of the stack of print
material. Ensure you have not loaded too much print media.
The stack should be under the Max Fill line.
5. When printing from your PC, ensure you select the Select
Paper button to specify the correct paper size, color and type.
Not confirming the paper details may result in printing
delays. For information about setting the paper type and size
on the control panel, refer to Setting Paper Size and Type on
page 122.
The settings made from the machine driver override the settings on the control panel.
6. After printing, remove any unfed paper and close the Bypass Tray.
Note: If the paper does not feed well while printing, push the paper in manually until it starts
feeding automatically.
Envelope Mode
1. Lower the Bypass Tray, located on the front of the machine and unfold the paper support
extension.
2. Remove any curl on envelopes before loading them into the Bypass Tray. Prepare a stack of
envelopes for loading by flexing or fanning them back and forth. A maximum of 5 envelopes can
be loaded. Straighten the edges on a level surface.
3. Load envelopes short edge feed and with the flaps facing up.
4. Adjust the paper guide to the width of the stack of print
material. Ensure you have not loaded too much print media.
The stack should be under the Max Fill line.

 Loading...


