Printing using Windows
Xerox WorkCentre 3550
User Guide
91
• None: The document is printed single-sided.
• Long Edge: This is the conventional layout used in book binding.
• Short Edge: This is the type often used with calendars.
• Reverse Double-Sided Printing: The document is printed 2 sided and the second side images are
rotated 180 degrees.
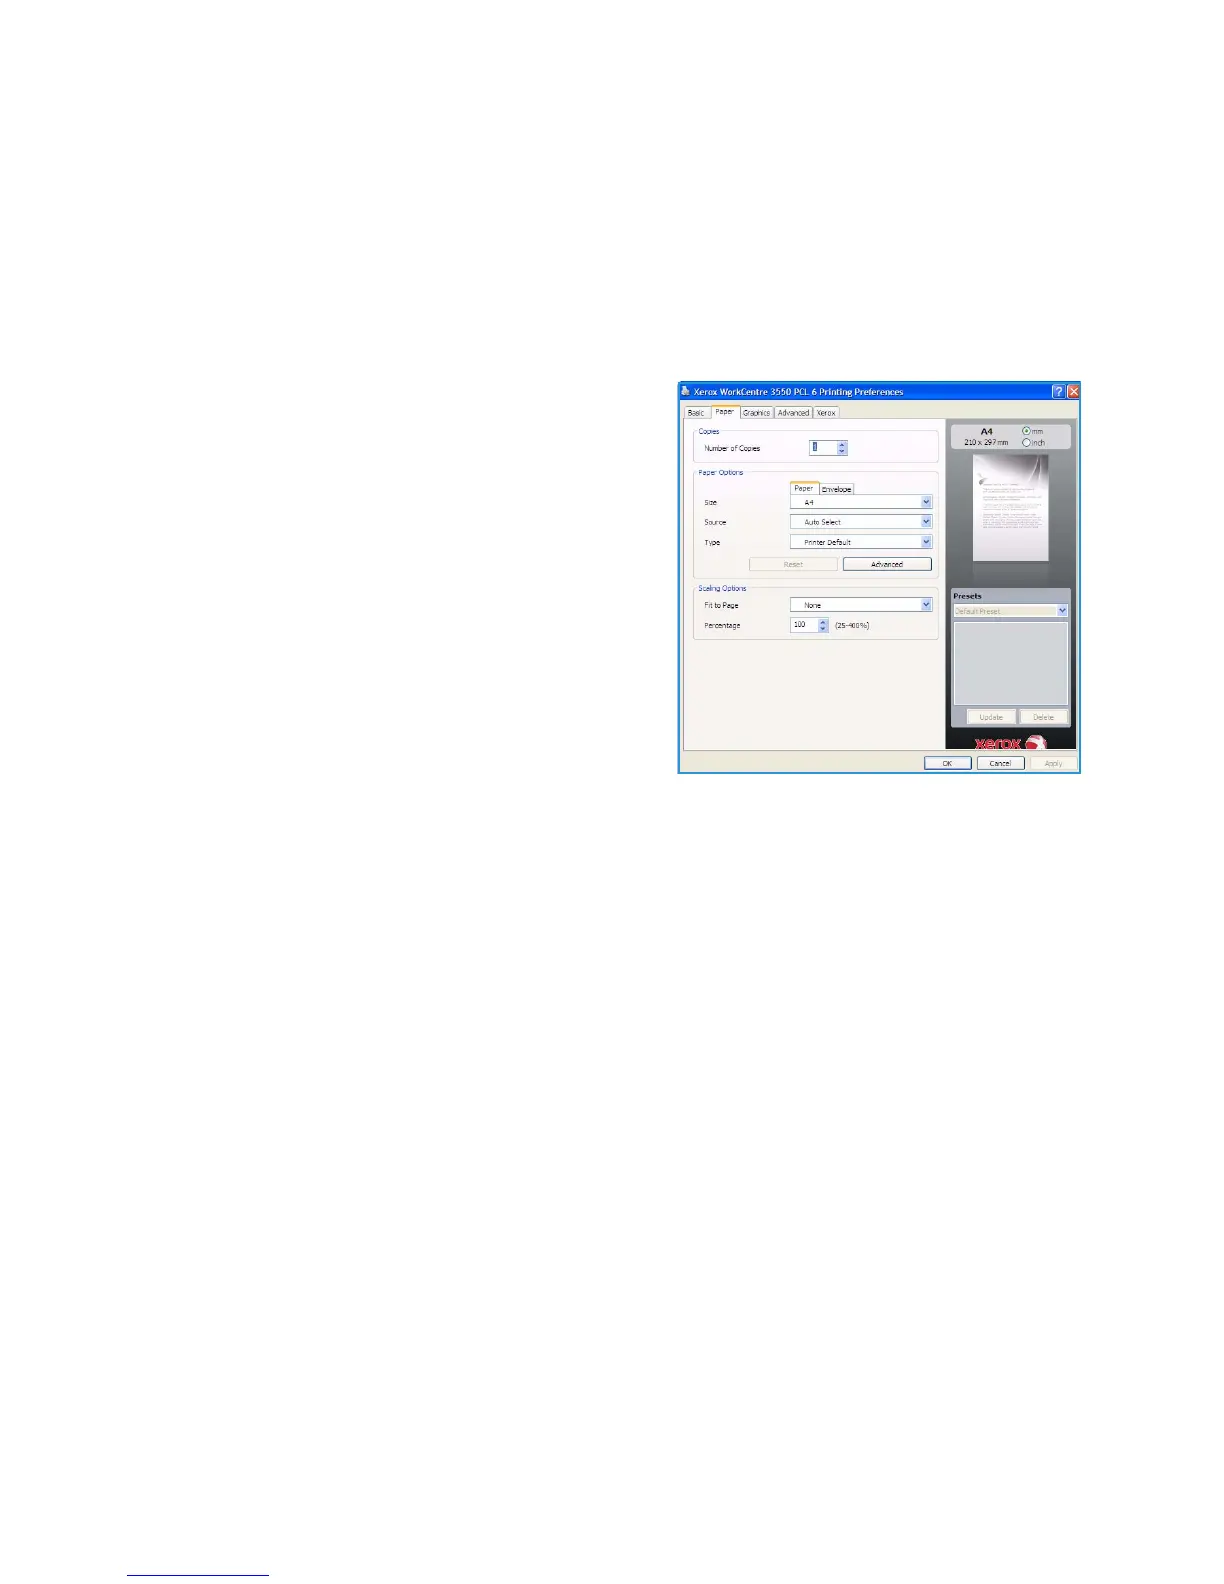
Paper Tab
Use the Paper Tab options to set the basic paper
handling specifications when you access the printer
properties.
Copies
This allows you to choose the number of copies to be
printed. You can select 1 to 999 copies.
Paper Options
• Size: This allows you to set the size of paper
required for printing. If the required size is not listed
in the Size box, click Edit. When the Custom Paper
Setting window appears, set the paper size and click
OK. The setting appears in the list so that you can
select it.
• Source: Use this option to select the paper tray required. Use the MP Tray (Bypass) when printing
on special materials like envelopes and transparencies. If the paper source is set to Auto Select,
the printer automatically selects the paper source based on the requested size.
• Type: Set Type to correspond to the paper loaded in the tray selected. This will provide the best
quality printout. If printing Envelopes, ensure the Envelope tab is selected.
• Advanced: This allows you to print the first page using a different paper type from the rest of the
document. You can select the paper source for the first page. This is useful if the first page is a
cover or transparency.
Scaling Options
This allows you to automatically or manually scale your print job on a page.
• Fit to Page: This allows you to scale your print job to any selected paper size, regardless of the
digital document size.
• Percentage: Use this option to change the contents of a page to appear larger or smaller on the
printed page. Enter the scaling rate in the Percentage input box.