Using the Layout Options
Xerox WorkCentre 3550
User Guide
32
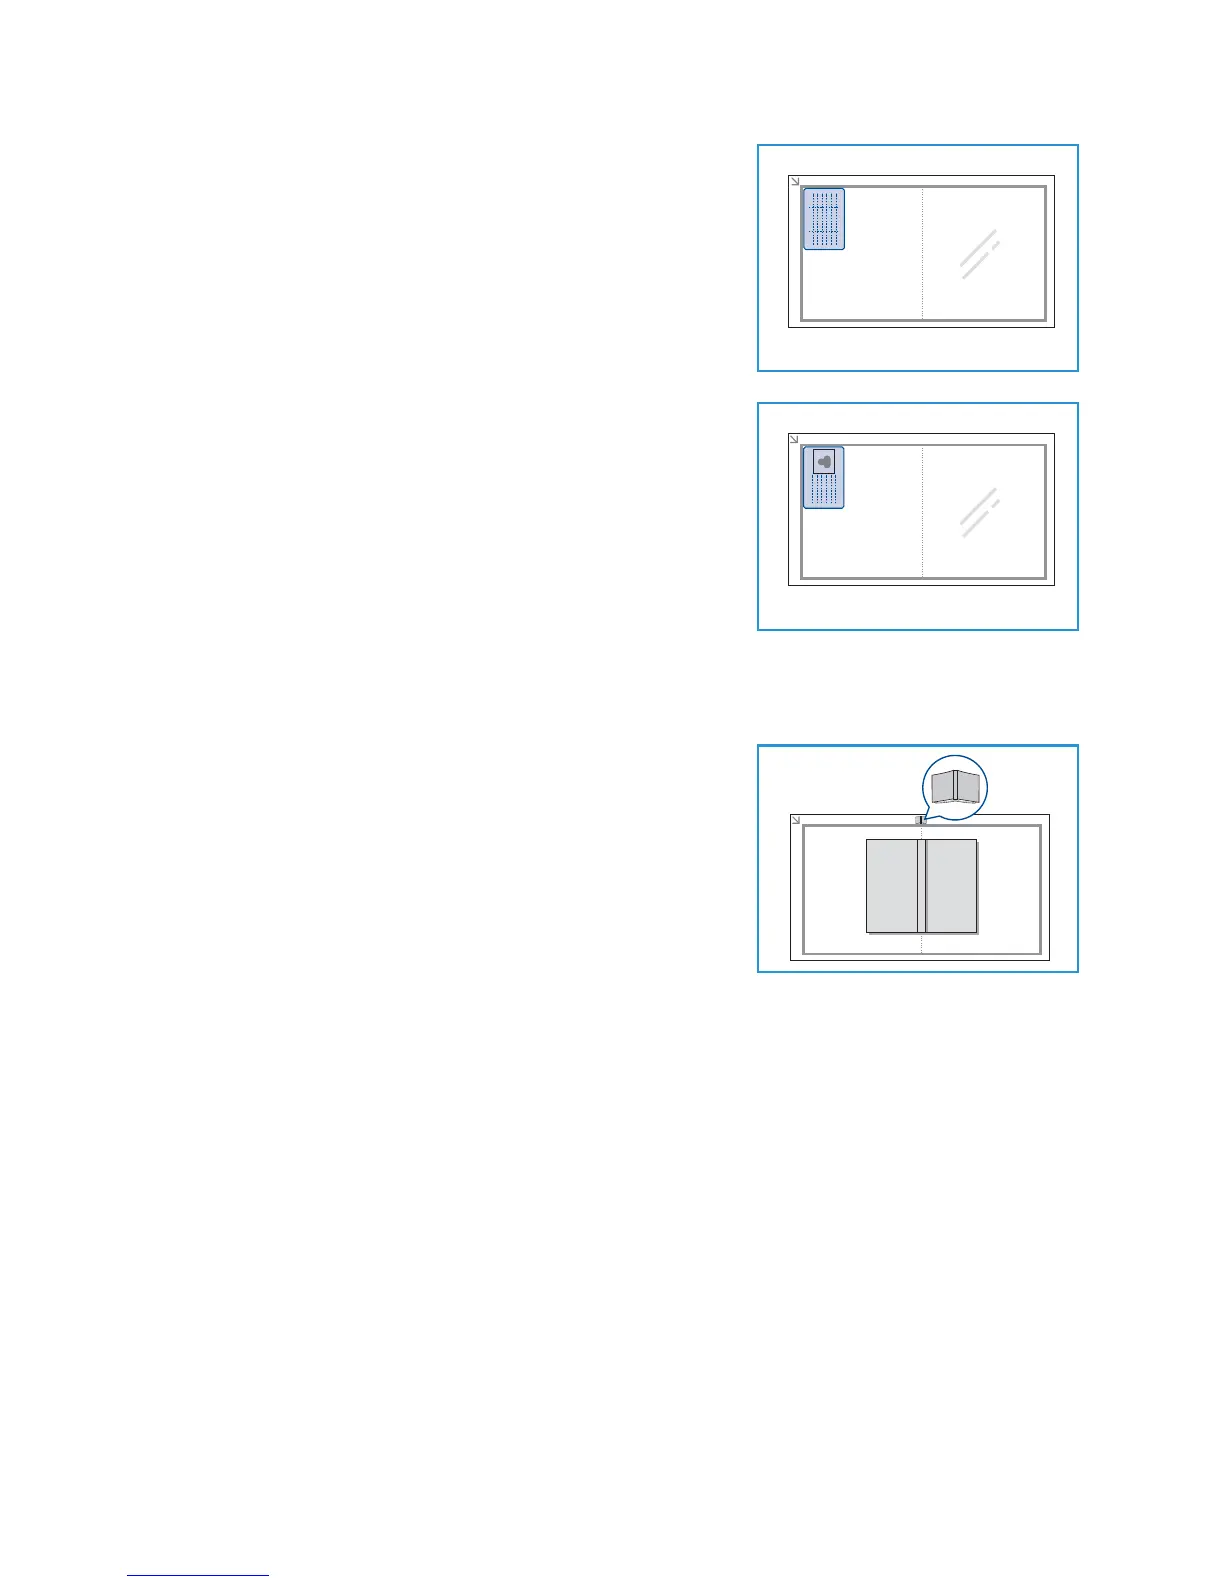
6. Place the front side of the original face down on the
document glass, aligned with the tip of the registration arrow
and close the document feeder.
7. Press Start.
Place Front Side Press OK appears on the display. Press OK on
the control panel.
Your machine begins scanning the front side and shows Place
Rear Side Press Start.
8. Turn the original over and place the rear side of the original
face down on the document glass and close the document
feeder.
9. Press Start on the control panel to begin copying.
Book Copy
This feature enables you to specify which page or pages of a book
are to be scanned. The book original is placed face down on the
document glass with the spine of the book lined up with the book
marker.
1. Press Copy on the control panel.
2. Press Menu on the control panel.
3. Press the up/down arrows to highlight Layout and press OK.
4. Press the up/down arrows to highlight Book Copy and press
OK.
5. Press the up/down arrows to highlight the option required:
• Off: Use to deactivate the feature.
• Left Page Only: Use to scan and copy the left page of a bound document.
• Right Page Only: Use to scan and copy the right page of a bound document.
• Both Pages: Use to scan and copy both pages of a bound document. The left page of the
book first will be scanned first.
6. Select OK to save your selections and press Menu to return to the top level menu.
7. Place the book original face down on the document glass with the spine of the book lined up with
the book marker at the center of the rear edge of the document glass.
8. Press Start.
9. If another page requires scanning, select Yes to add another page. Place the new page to be
scanned on the document glass and press OK.
When you have finished scanning all the pages required, select No at the Another Page? prompt.