Scan Procedure
Xerox WorkCentre 3550
User Guide
64
5. If Authentication is enabled, enter your Login ID and Password (if required).
6. Press the up/down arrows until the server you want highlights and press OK.
7. Press the up/down arrows to highlight the File Format you want and press OK.
The images are scanned and filed to the destination selected.
Select the Features
Various features can be selected for your scan job when the machine is in the Ready mode. Once you
have made a selection, press Back to return to the Ready screen.
1. Press the 2 Sided button on the control panel. The following 2 Sided options are available:
• 1 1 Sided: Use this option for 1 sided originals.
• 2 1 Sided: Use this option for 2 sided originals.
• 2 1 Sided, Rotated: Use this option for 2 sided originals which have the second side
rotated. This option will rotate the second side image 180 degrees.
Select the 2 Sided option required using the up/down arrows and press OK.
2. The following features are available through the Menu button for Scan to USB, Scan to FTP and
Scan to SMB.
Press the up/down arrows until the feature you want highlights and press OK. Select the setting
required and press OK.
For information about each of the options refer to Scan Options on page 66.
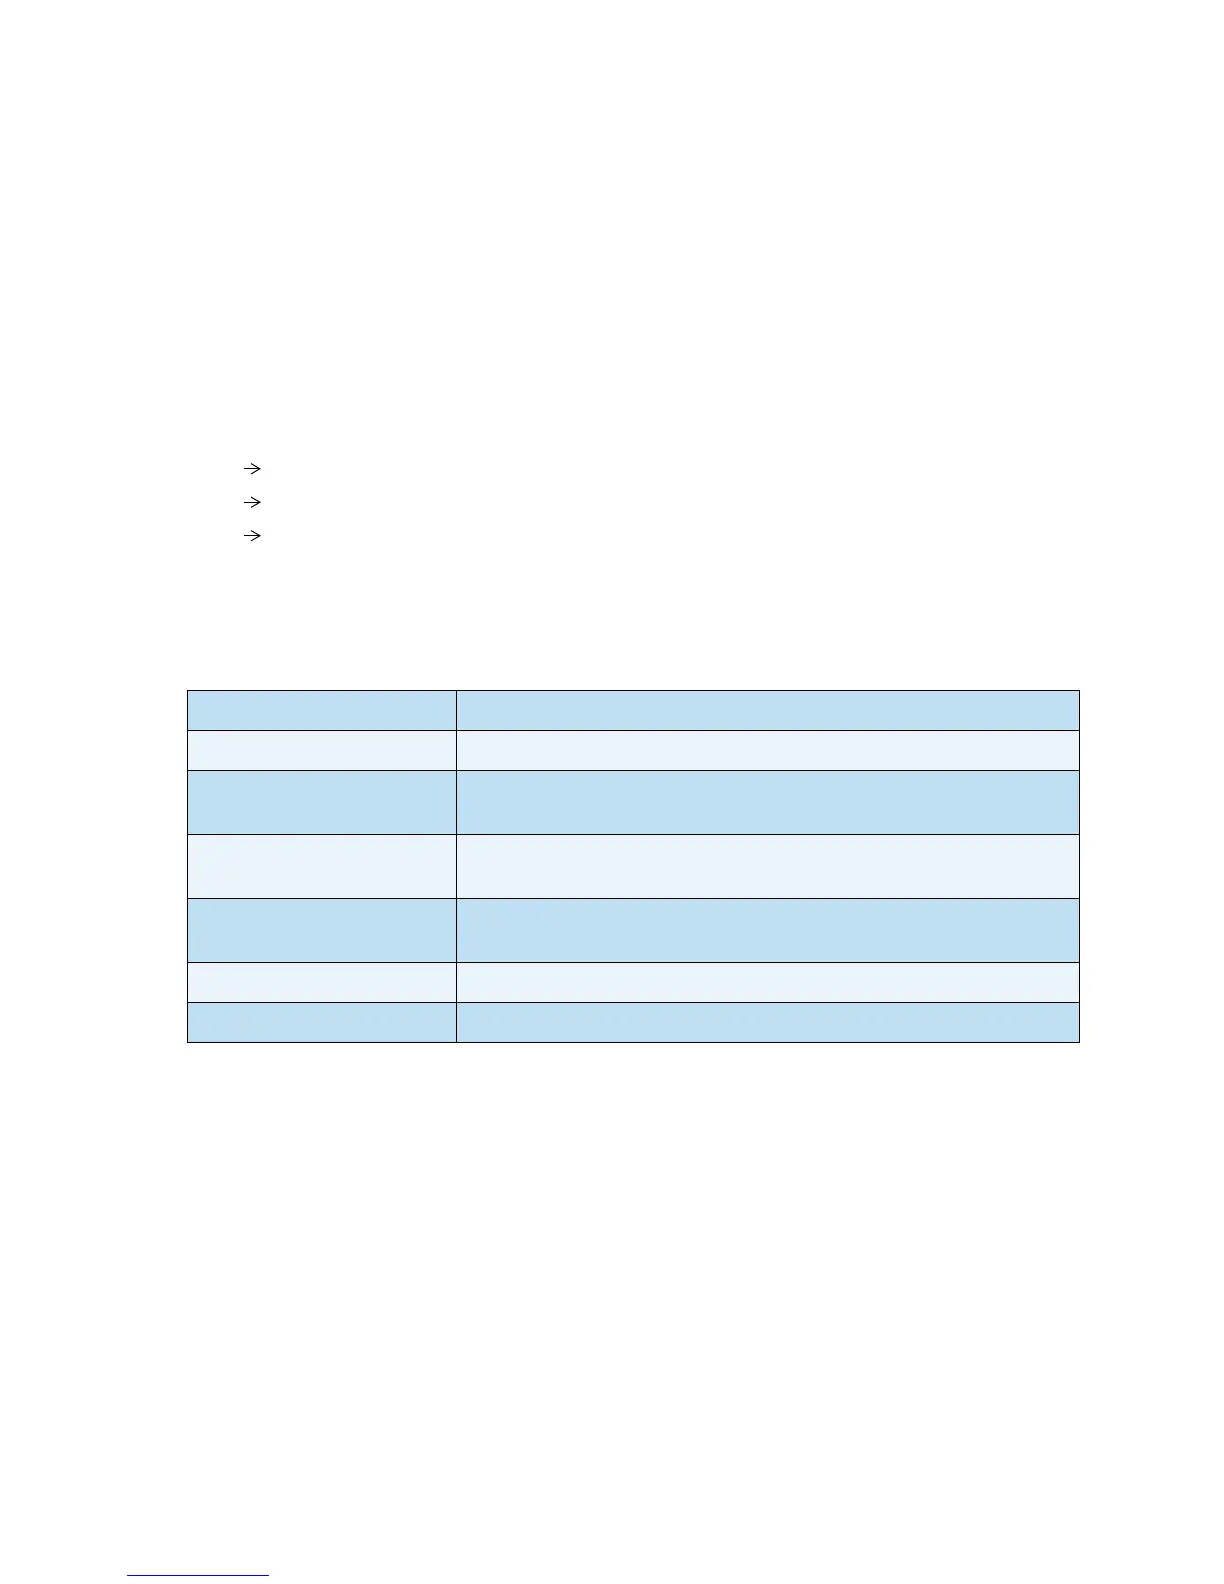
File Format Sets the file format of the saved image.
Output Color Sets the color mode of the scanned image.
Lighten/Darken Provides manual control to adjust the lightness or darkness of the
scanned images.
Background Suppression Use to automatically reduce or eliminate the dark background resulting
from scanning colored paper or newspaper originals.
Original Type Used to improve the image quality by selecting the document type for
the originals.
Resolution Sets the image resolution. A higher resolution increases the file size.
Original Size Use to set the size of the image being scanned.