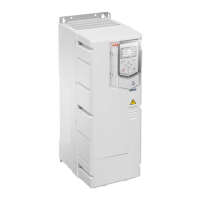
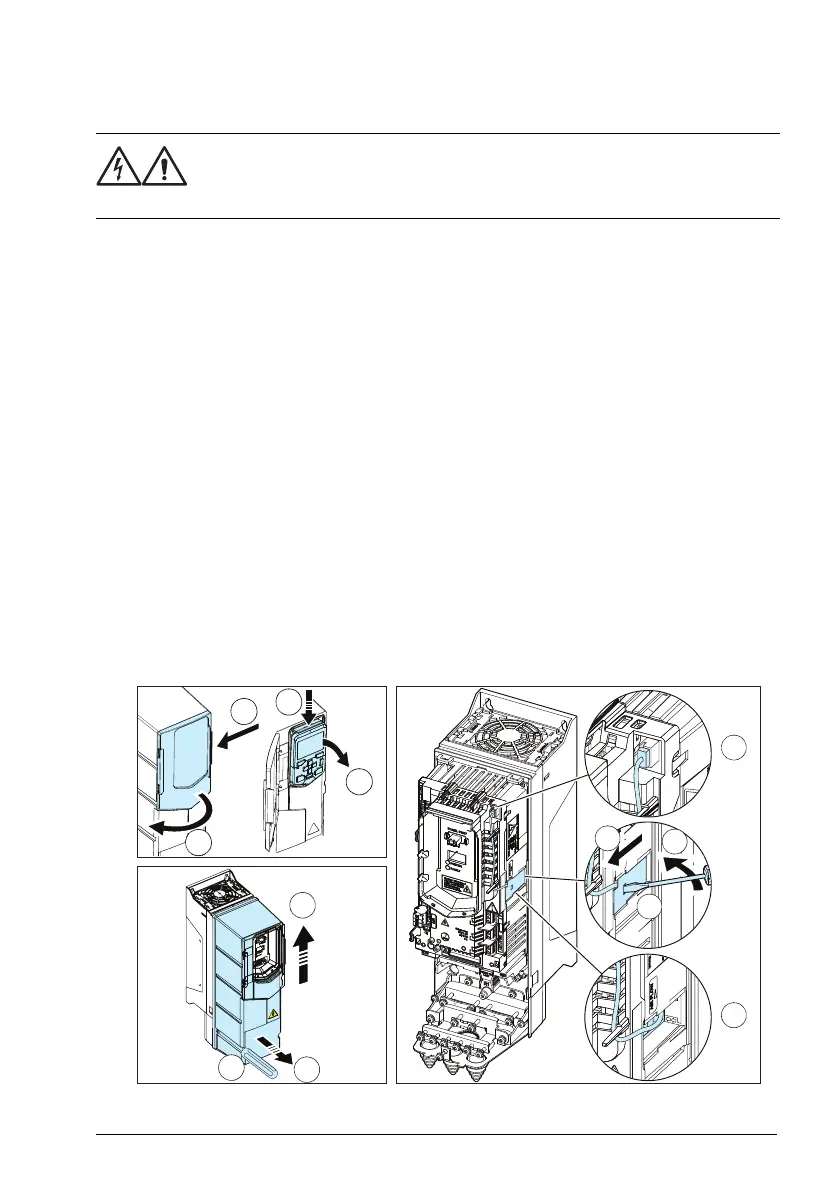
■ Replacing the auxiliary cooling fan, IP55 (UL Type 12) frames R1…R2
WARNING!
Obey the safety instructions of the drive. If you ignore them, injury or death,
or damage to the equipment can occur.
1. Stop the drive and disconnect it from the power line. Wait for 5 minutes and then
make sure by measuring that there is no voltage. See section Electrical safety
precautions (page 22) before you start the work.
2. Remove the control panel: Press the retaining clip of the IP55 panel cover (2a) and
open the cover (2b). Press the retaining clip of the control panel at the top (2c) and
pull it forward from the top edge (2d).
3. Remove the front cover: Loosen the retaining screws with a screwdriver (3a) and
lift the cover from the bottom outwards (3b) and then up (3c).
4. Unplug the fan power supply wires from the drive.
5. Remove the fingerguard: Insert a screwdriver into the hole of the fingerguard (5a),
bend the front edge of the fingerguard a little away from the drive frame with the
screwdriver (5b) and pull the fingerguard out of the groove (5c).
6. Pull off the fan.
7. Install the new fan assembly in reverse order. Route the wires round the pins.
Note: Make sure that the arrow on the fan points to the same direction as the arrow
on the drive frame.
Maintenance 223
 Loading...