Cell changer
6-cell changer
26 Edition 09/2014 SPECORD S600 accessories
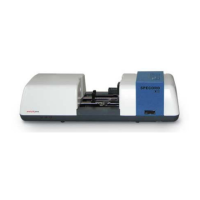
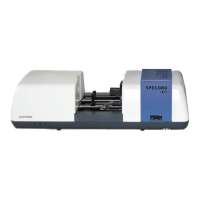
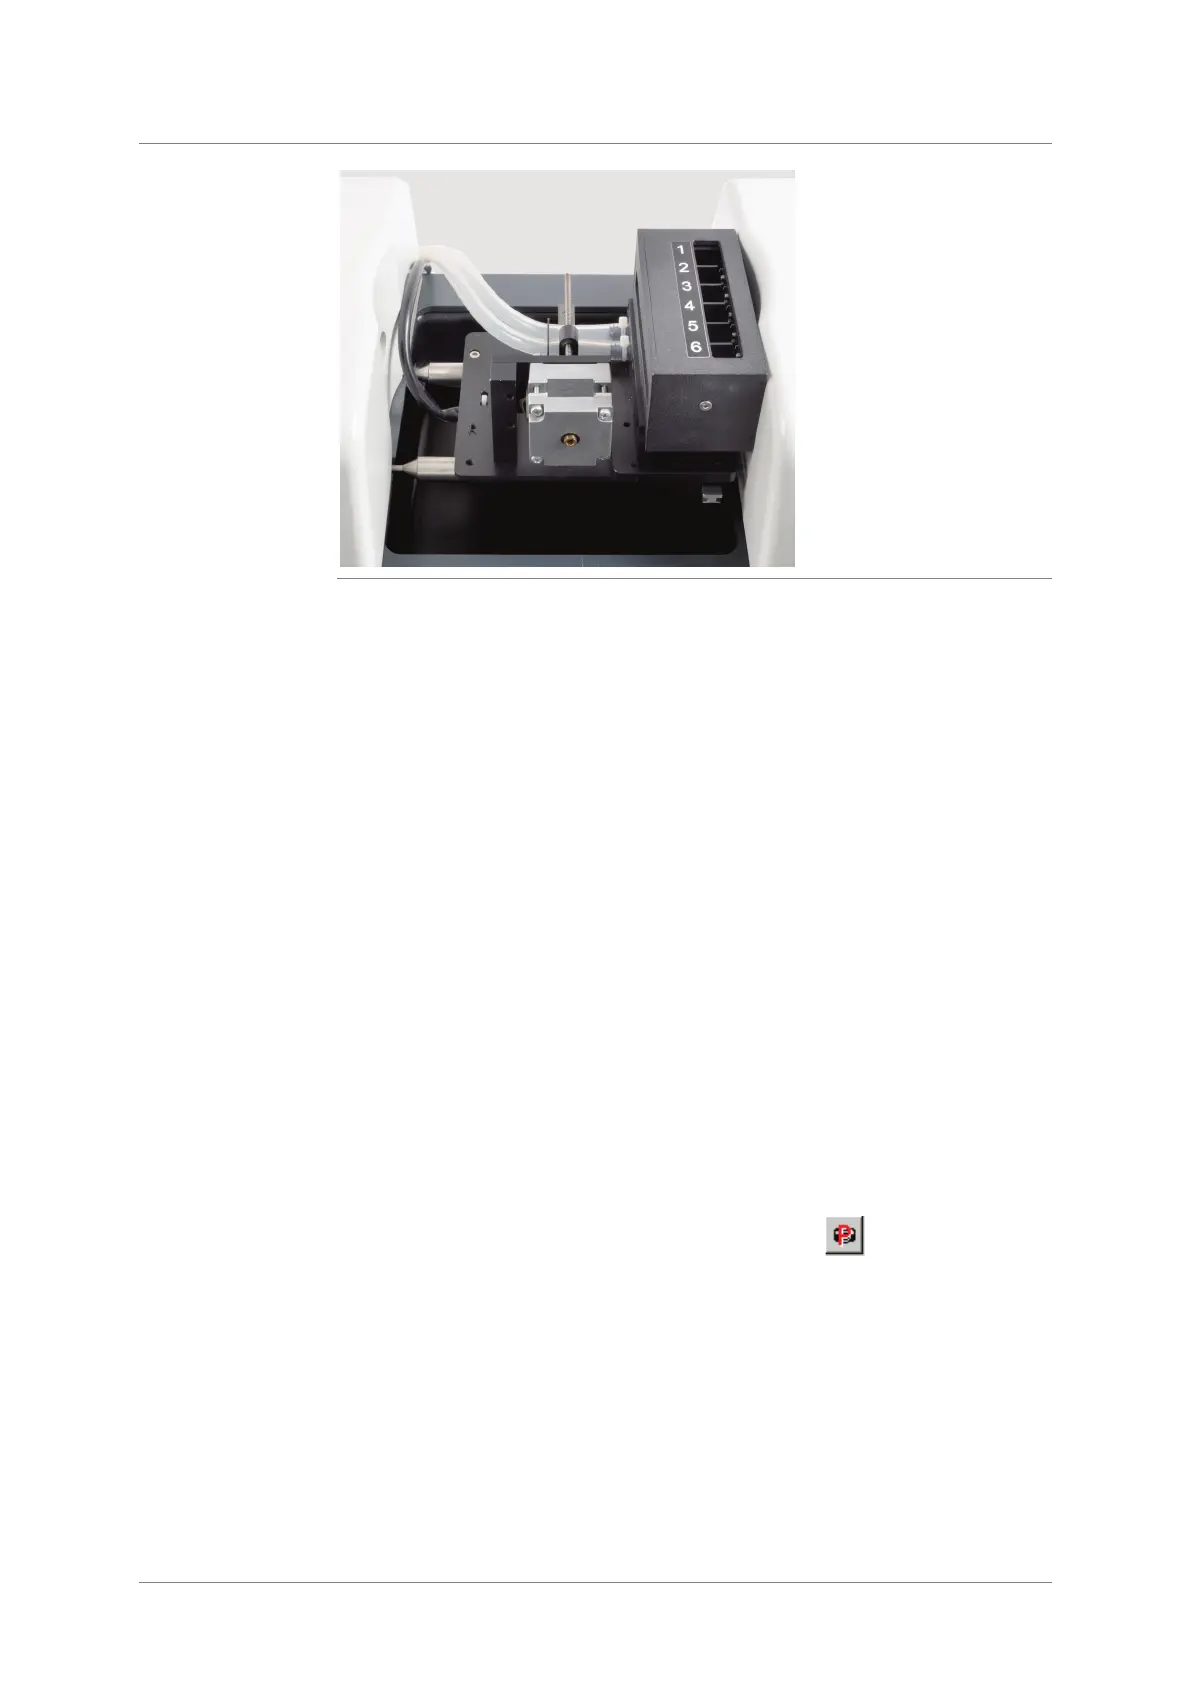
Fig. 11-3 6-cell changer installed
Screw the support rods in the sample chamber into the bottom position (→
section "Converting the sample chamber" p. 7).
Connecting the thermostat
Connect the hoses (4 in Fig. 11-2) to a thermostat.
Inserting the cell changer
1. Place the cell changer onto the support rods.
2. Slide the cell changer up to the stop against the front sample chamber wall.
3. Press down the cell changer on the rear side until it engages on the support
rods with a click.
4. Connect the connector to the connection ACC I on the rear of SPECORD
S600.
Connecting the magnetic stirrer
Connect the cable (1 in Fig. 11-2) to the stirrer control unit. Connect the
control unit to the mains supply.
Switching on the SPECORD S600
1. Switch on the SPECORD S600 and start WinASPECT.
2. Open the measuring parameter window via the menu command
Measurement / Set Parameters or by clicking on in the toolbar.
3. Go to the tab Accessories. Select 6-cell changer from the list box.
Adjusting the 6-cell changer
To position the cells optimally within the beam path the cell changer can be
adjusted with the aid of a computer. An adjustment is necessary in case of
• the first use of the changer
• after a wavelength calibration, and
• after transporting the SPECORD S600
 Loading...