7-9 LCD Assembly Replacement Assembly Replacement
7-8 PN: 10580-00255 Rev. J MT8212E and MT8213E MM
7-9 LCD Assembly Replacement
This procedure provides instructions for removing and replacing the Liquid Crystal Display (LCD) once the
Main PCB assembly has been separated from the Cell Master.
1. Open the case as described in Section 7-2 “Opening the Cell Master Case”.
2. Remove the Main PCB assembly as described in Section 7-3 “PCB Assembly Replacement”.
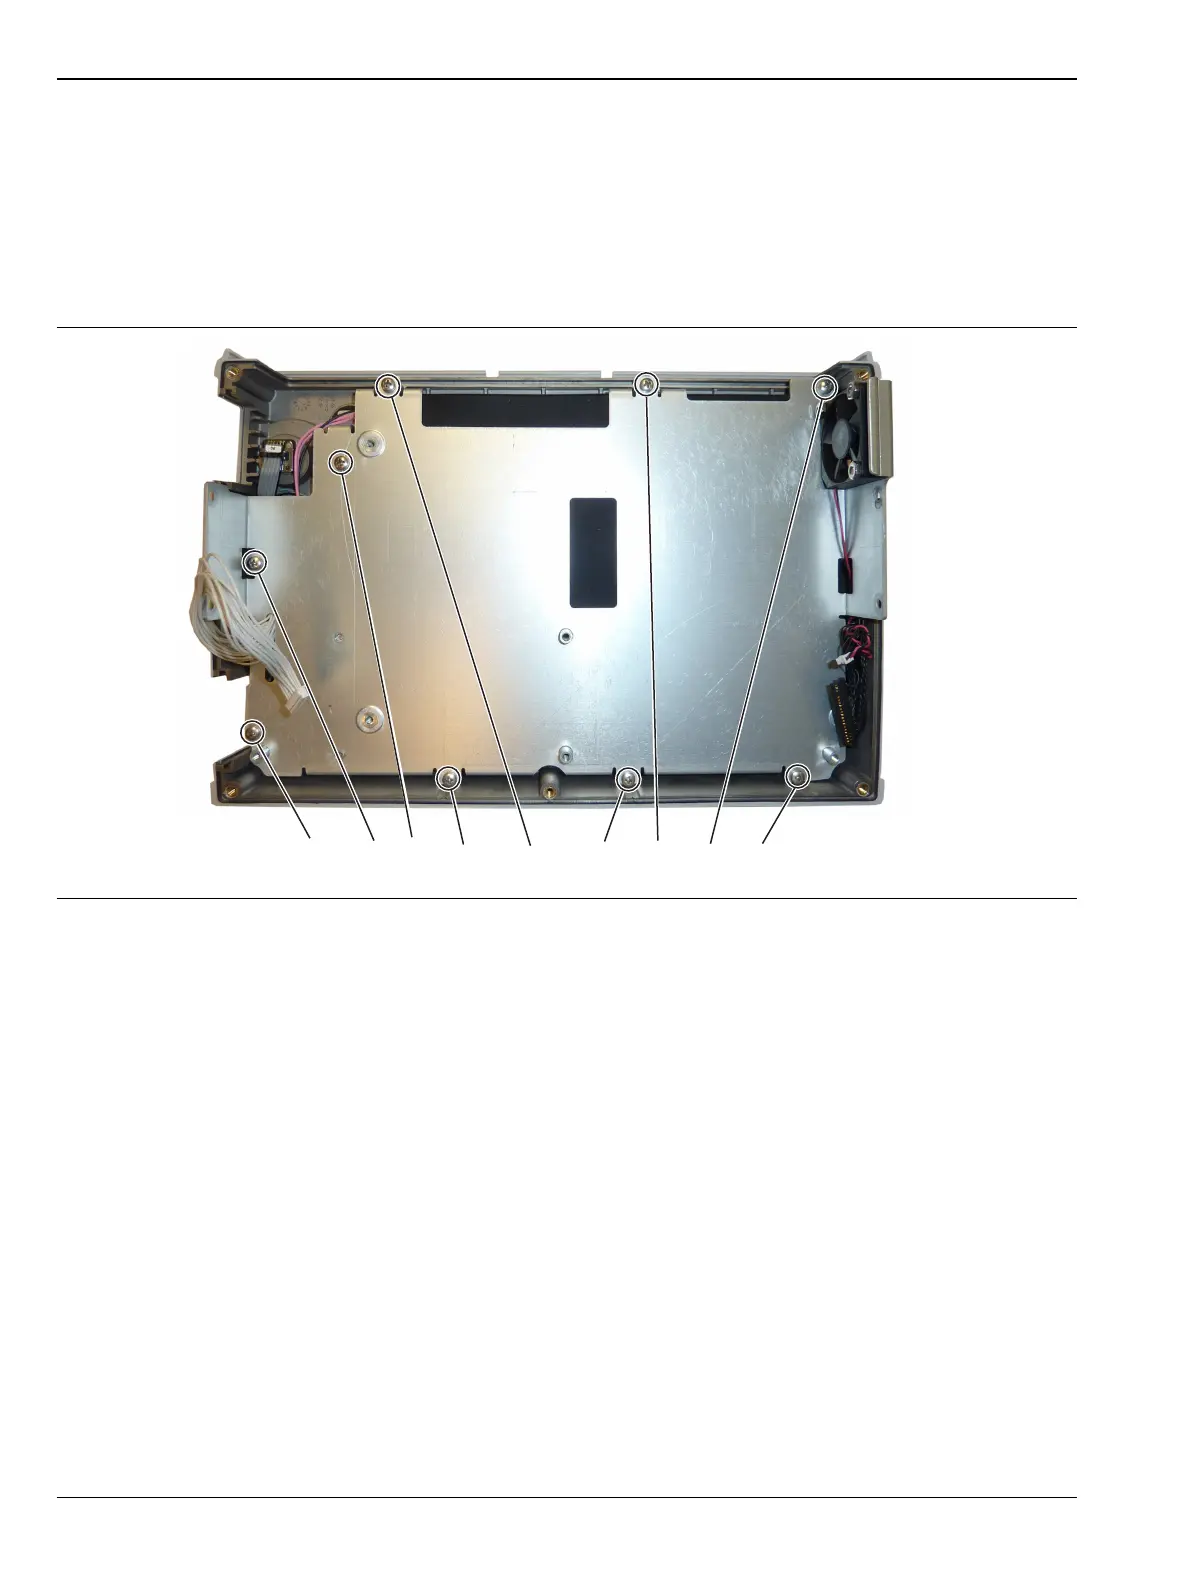
3. Remove the 9 screws connecting the LCD Assembly to the front half of the case (Figure 7-10).
Figure 7-10. Removing the LCD Assembly
Remove the 9 screws holding the LCD Assembly to the case.