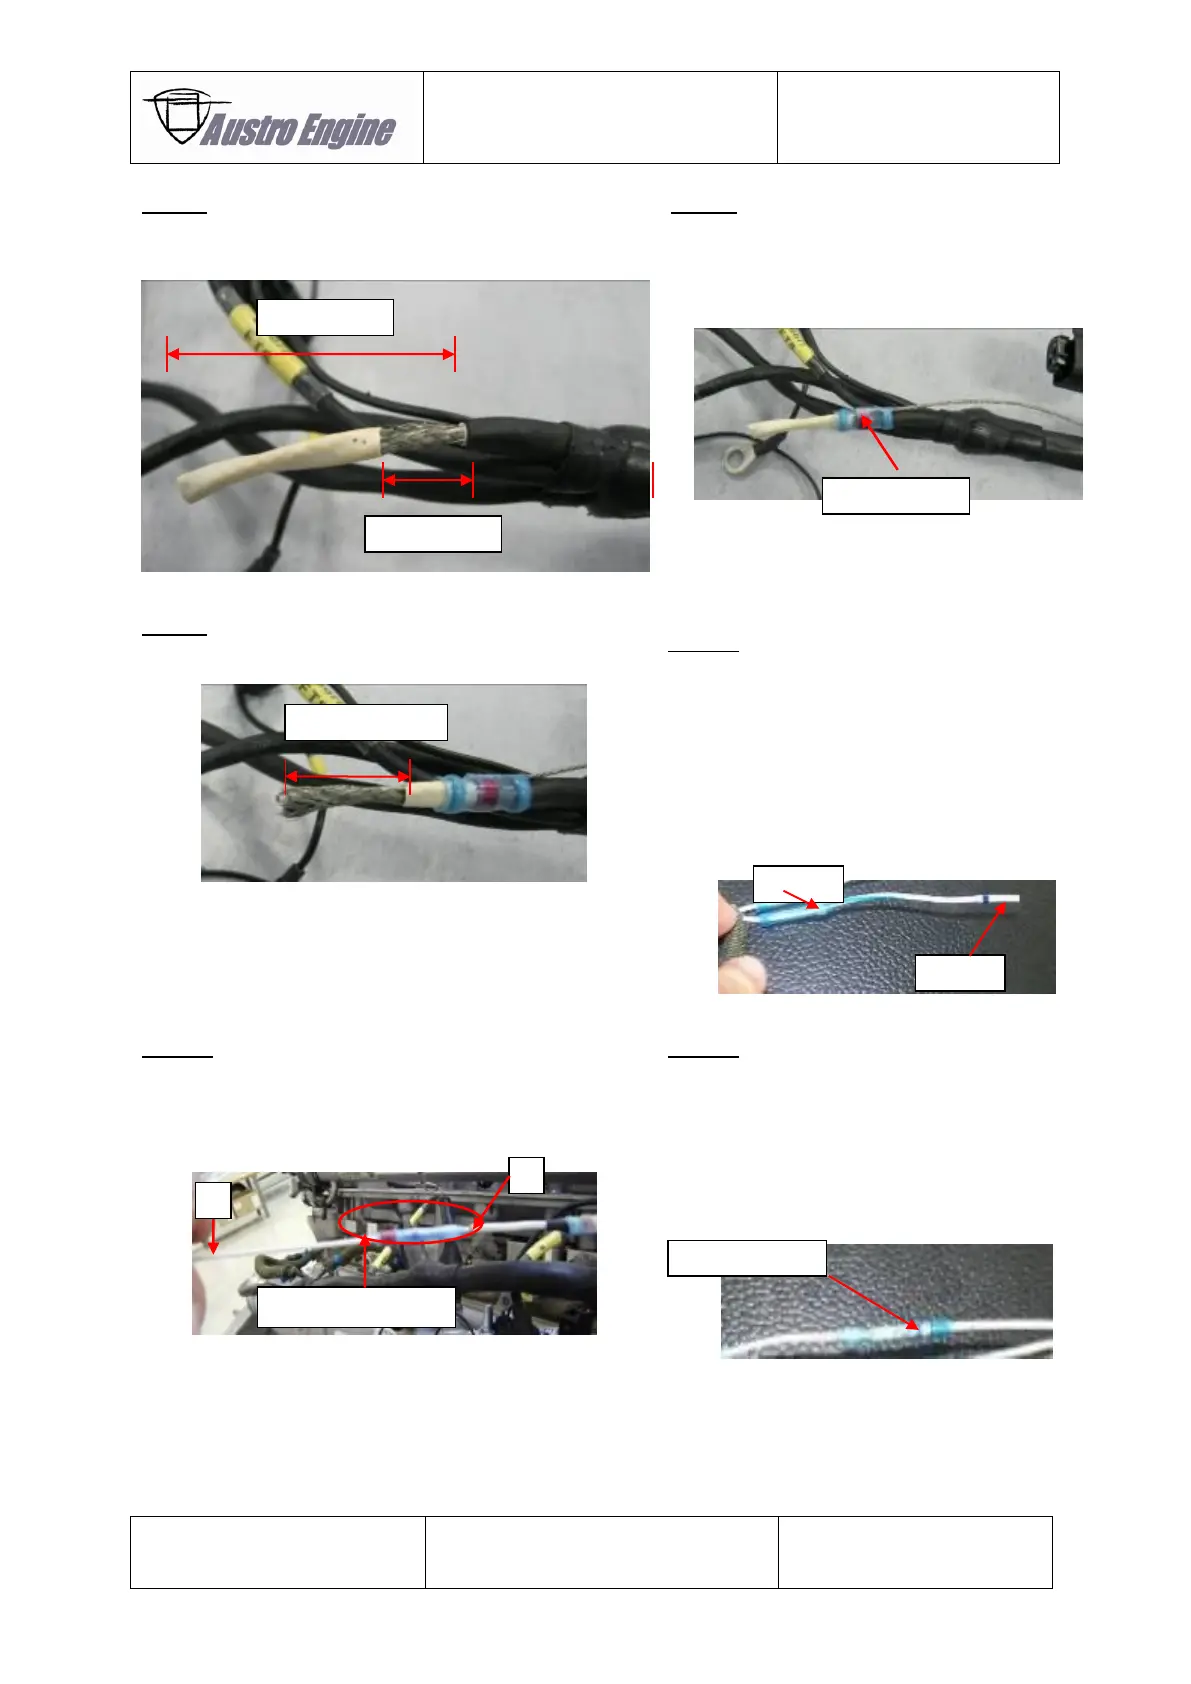
Step3:
Remove the white cable insulation down to the shielding
of the cable as shown in the picture below.
Put the solder sleeve over the cable of the
remaining engine harness.
Heat the solder sleeve (300°C – 350°C) with a
“hot air gun”.
Remove the insulation with shielding of the remaining
wire.
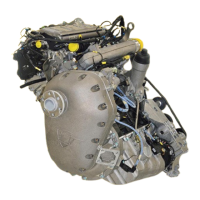
Step 6:
The part number of the inline crimp is D-436-37.
This number includes the splice crimp and the
isolation sleeve.
Put the blue isolation sleeve of the inline crimp
D-436-37 over the single wire of engine harness.
Place the splice crimp at the end of the single
wires of the repair kit cable E4A-90-R22-000-
000.
The inline crimp shall be used to connect the single wire
(A) of the remaining engine harness, and the white
single (B) wire of the repair kit cable E4A-90-R22-000-
000.
Put the blue isolation sleeve of the inline crimp
D-436-37 directly over the splice crimp.
Heat the inline crimp isolation sleeve (300°C –
350°C) with a “hot air gun” until the inline crimp
isolation seals the inline crimp barrel and the
single wires.