R5906848 /04 DP2K SLP Series148
12.1 Aligning the optical path
This procedure assumes that the projector is powered on and Communicator is active on your PC.
Required tools
• Allen wrench 3 mm
• Small flat screwdriver
• Photometer
How to align the optical path
1. In Communicator, under Laser Services, activate Optical alignment. For more info, refer to the user manual
for Communicator.
2. Set up the projector to display a full white pattern.
3. Use the photometer to measure the current light output.
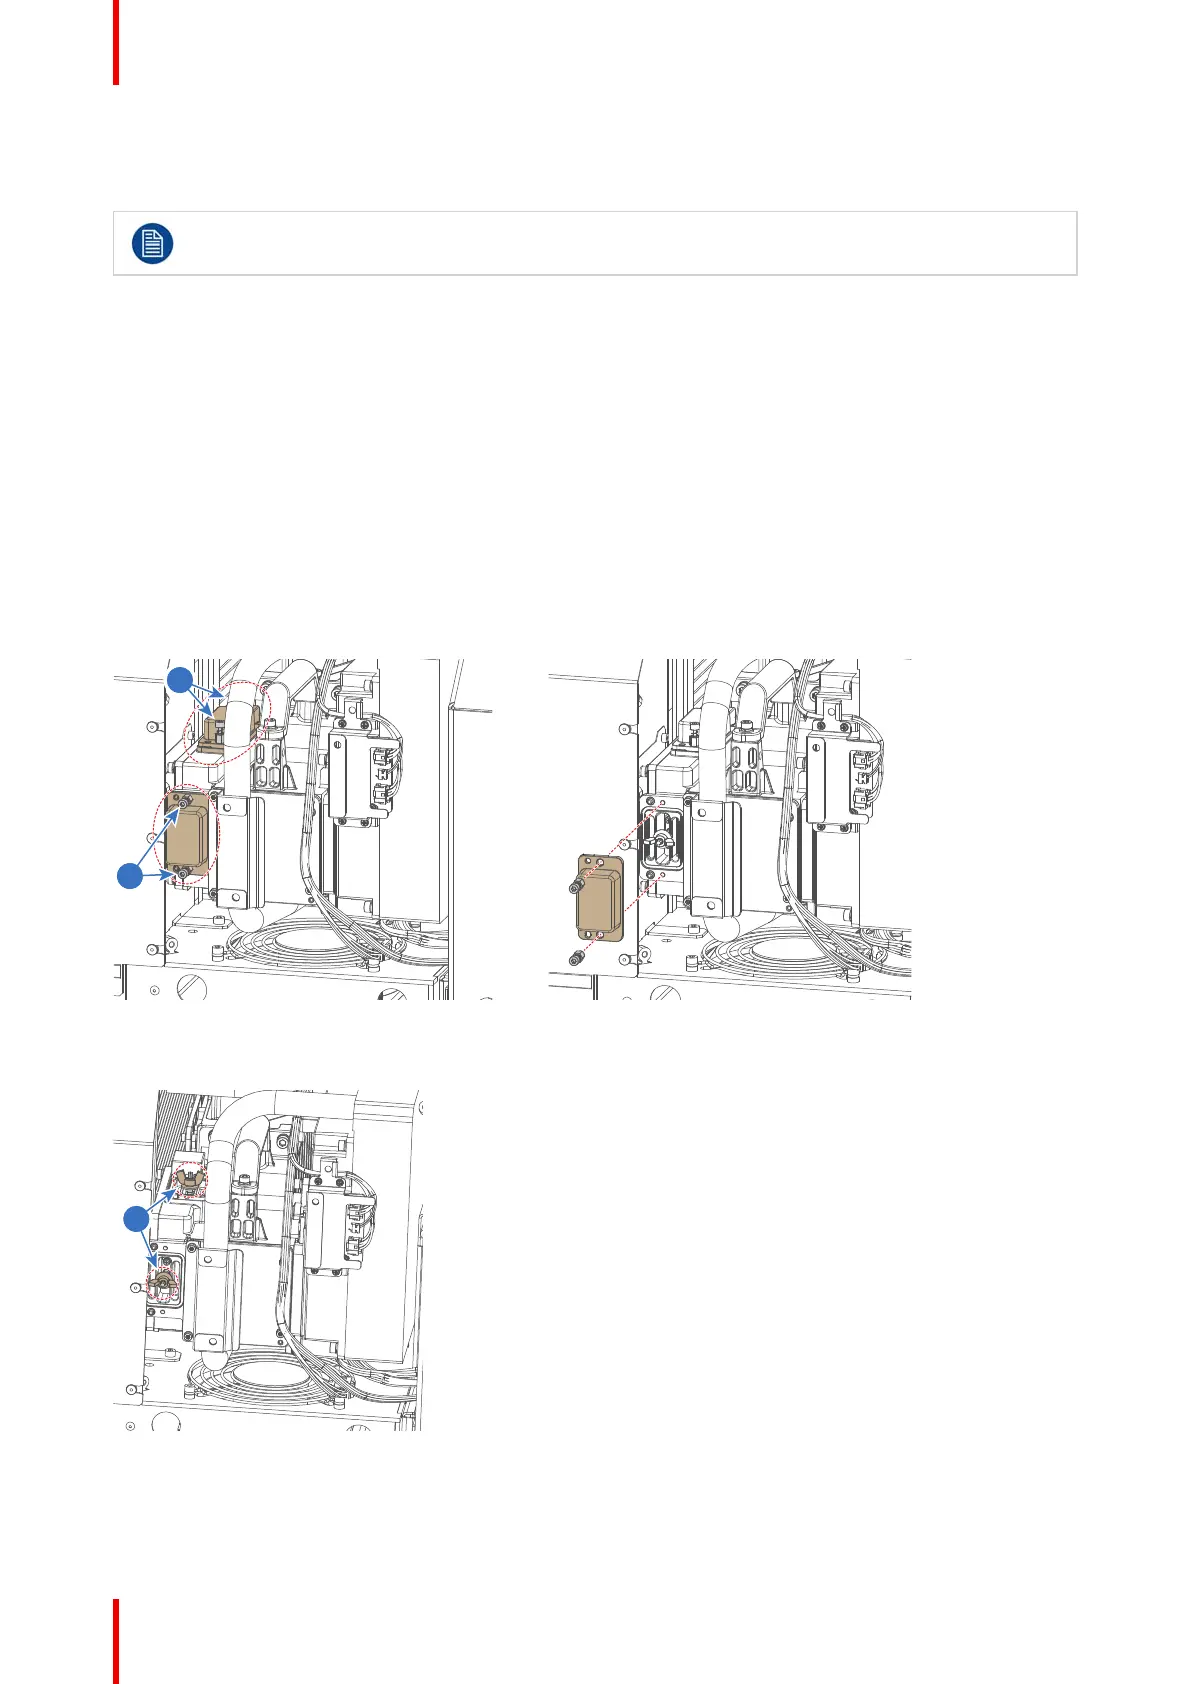
4. Loosen the four fixation screws and remove the two cover plates (reference 1).
Image 12-1 Image 12-2
5. Loosen the two wing nuts (reference 2), but do not remove them.
Image 12-3
6. Manipulate the phosphor wheel to maximize the light output. Use a small flat screwdriver to turn the two
position screws either clockwise or counterclockwise.
Optical alignment

 Loading...


