R5906848 /04 DP2K SLP Series 387
Image 26-3
Light Pipe compartment interior
1. Remove all dust from the complete compartment with a vacuum cleaner and a brush.
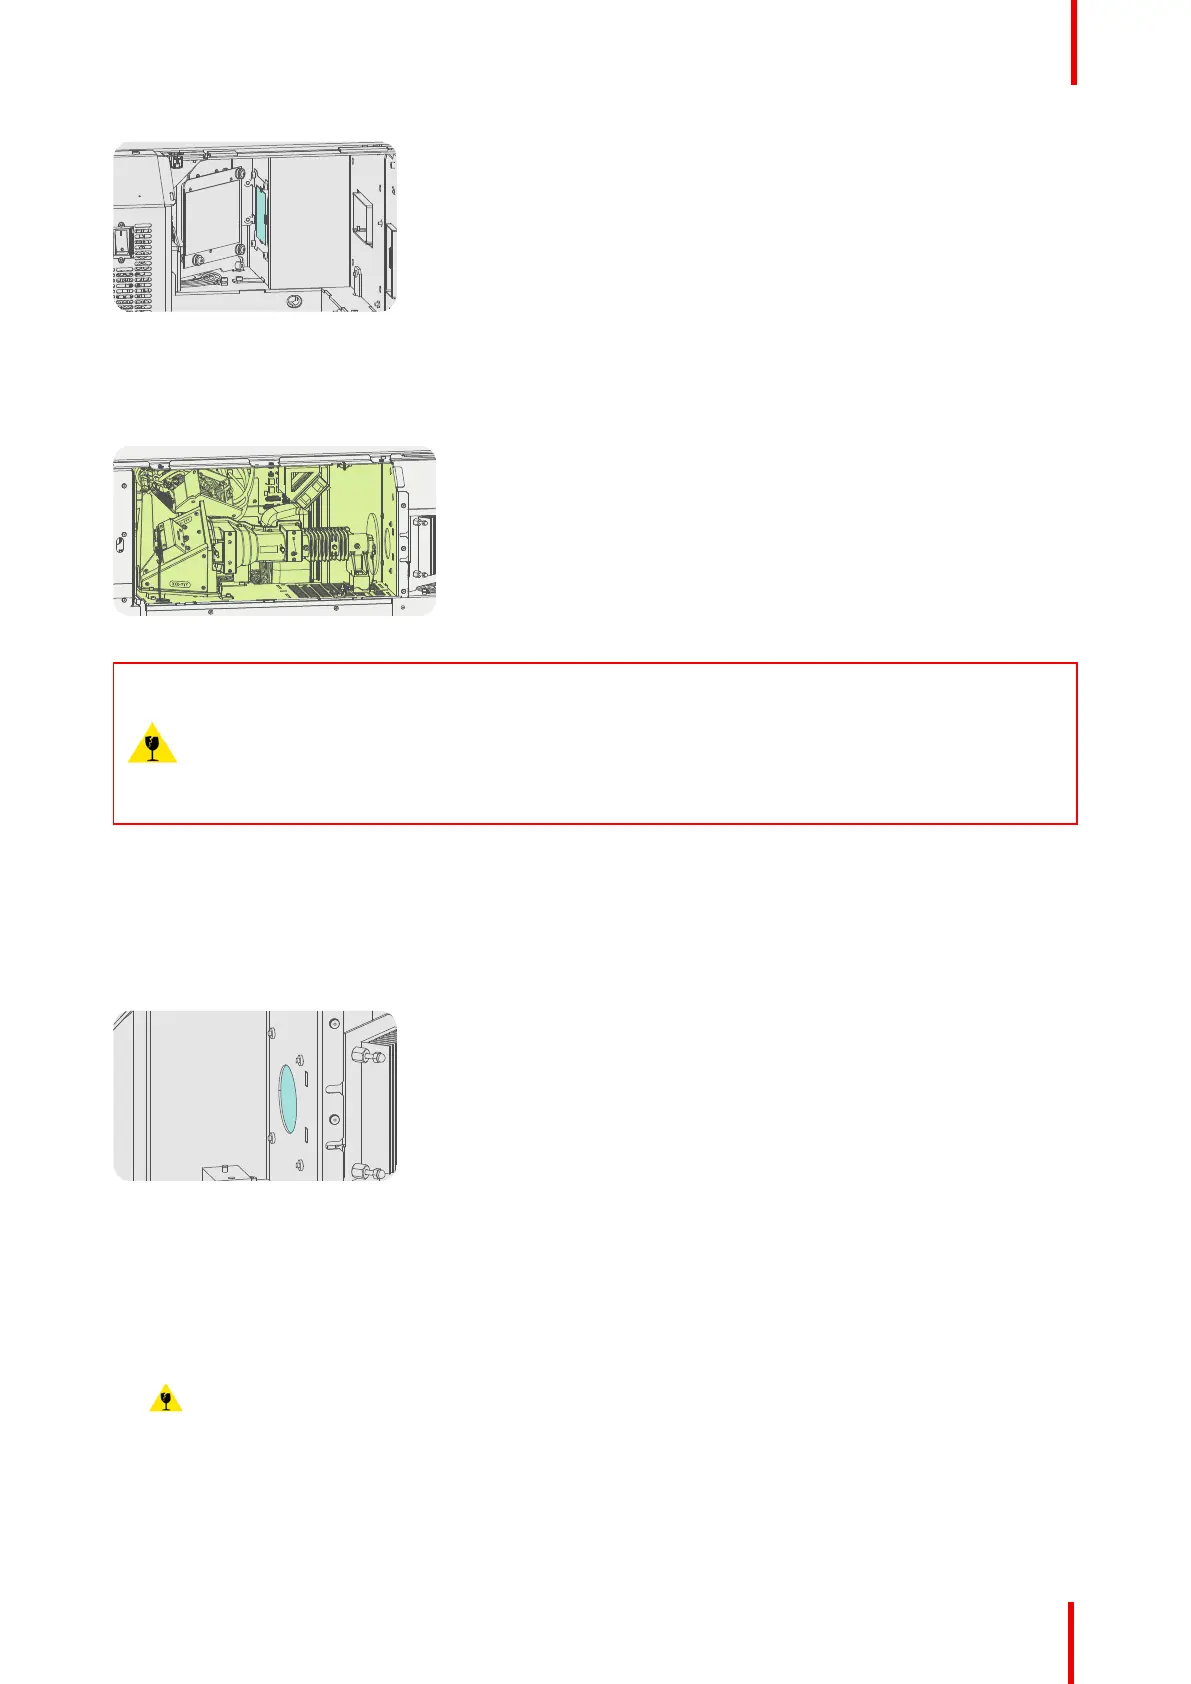
Image 26-4
CAUTION: Light Pipe cleaning
Light Pipe cleaning is a critical action and should only be done when absolutely necessary. Try first
to clean all other optical parts and measure the result. If the light output does not meet the official
DC specifications at this point swap the light source. If the improvement is not enough then try to
improve the light output by cleaning the Light Pipe (see the following procedures). Opening and
cleaning the Light Pipe may only be done by a trained service engineer may only be done in a clean
room environment
Compartment window (Light Pipe side)
1. Remove the Light Pipe from the projector to access the compartment window. See “Removal of the Light
Pipe”, page 115.
2. Follow the general cleaning procedure for optical parts, see “General cleaning procedure for optical
components”, page 384.
Image 26-5
Rod inlet
1. Remove the Light Pipe, if not removed yet, from the projector. See “Removal of the Light Pipe”, page 115.
2. Follow the general cleaning procedure for optical parts, see “General cleaning procedure for optical
components”, page 384.
Caution: Be careful not to push to hard on the Rod inlet as this is a very fragile glass. Especially the
edges of the Rod inlet.
Projector cleaning

 Loading...


