R5906848 /04 DP2K SLP Series388
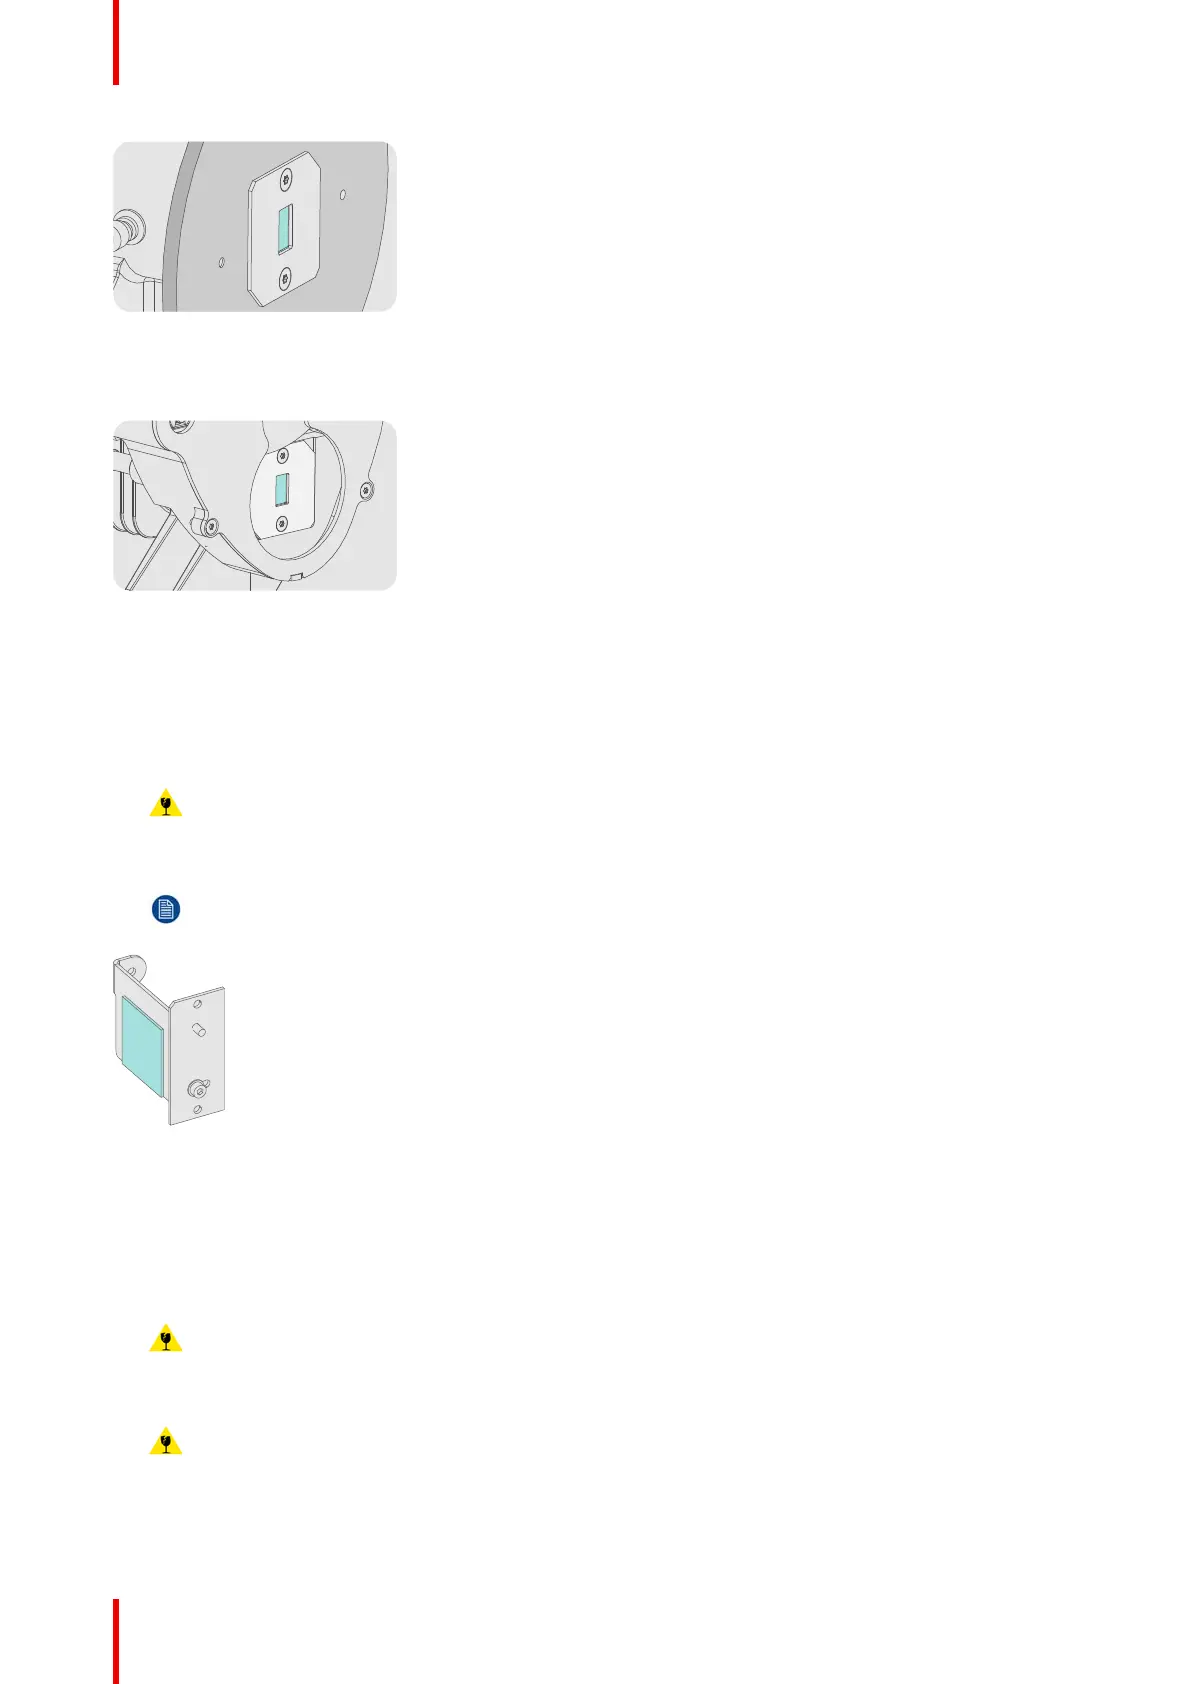
Image 26-6
3. In case a 3D color wheel is installed the color wheel has to be retracted (away from the mask plate) to access
the Rod inlet.
Image 26-7
Notch Filter
1. Remove the Notch Filter from the Light Pipe. See “Replacing the Notch Filter”, page 127.
2. Follow the general cleaning procedure for optical parts, see “General cleaning procedure for optical
components”, page 384, or see “Cleaning the Notch Filter”, page 130.
Caution: Do not push too hard to avoid that the mirror comes loose.
3. Install the clean Notch Filter. See “Replacing the Notch Filter”, page 127.
Note: Take into account that the Notch Filter needs to be realignment after finishing the projector
cleaning process. See “Adjusting the Notch Filter”, page 128.
Image 26-8
Light Pipe Lenses No1, No2 and No3
1. Remove the Light Pipe from the projector, if not removed yet. See “Removal of the Light Pipe”, page 115.
2. Remove contamination from the outside of the Light Pipe with a vacuum cleaner and a brush or with
compressed air.
Caution: Do not touch the Rod inlet and Lens No3 outlet of the Light Pipe.
3. Remove the cover from the Light Pipe. See “Removal of the Light Pipe cover plate”, page 117.
Caution: Opening and cleaning the Light Pipe may only be done by a trained service engineer and in a
clean room.
4. Remove the Light Pipe Lenses No1, No2 and No3 from the Light Pipe. See procedures:
• “Replacing Light Pipe lens No1 (focus lens)”, page 118.
Projector cleaning

 Loading...