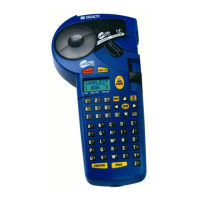
Connecting to a PC
¡
12-3
3. When you see the Main Menu screen, turn on the PC.
4. The operating system on the PC automatically detects your label
printing system. Follow the PC prompts and instructions for setting
up your printer as a new hardware device.
Note: If your PC is not “Plug & Play,” and does not automatically
detect the label printing system, try adding the printer through
the PC Control Panel. On the Control Panel, choose Add/Remove
Hardware, and follow the PC prompts for “Add a New Device.”
5. When the PC procedure prompts you for the location of the device
driver files, insert the disk labeled USB Driver for BRC Printer in
the floppy drive of the PC, and enter the address for the floppy drive
when prompted.
6. Follow the prompts on your PC. The PC reads and installs the correct
drivers.
Note: You may need to restart both systems after installation is
complete.
Your PC is now set up to communicate with your label printing system.
Placing Your System On Line
Before you place your label printing system on line, you must reset some
system settings.
Setting On Line options
Use the System Setup screen On Line tab options to:
z
Set up the type of connection you want to use: USB or serial.
z
Specify the purpose for putting the system on line: for printing or for
transferring files.