238
POWERHEAD
POWERHEAD ASSEMBLY
Crankcase Assembly
Thoroughly clean an d deg rease the mating
flanges of the crankcase and cylinder block with a
non-petroleum based so lvent, such as iso propyl
alcohol or acetone, and let air dry.
IMPORTANT: DO NOT allow solvent to get on
internal componen ts. Clean on ly th e mating
flanges.
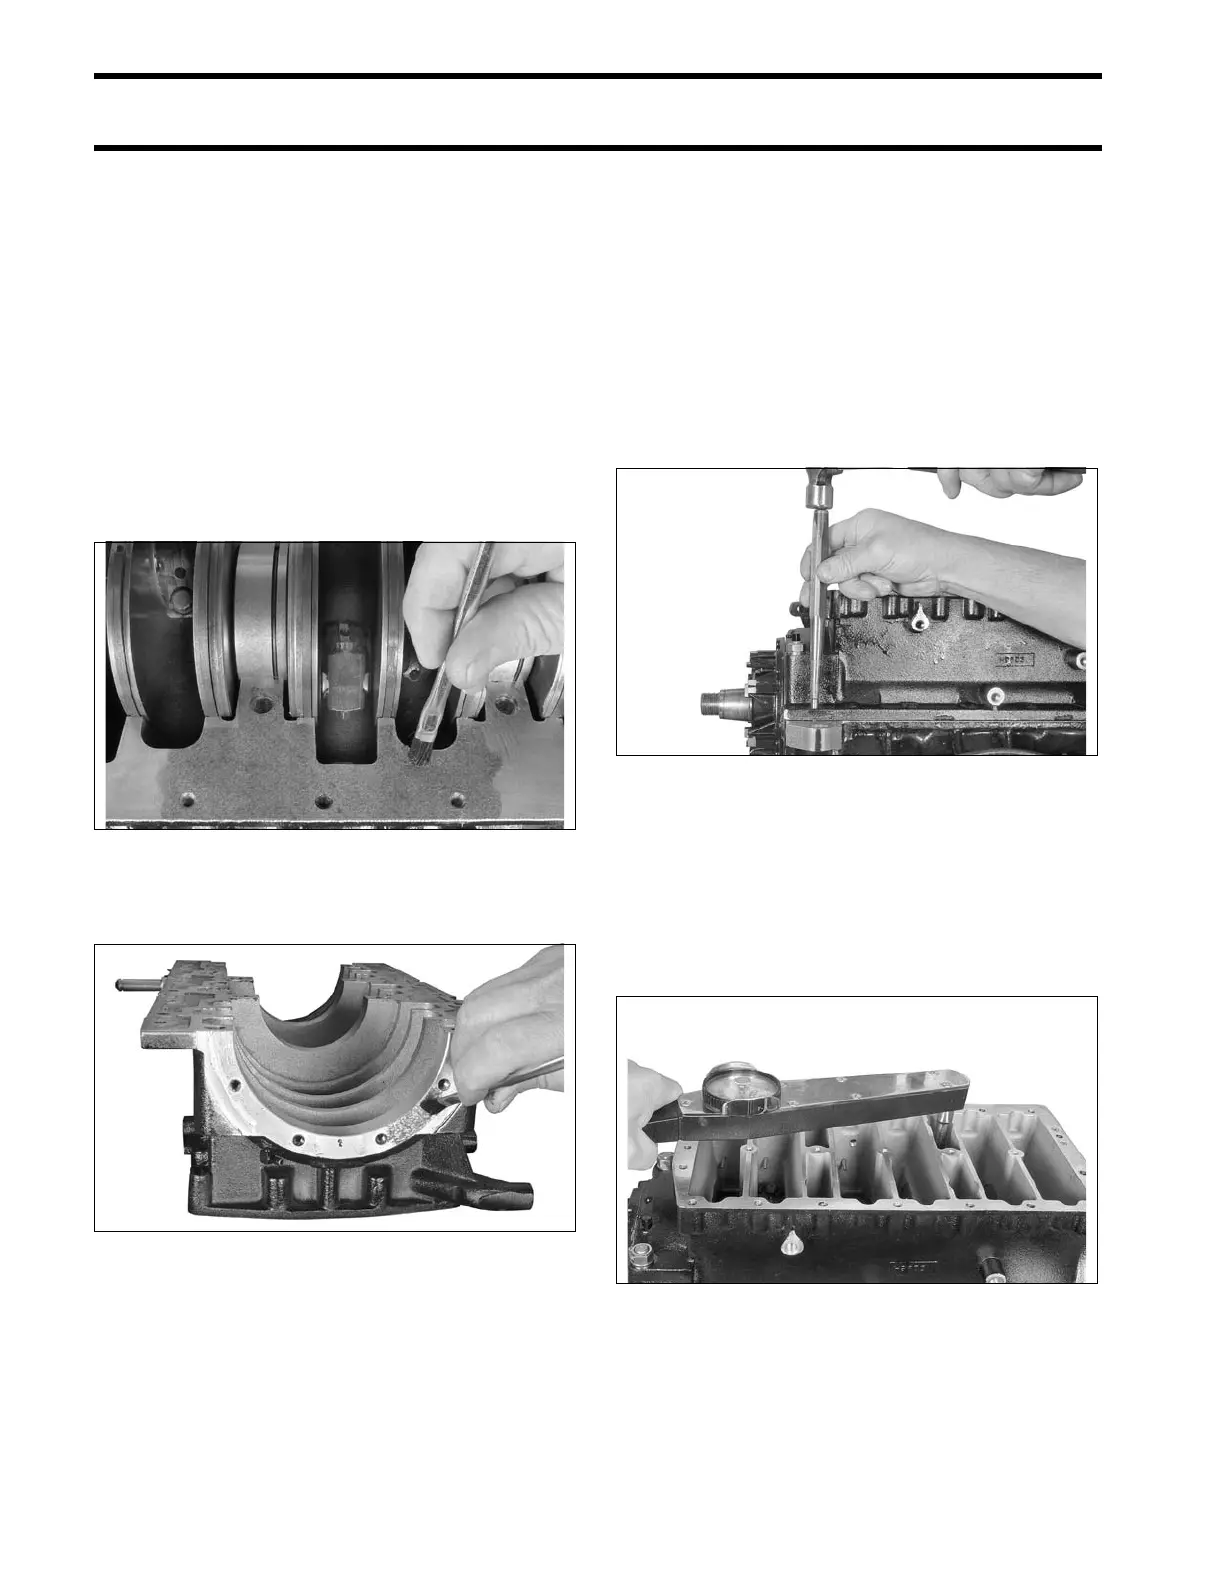
Use a small brush with a tapping motion to apply a
thin, even coat of Gel-Seal II sealant to the crank-
case mating fla nge. Th e sea ler must no t come
within 1/4 in. (6.4 mm) of bearings.
Lightly coat th e upper and lower crankcase head
flange surfaces with a thin layer of Gel-Seal II.
IMPORTANT: Gel-Seal II h as a shelf life of at
least one year when stored at roo m temperature.
Test the Gel-Seal II or replace it if the age of the
tube cannot be determined. Using old Gel-Seal II
could cause crankcase air leaks.
IMPORTANT: The use of Locquic Primer is NOT
recommended. If primer is used, crankcase
halves must be assemble d an d tig htened within
ten minutes after the Gel-Seal II has been applied.
Lower the crankcase into place.
Install main bearing screws an d nuts finger tight,
no more than 60 in. lbs. (7 N·m).
When the crankcase is se ated, inst all and firmly
seat both crankcase taper pins.
Tighten main bearing screws a nd nuts in stages
to a final torque of:
• Screws – 48 to 53 ft. lbs. (65 to 72 N·m)
• Nuts – 38 to 42 ft. lbs. (52 to 57 N·m)
Start in the center an d work outward in a spira l
pattern.
004127
004134
004135
004141