57
Scanner
®
2000 microEFM Section 2
5. Connect to the Scanner 2000 with the ModWorX™
Pro software. Click on the Calibrate Inputs menu
button and proceed through the calibration per
instructions in the ModWorX™ Pro Software User
Manual.
6. At the appropriate software prompt, enter a known
pressure.
7. Apply the same amount of pressure to the MVT us-
ing the simulator (see the ModWorX™ Pro Software User Manual for complete instructions). The Mod-
WorX™ Pro software will display a measured value and a percentage of change.
8. Repeat steps 6 and 7 as necessary to enter multiple calibration points.
9. When all calibration points have been entered, click Save Changes to apply the new calibration settings.
To verify the static pressure, perform the steps described in the calibration procedure above, except instead
of choosing Calibrate from the Change Calibration Task window, choose Verify. You will be prompted to
enter an applied value, and you will apply the same amount of pressure to the MVT, just as in the calibration
process. The ModWorX™ Pro software will display a measured value and a percentage of error. When you
click Save Changes, the measured values are written to memory for reference.
Differential Pressure Calibration and Verication
The static pressure and differential pressure inputs are calibrated and veried before the Scanner 2000 leaves
the factory, and recalibration in the eld may or may not be required. To comply with API standards for
verication, “as found” readings should be recorded at approximately 0, 50, and 100 percent of the operating
pressure range, increasing, and at 80, 20 and 0 percent of the operating pressure range, decreasing. For
example, the differential pressure measurements of a 200-In. H2O sensor should be veried at 0 In. H2O, 100
In. H2O, 200 In. H2O, then at 160 In. H2O, 40 In. H2O, and 0 In. H2O.
!
WARNING: Do not subject the Scanner 2000 microEFM to unnecessary shock or over-range
pressure during maintenance operations.
To calibrate the differential pressure
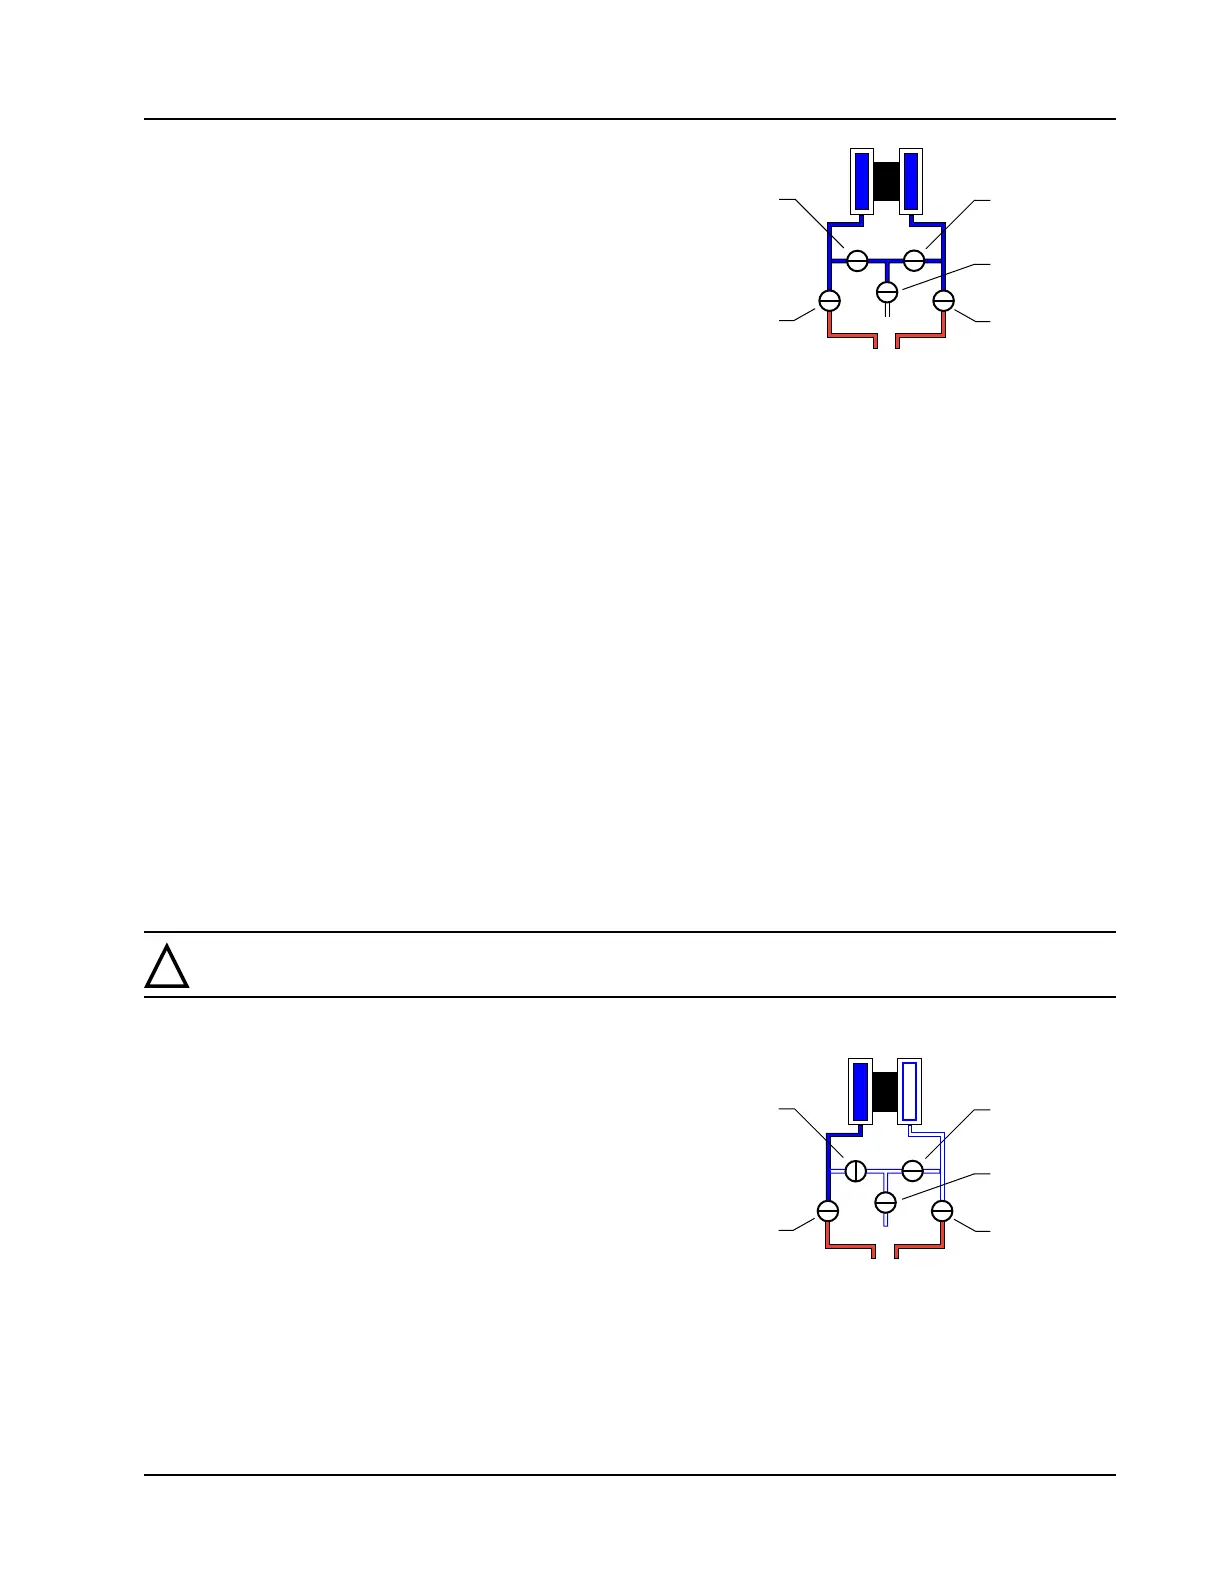
1. Close the bypass valves to isolate the pressure below
the manifold.
2. Open the equalizer valves and vent valve to purge
the lines.
3. Close the high-pressure side equalizer valve.
4. Connect a pressure simulator to the high-pressure
side of the manifold.
5. Connect to the Scanner 2000 with the ModWorX™ Pro software. Click on the Calibrate Inputs menu
button and proceed through the calibration per instructions in the ModWorX™ Pro Software User Manu-
al, Part No. 9A-30165025.
6. At the appropriate software prompt, enter a known pressure.
VENT
BYPASS/
BLOCK
EQUALIZER
BYPASS/
BLOCK
EQUALIZER
VENT
BYPASS/
BLOCK
EQUALIZER
BYPASS/
BLOCK
EQUALIZER