PNEUMATIC GEARBOX CONTROL
4-2
©
200508
Removal and installation
3
ΛΦ45/55 series
3
4.2 REMOVING AND INSTALLING RANGE GROUP OPERATING SWITCH
Removing range group operating switch
1. Blow off the air reservoirs.
2. Detach the bottom of the gaiter and partially
pull the gaiter over the gear lever knob.
3. Remove the clamping strap on the inside of
the gaiter.
4. Remove the cover cap with the gear-change
pattern on the top of the gear lever.
5. Remove the attachment nut on the top of the
gear lever and remove the gear lever knob.
6. Remove the gaiter.
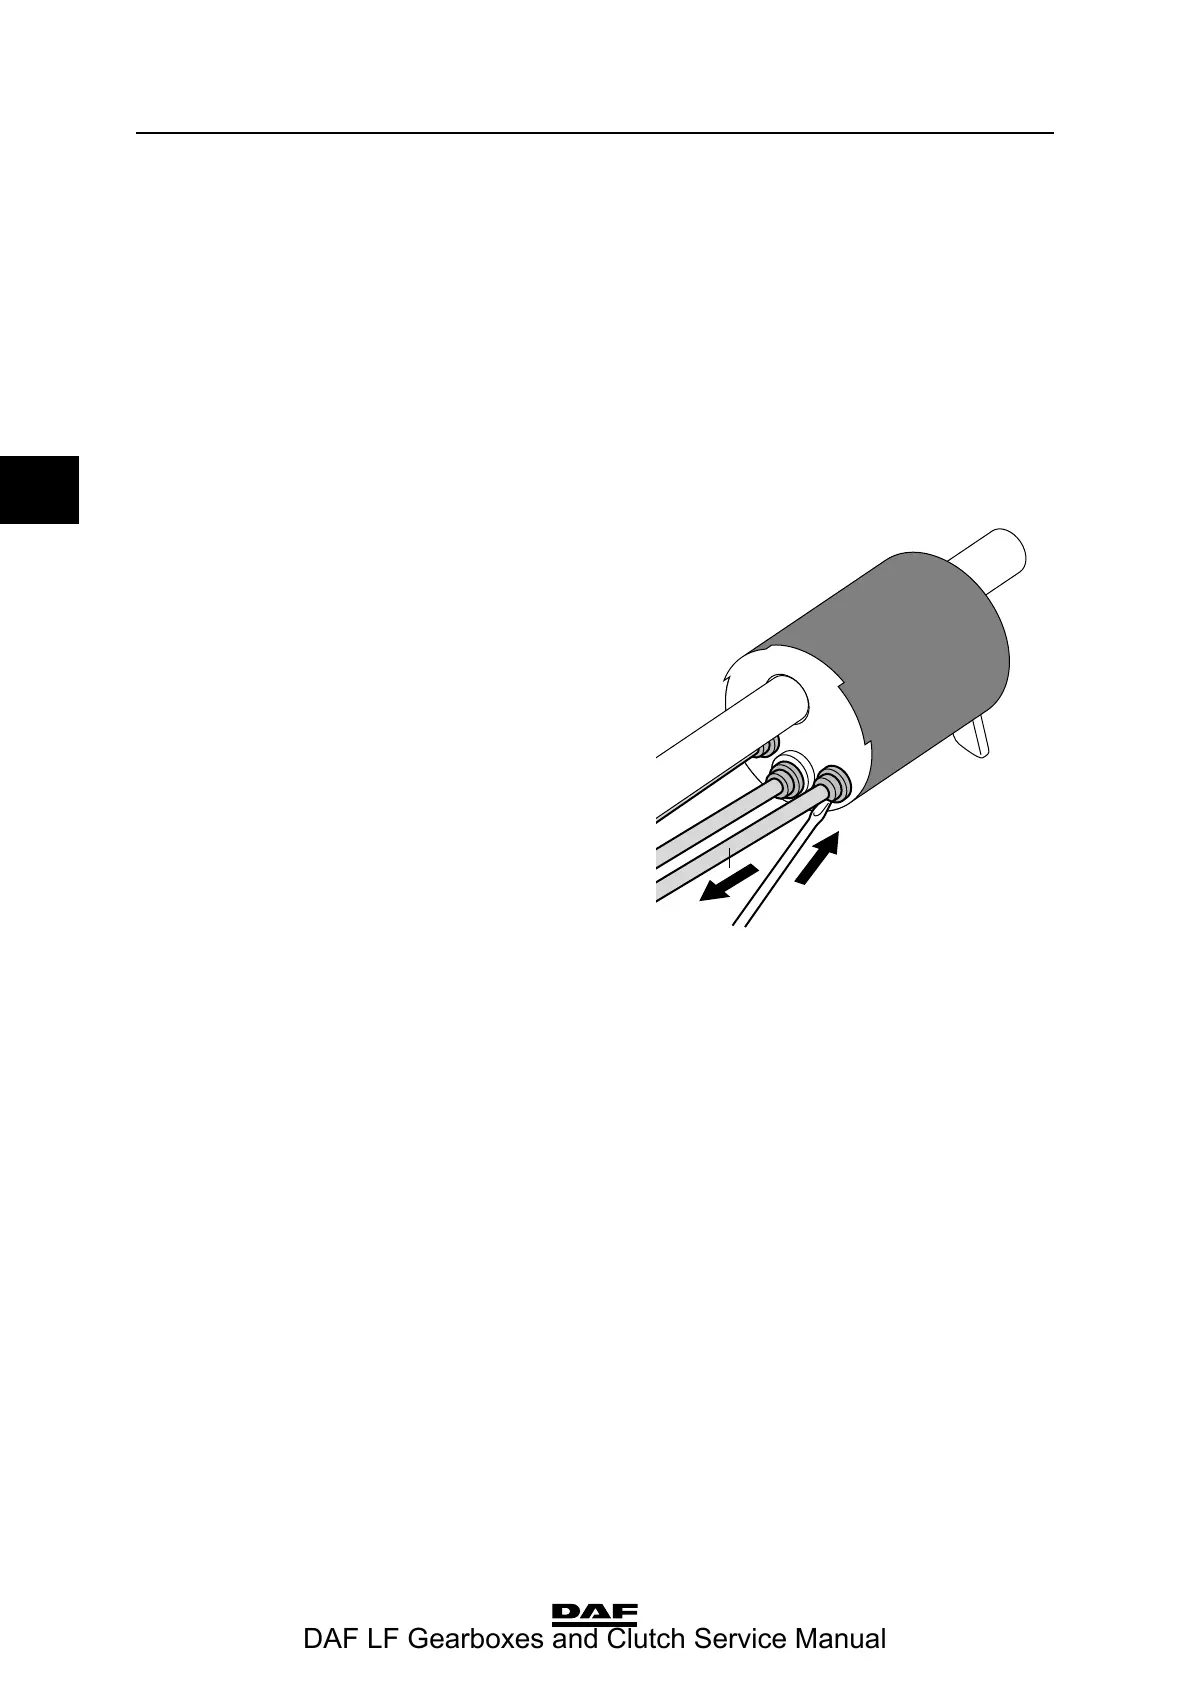
7. Mark the various air pipes and disconnect
them from the range-change switch using a
small screwdriver.
8. Remove the range-change switch and the
clamping piece.
Installing range group operating switch
1. Install the clamping piece on the gear lever.
2. Connect the various air pipes to the range-
change switch as indicated by the markings.
3. Install the range-change switch on the gear
lever. Ensure that the clamping piece is
properly mounted on the range-change
switch.
4. Slide the gaiter over the gear lever.
5. Fit the switch button onto the gear lever and
tighten the attachment nut to the specified
torque. See "Technical data".
6. Install a clamping strap on the inside of the
gaiter.
7. Pressurise the system.
8. Check the system for air leakage.
9. Check the operation of the range group
operating switch.
V3 00 429
DAF LF Gearboxes and Clutch Service Manual
 Loading...