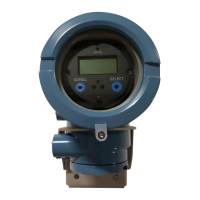
Table 2-1: Status LED and device status (continued)
Status LED condition Device status
Solid red One or more alerts are active with Alert Severity = Failure.
Flashing yellow (1 Hz) The Function Check in Progress alert is active.
2.3 Commissioning wizards
The transmitter menu includes a Guided Setup to help you move quickly through the most common
configuration parameters. ProLink III also provides a commissioning wizard.
By default, when the transmitter starts up, the Guided Setup menu is offered. You can choose to use it or not.
You can also choose whether or not Guided Setup is displayed automatically.
• To enter Guided Setup upon transmitter startup, choose Yes at the prompt.
• To enter Guided Setup after transmitter startup, choose Menu > Startup Tasks.
• To control the automatic display of Guided Setup, choose Menu > Configuration > Guided Setup.
For information on the ProLink III commissioning wizard, see the Micro Motion ProLink III User Manual.
As the commissioning wizards are self guided, they are not documented in detail.
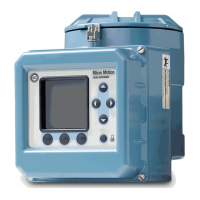
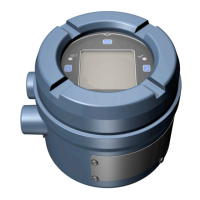
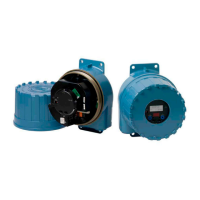
2.4 Make a startup connection to the transmitter
For all configuration tools except the display, you must have an active connection to the transmitter to
configure the transmitter.
Procedure
Identify the connection type to use, and follow the instructions for that connection type in the appropriate
appendix.
Communications tool
Connection type to use Instructions
ProLink III HART Using ProLink III with the transmitter
Field Communicator HART Using a Field Communicator with the
transmitter
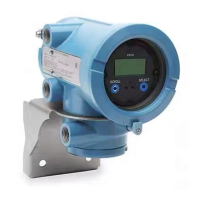
2.5 Set the transmitter clock
Display
Menu > Configuration > Time/Date/Tag
ProLink III Device Tools > Configuration > Transmitter Clock
Field Communicator Configure > Manual Setup > Clock
Quick start Configuration and Use Manual
March 2019 MMI-20025166
10 Micro Motion Model 5700 Transmitters with Configurable Outputs

 Loading...