Image Shape
61
The next time you press the up arrow button on the control panel, the area
selection screen is displayed.
a
To save the current shape of an image you have adjusted, select Save
Memory. You can save up to three image shapes in the memory.
s Installation > Geometry Correction > Memory > Save Memory
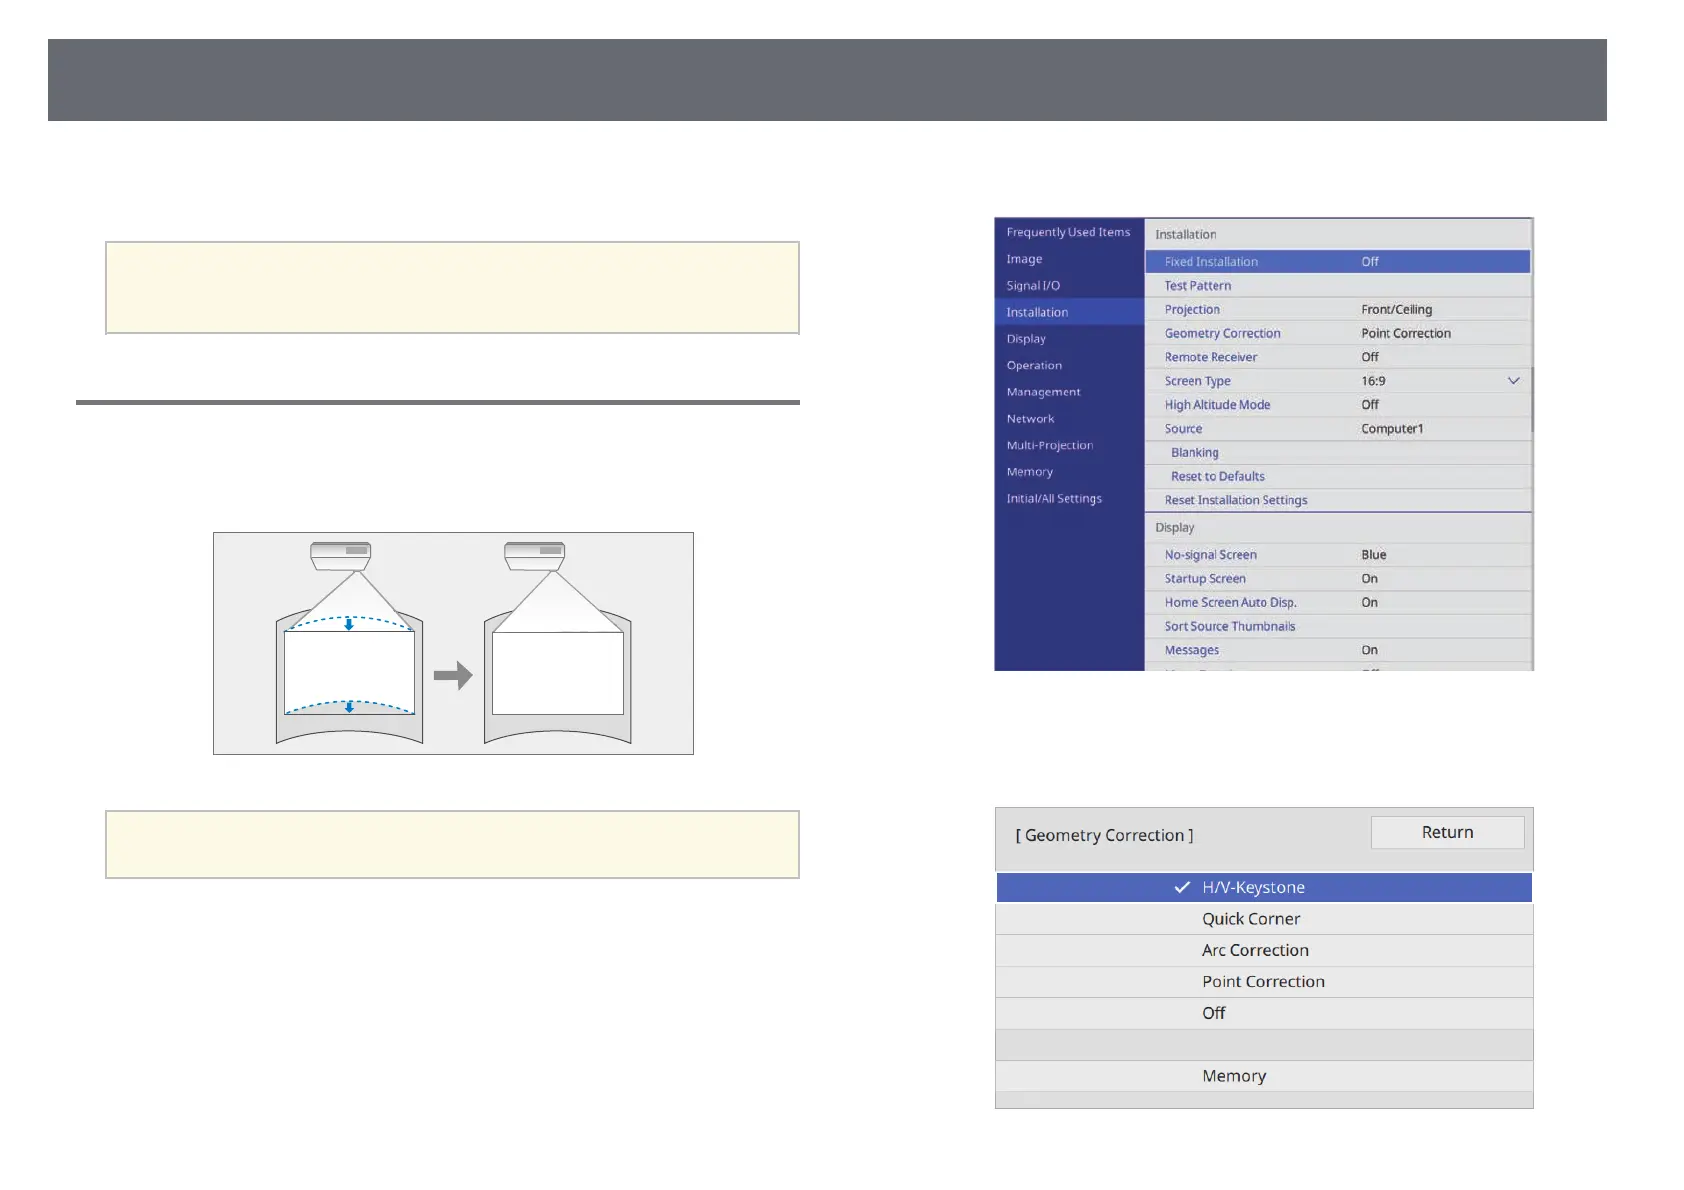
Correcting Image Shape with Arc Correction
You can use the projector's Arc Correction setting to adjust the shape of an
image projected on a curved or spherical surface.
a
If you change the Screen Type and Screen Position settings, the
adjustments are reset.
a
Turn on the projector and display an image.
b
Press the [Menu] button on the control panel or remote control.
c
Select the Installation menu and press [Enter].
d
Select Geometry Correction and press [Enter].
You see the Geometry Correction screen.