Using Multiple Projectors
118
i
Select the Blend Curve setting and select a gradient for the shaded area
on the projectors.
j
When the edges are blended, turn off the Line Guide and Pattern
Guide settings on each projector to check the final settings.
k
When you are finished, press [Menu].
a
If the blended area does not overlap exactly, correct the shape of the
blended area using Point Correction.
gg Related Links
• "Adjusting the Black Level" p.118
• "Modifying the Black Level Adjustment Area" p.120
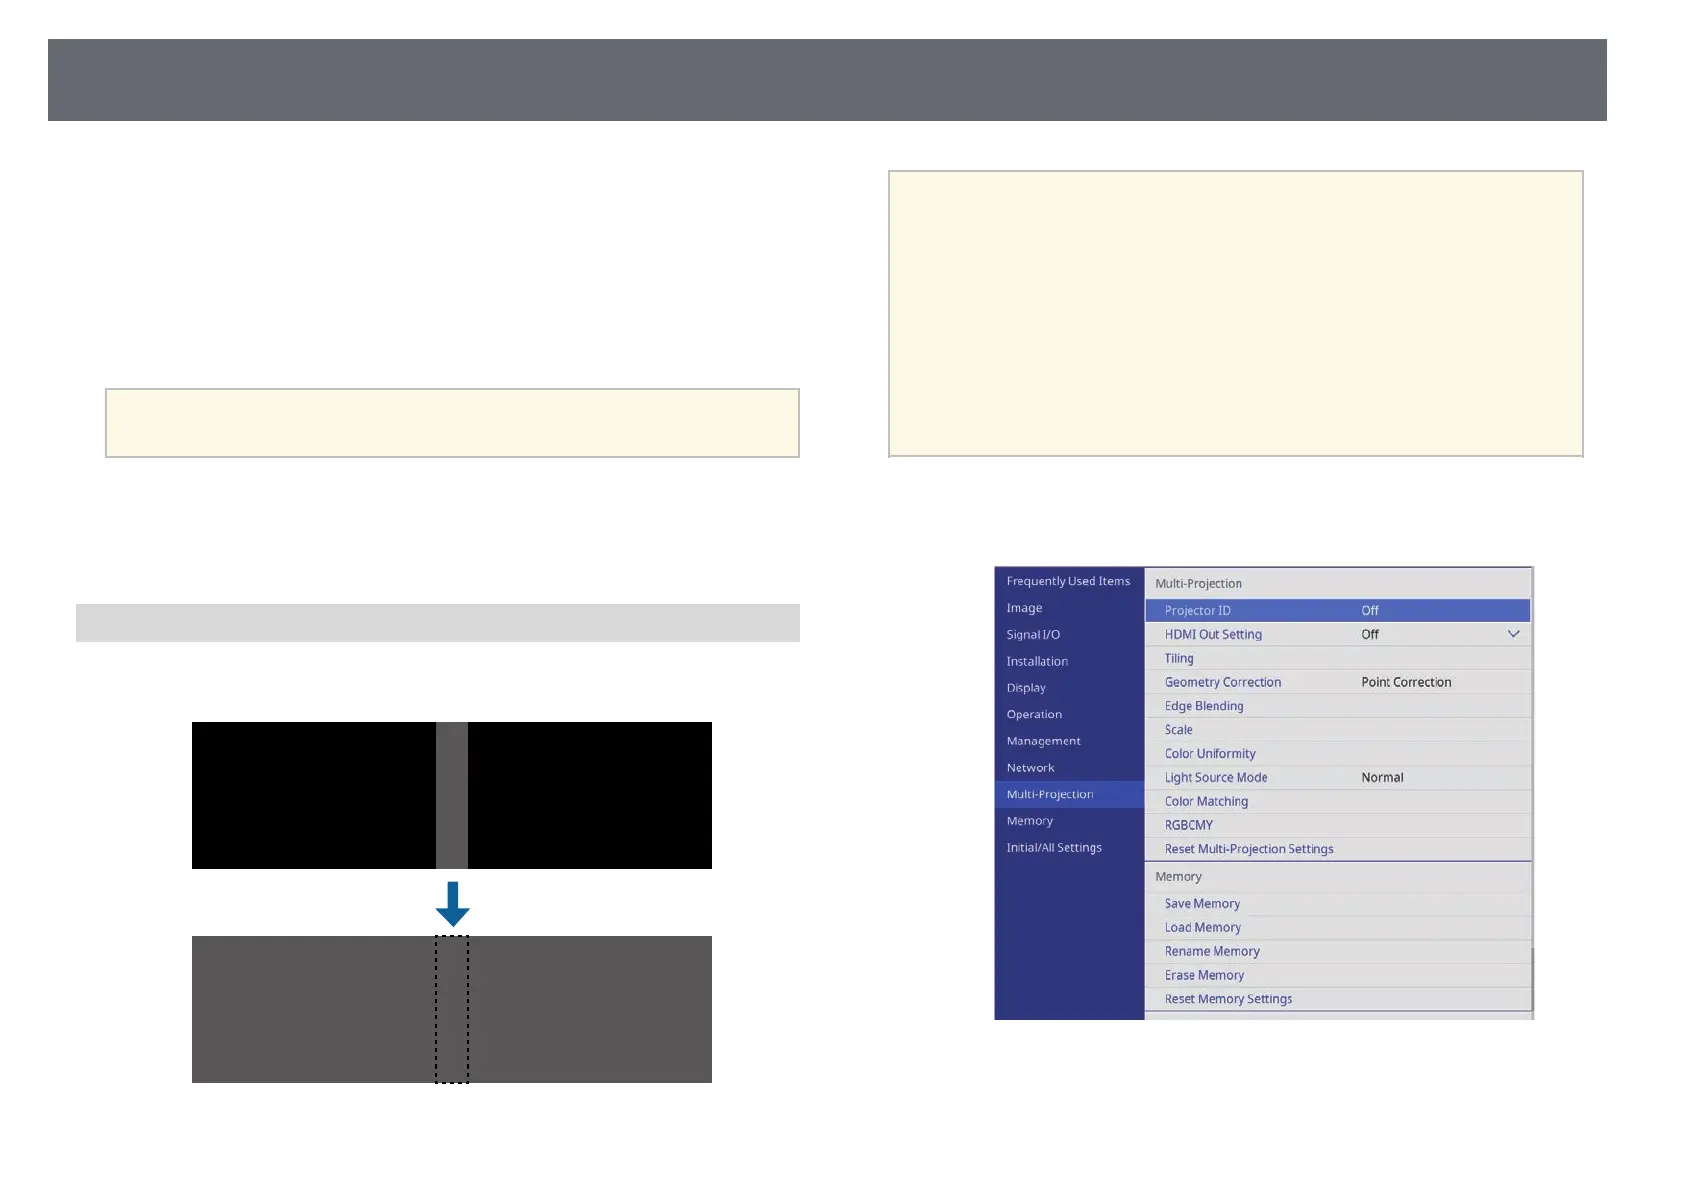
Adjusting the Black Level
You can adjust the brightness and color tone of the areas where the images do
not overlap to create a seamless image.
a
• You cannot adjust the Black Level setting when a test pattern is
displayed.
• If the Geometry Correction value is very large, you may not be able
to adjust the Black Level correctly.
• The brightness and tone may differ in areas where the images overlap
as well as in other areas even after performing the Black Level
adjustment.
• If you change the Edge Blending setting, the Black Level setting
returns to its default value.
• Available only when at least one of Top Edge, Bottom Edge, Left
Edge, and Right Edge are set to On in the Edge Blending settings.
a
Press the [Menu] button, select the Multi-Projection menu, and press
[Enter].
b
Select Black Level and press [Enter].

 Loading...