Advanced Scanner Settings
155
Scan
7
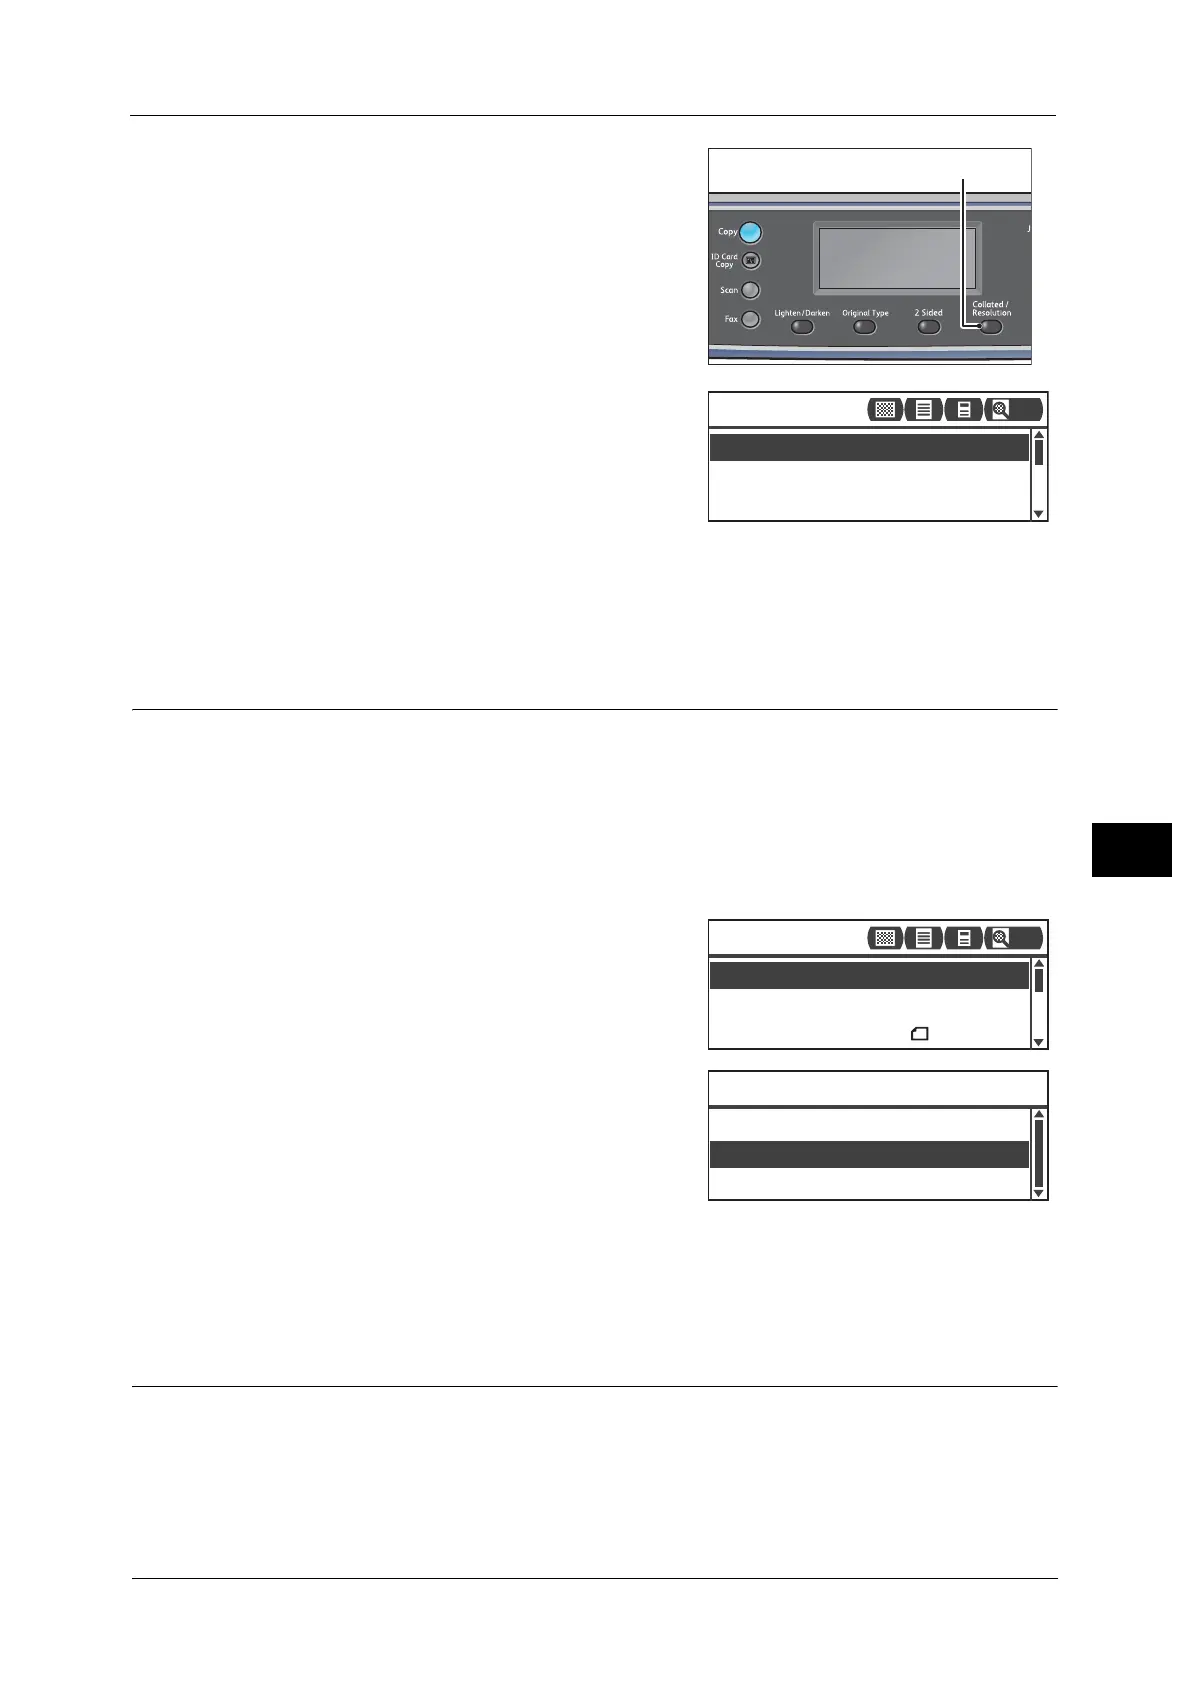
1 Press the <Collated/Resolution> button.
2 The selection of a resolution changes everytime
the <Collated/Resolution> button is pressed. The
selection is applied when the screen is returned
to the main menu screen without pressing the
<OK> button.
You can change the displayed time length of the
setting screen.
For more information on changing the displayed time length of the setting screen, refer to the "Quick-Button Selection
Timer" (P.219).
Color Mode
Sets the color mode.
Note • When [Resolution] is set to [400 × 400 dpi] or [600 × 600 dpi] in [Black & White] mode, changing the
color mode to [Color] mode changes the [Resolution] setting to [300 x 300 dpi].
• When [File Format] is set to [TIFF] in [Black & White] mode, changing the color mode to [Color]
changes the [File Format] setting to [PDF].
• When [File Format] is set to [JPEG] in [Color] mode, changing the color mode to [Black & White]
changes the [File Format] setting to [PDF].
1 Select [Color Mode], and then press the <OK>
button.
2 Select the desired color mode, and then press the
<OK> button.
Black & White
Used to scan document in black-and-white. The
scan data is converted to PDF or TIFF format.
Color
Used to scan document in color. The scan data is converted to PDF or JPEG format.
File Format
Sets the file format of the scanned data.
The file name is saved in the form of "YYMMDDHHMMSS".
<Collated/Resolution> button
300 x 300 dpi
200 x 200 dpi
400 x 400 dpi
Scan to [01]
200
File Format
...
PDF
Original Size
...
A4
Color Mode
...
Color
Scan to [01]
200
Color
Color Mode
Black & White
 Loading...


