54 2 Basic Operation
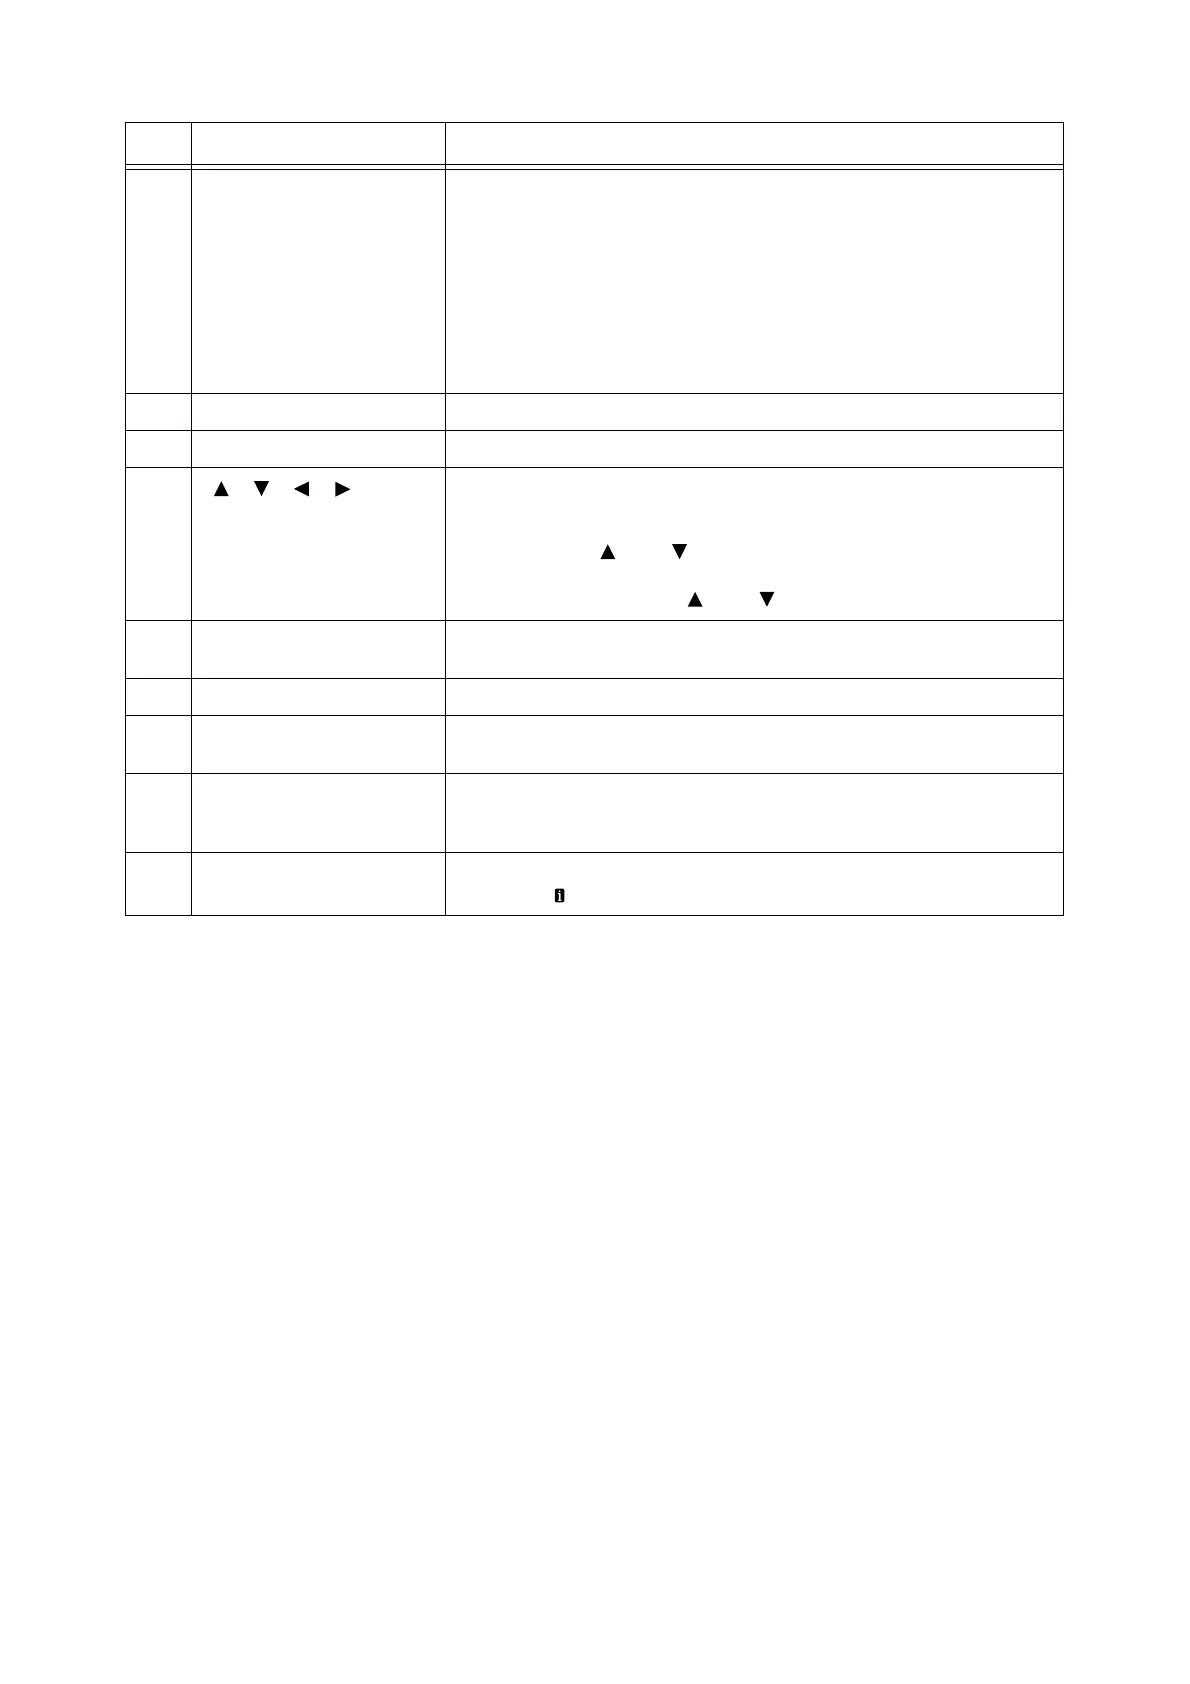
7 <Print Menu> button Pressed to print documents stored in the printer or the server, such as Secure Print or
Sample Set.
Note
• To use this function, install the
HDD Extension Kit
(optional) or enable a RAM disk.
• Available print function depends on your environment. Refer to " Control Panel
Menu Tree" (P. 409) for available function for the printer.
Refer to
• "Enabling a RAM Disk" (P. 325)
8 <Settings> button Pressed to display the menu screen.
9 <Cancel Job> button Pressed to cancel printing the job.
10
<> <> <> <> buttons
Pressed to advance to the next menu, item, or option.
Note
• When using the < > and < > buttons to change the current setting, holding
down either button cycles through available settings at high speed. To display a
setting
’
s default value, press < > and < > at the same time.
11 <OK> button Pressed to confirm the menu option selected on the menu screen. This button is also
used when printing reports/lists.
12 <Back> button Press this button while the menu screen is displayed to return to the previous item.
13 Outline view In the event of an error, use this to verify the location indicated in an error message
appears on the display.
14 <Online> button Pressing the <Online> button takes the printer offline. The <Ready> lamp is off and
printing is not done while the printer is offline. Pressing the <Online> button again
takes the printer back online (printing enabled).
15 <Information> button Displays detailed information on what is happening at the time by pressing this
button when mark appears on the display.
No. Name Description

 Loading...