34 1 Printer Environment Settings
Parallel Connection
The following explains how to connect the printer to your computer using the parallel cable.
Note
• To connect your computer using a parallel port, the Parallel Port Kit (optional) is required. For more information on
the optional component, refer to "A.2 Options" (P. 372).
Important
• The Parallel Port Kit (optional) and the Secondary Ethernet Kit (optional) cannot be installed at the same time.
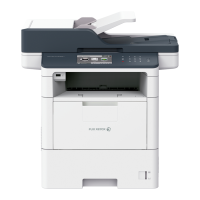
1. Press the push-button power switch to turn off
the power.
2. Open the front cover.
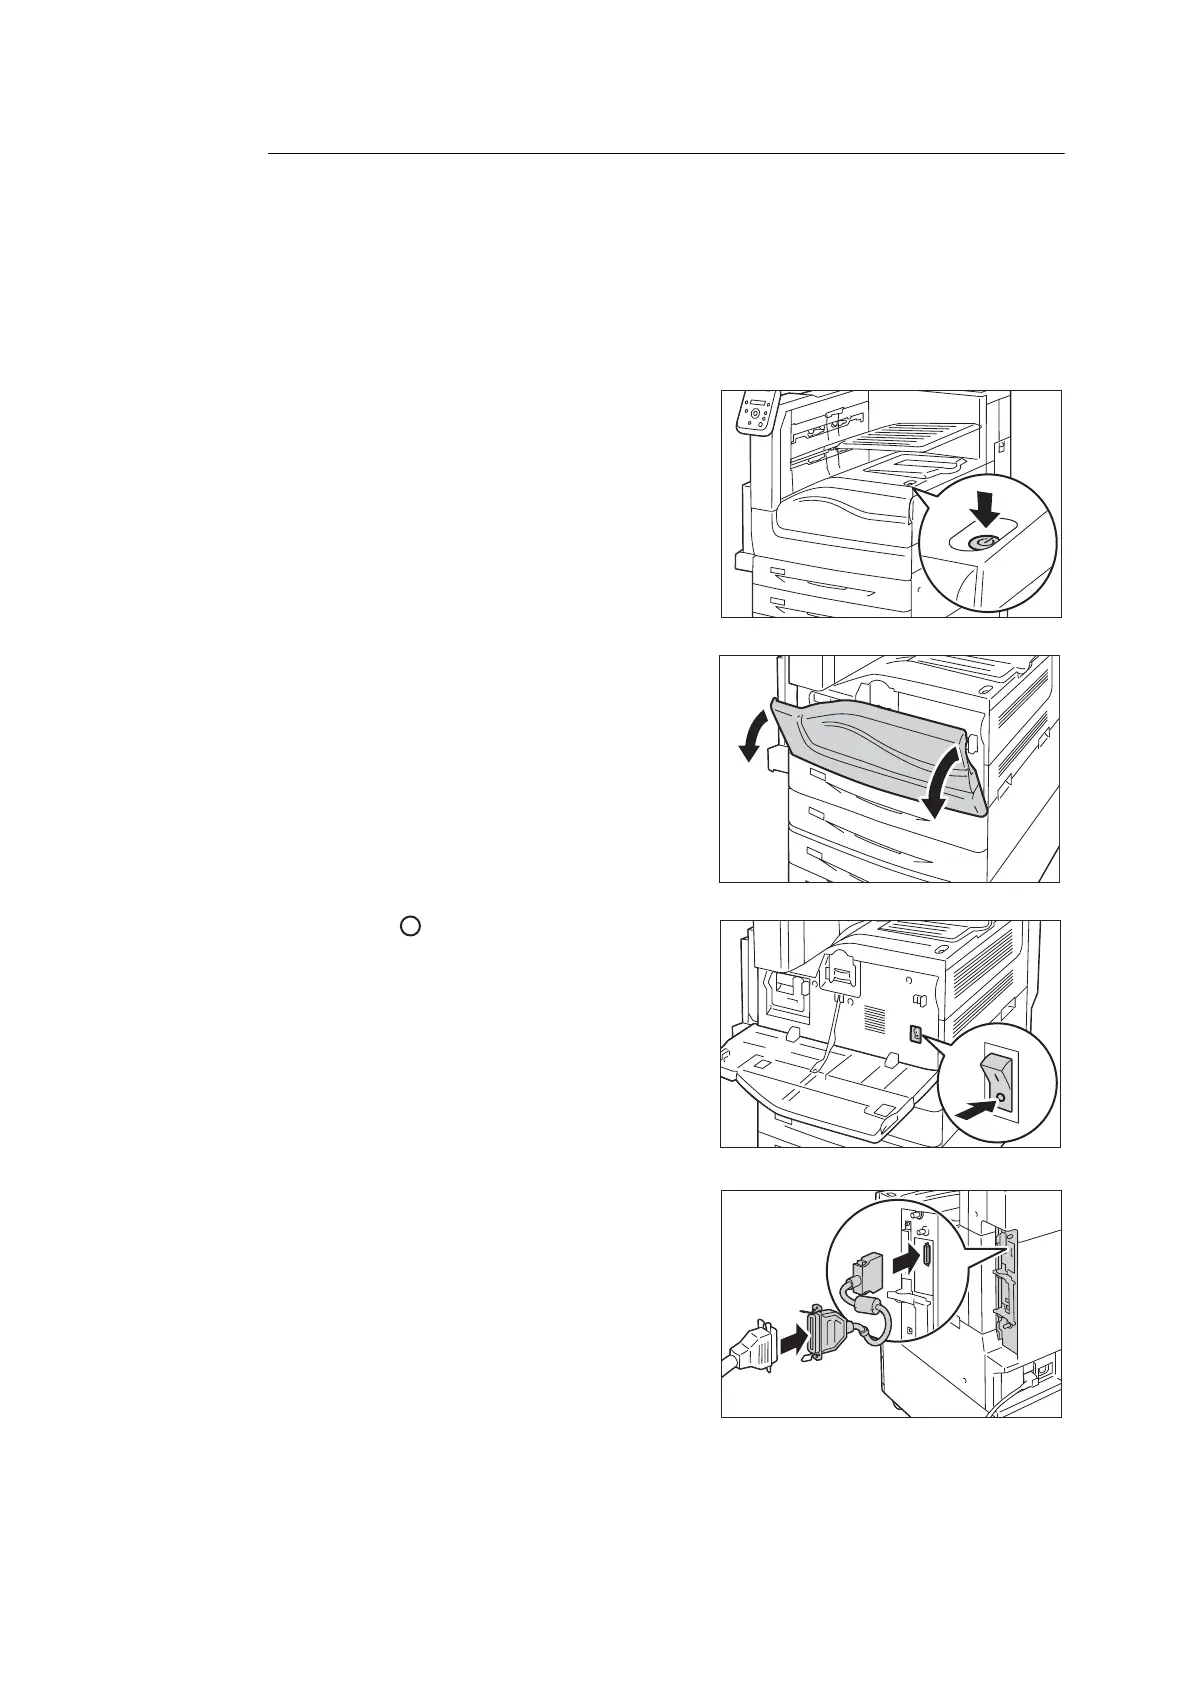
3. Press the < > side of the printer’s main
power switch to turn off the main power.
Note
• The <Main Power> lamp goes out on the control panel.
4. Insert the connector conversion cable into the
interface connector on the printer.
5. Connect the other end of the connector
conversion cable to the parallel cable. Then
secure it using the metal pieces on both sides
of the connector.
Important
• Use the regular optional parallel cable. If you use a cable
provided by a third-party manufacturer, radio wave
inference may occur.
6. Plug the other end of the parallel cable into
your computer.

 Loading...