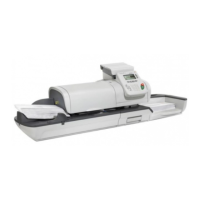
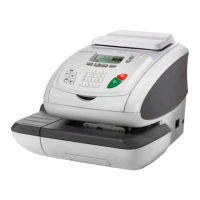
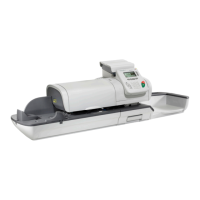
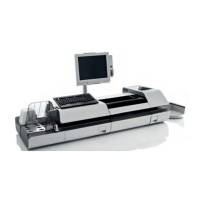
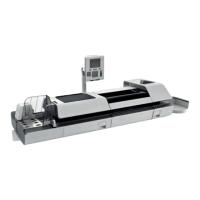
How to Process eConfirmation Items using the WP
The weighing platform must be connected to your mailing machine. Using your
weighing platform to send a package and request eConfirmation service is simple:
1. Place the eConfirmation label on the package.
2. Place your package on the WP.
(If needed, first remove all items from the WP and rezero your weighing platform: see
How to Zero the Weighing Platform on page 164 ).
3. Select the rate corresponding to the package to send (see How to Select a Rate on
page 60 ).
If the rate requires a zip code to be entered, a specific screen is displayed to capture
the Zip code.
4. Add an eConfirmation service.
In the eConfirmation screen, check the PIC number (tracking number) or scan it. The
machine automatically suggests the next PIC number.
If the displayed PIC number does not match your label, use the [C] key to clear
numbers (right to left), then enter the correct PIC number.
Use the labels in order to avoid typing the full PIC number each
time. If you have a scanner, scan the PIC number - this is fast,
easy, and reliable.
5. Enter or modify the Sender ID information on the SenderID screen. This sender ID
will enable you to easily identify the package record in an email notification or on the
tracking web site. The Sender ID can be up to 31 characters. This is an optional step.
6. Validate the rate and return to the home screen.
7.
Press to print a tape, or place the item on the hopper.
When printing is done, an eConfirmation record is created (see How to Display eConf
Record List and Details on page 143 ) below.
If printing is cancelled at this stage, the current PIC number cannot
be re-used for another mail piece.
142
| Page 142 | feb-14-2014 12:06 |
7
Online Services