HT2000H_en_n.doc Page 146 of 167
11. Only if necessary, also replace the syringe plunger (it is substituted with a lower frequency
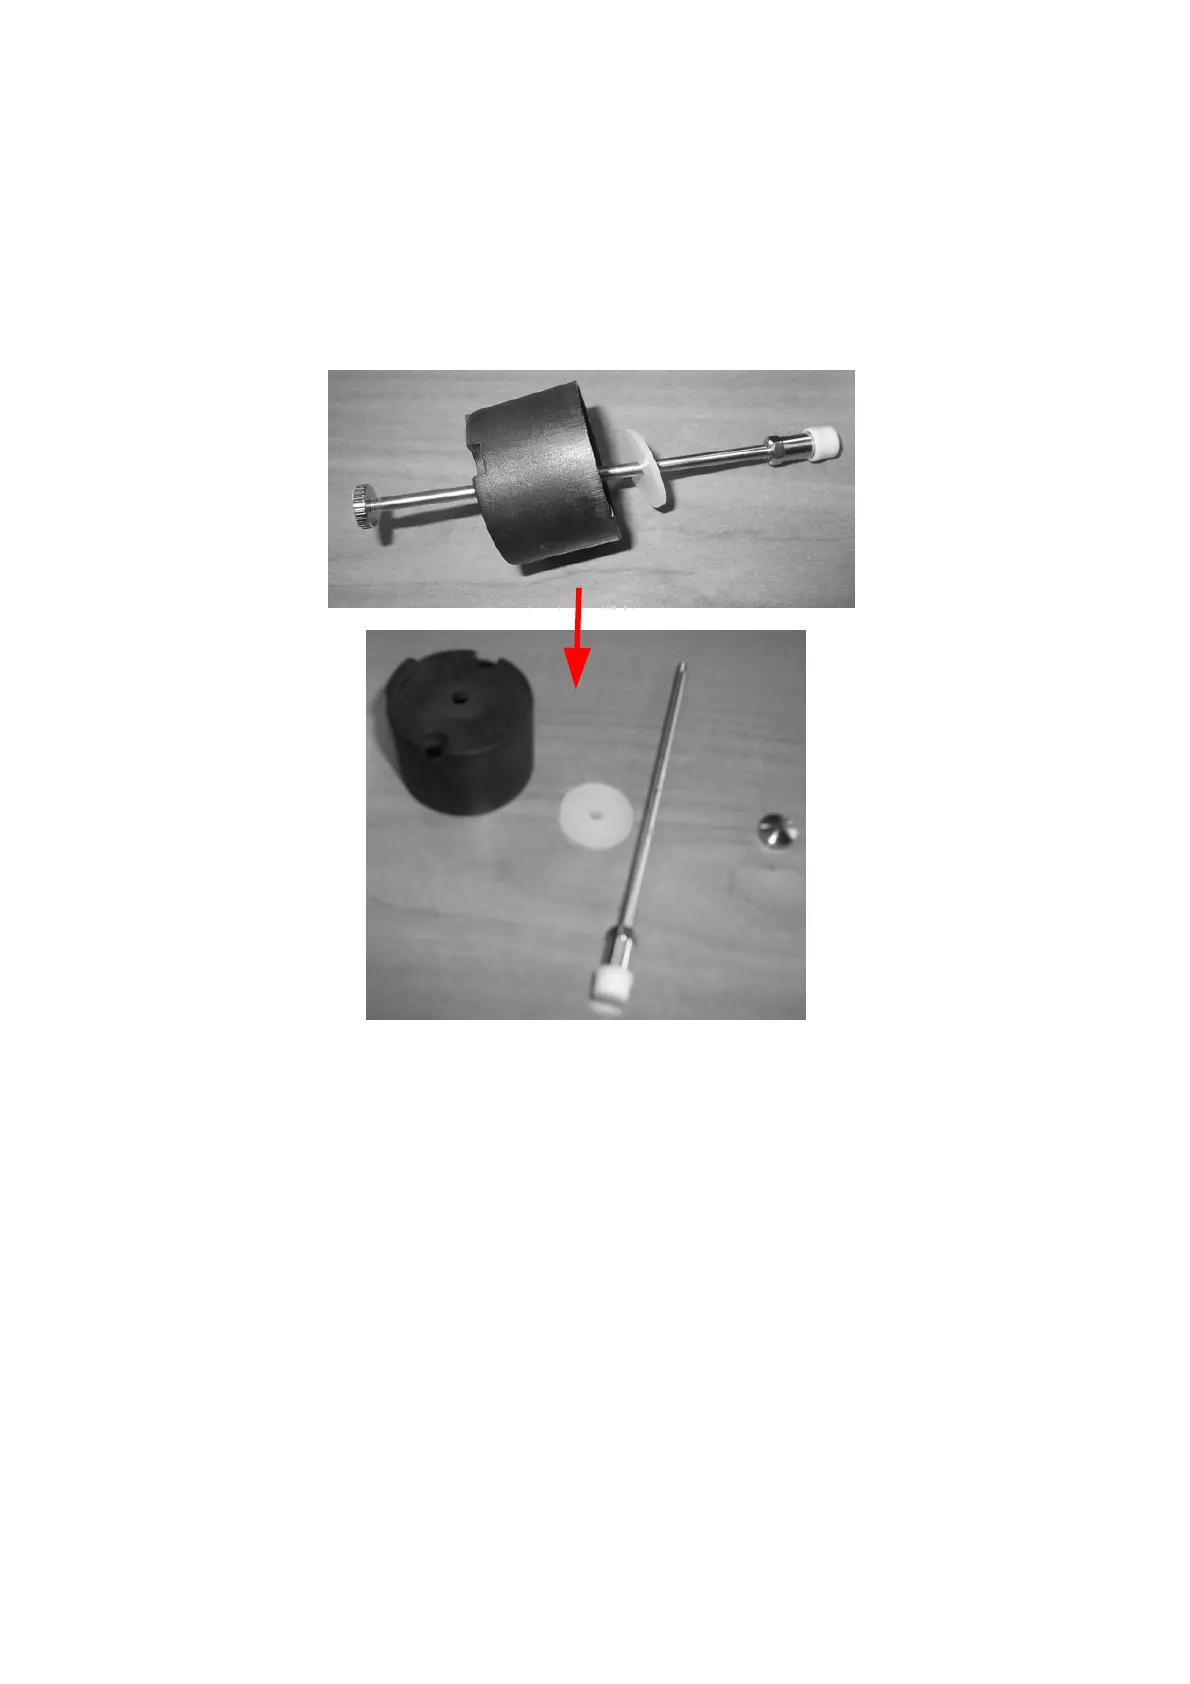
than the syringe barrel). Remove the plunger (number 3a, 3b and 3c in Figure 118) from
the upper cover (number 2 in Figure 118). To separate the plunger from the upper cover
unscrew the nut indicated with the number 3a. All the components can be disassembled.
After replacing the plunger, re-assemble the plunger and the upper cover.
Figure 118: Syringe plunger replacing
12. Insert the upper cover with the syringe plunger in the syringe barrel. Be sure that the cover
fits perfectly with the heating body. Screw in the two main screws that hold the two parts.
13. To replace the syringe warmer assembly in the syringe location see paragraph 4.2.2
“Setup: Syringe warmer assembly installation “.
9.1.5.2 Standard version syringe: 2.5ml to 5ml syringe replacement
Proceed as described below:
1. Remove the two main screws (number 1 in Figure 109) that secure the upper cover using
the supplied allen key (see paragraph 2.3 “Tool kit “).
2. Gently lift up the upper cover (number 2 in Figure 110) and the syringe plunger (number 3
in Figure 110) to detach them from the heating body (number 4 in Figure 110).