HT2000H_en_n.doc Page 80 of 167
Select “ADD NEW”, to set the number of vial positions, the dimension of the sample vials and the
needle draw depth inside the sample vial of the new tray/rack (e.g.: 121-2ml-30mm).
To remove a rack, select “REMOVE” then select the tray/rack that you want to remove. A
confirmation screen appears “The selected tray has been removed”. Tap “CONTINUE”.
Select “Exit” to exit from this screen and return to the “ALIGNMENT” screen (see paragraph
4.2.1 “Setup: Alignment“).
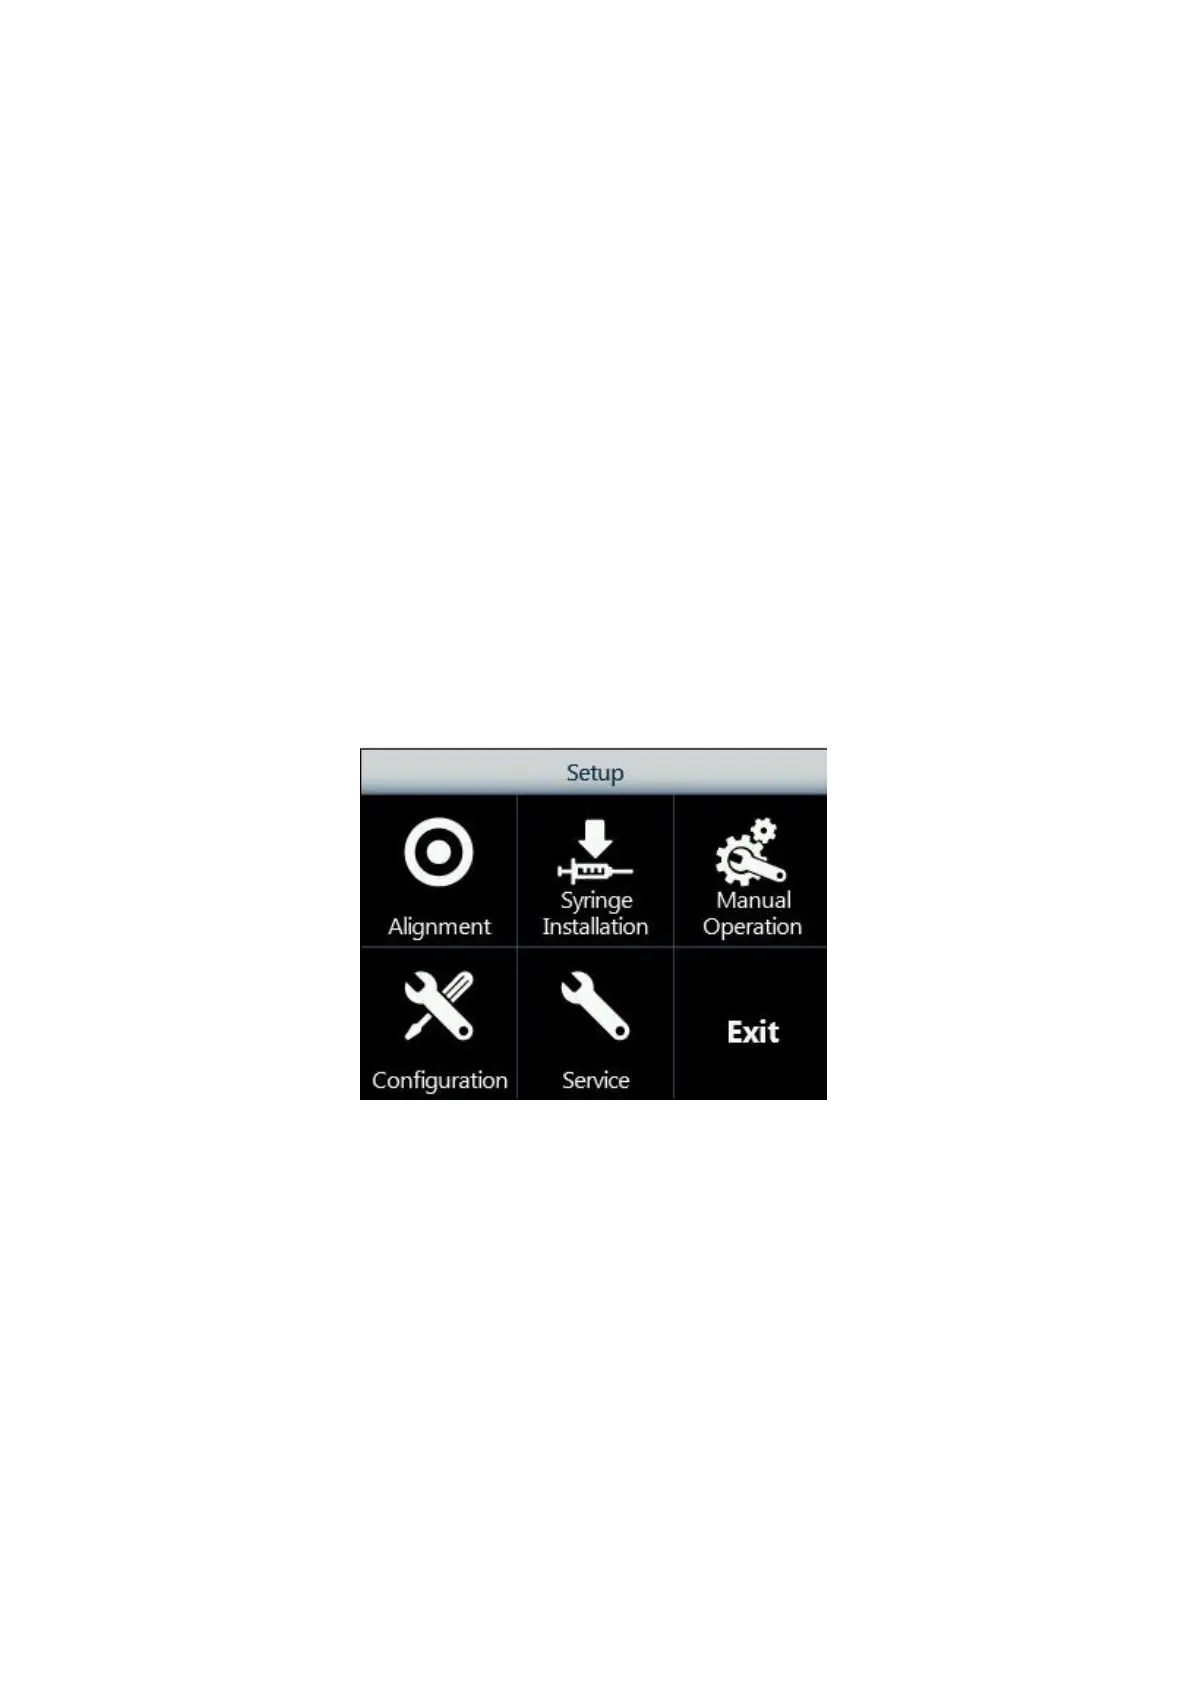
4.2.2 Setup: Syringe warmer assembly installation
HT2000HT allows the installation of standard or High temperature version of the Syringe Warmer
Assembly. Syringe Warmer High Temperature Assembly for HT2000HT is sold as an option (see
paragraph 1.7.2 “Options “). See paragraph 12.1.1 “How to select the correct
syringe type (only for HT2000HT)” to check the proper syringe to be installed.
The syringe is installed inside the syringe warmer assembly provided with unit. Access sequence:
RUN>SETTINGS>SETUP>SYRINGE INSTALLATION
1. From the Setup menu, tap “Syringe installation” to start the procedure:
Figure 86: Syringe installation screen
2. The following screen appears, while the autosampler automatically moves the syringe
location to an accessible position.