Guidelines for Marking
11 8 809240 Operator Manual Powermax45 XP
Marking process guidelines
Before you begin marking, scoring, or dimpling:
Choose a process gas: air or argon.
Set up your machine torch and table. See Machine torch setup overview on page 95.
Install the Marking consumables.
Set the plasma power supply to
Gouge/Marking mode. See
page 51.
Adjust the torch speed and
power supply output current
(amperage) for your marking or
dimpling job. See the cut charts
starting on page 132.
Set the output current between
10 A and 25 A. Do not exceed
25 A for marking applications.
Additional considerations:
The power supply adjusts gas pressure for you automatically. Hypertherm recommends
using these auto-gas settings for marking.
Hypertherm strongly recommends that you use the Marking consumables with the power
supply set to Gouge/Marking mode and the output current set to 10 – 25 A. These settings
and consumables were designed specifically for marking applications.
This system requires different consumables for marking and for regular cutting. Make sure
you have the correct consumables installed if you switch between marking and cutting jobs.
See page 105 for cutting consumable part numbers.
You can vary the depth and width of marks by varying torch speed, output current, and torch
height.
You may need to try different cornering methods to optimize 90° corners for your CNC and
table. See Cornering guidelines below.
Dimpling
Air Argon
Width 1.98 mm (0.078 inch) 0.99 mm (0.039 inch)
Depth 0.25 mm (0.01 inch) Less than 0.02 mm (0.001 inch)
Dwell time* 50 milliseconds 200 milliseconds
* The dwell time is the period of time that the torch fires at one spot on the workpiece to form a dimple. The
longer the dwell time, the deeper the dimple that will form. Dwell times vary between CNC and table
configurations. You may need to adjust your CNC/table setup accordingly.
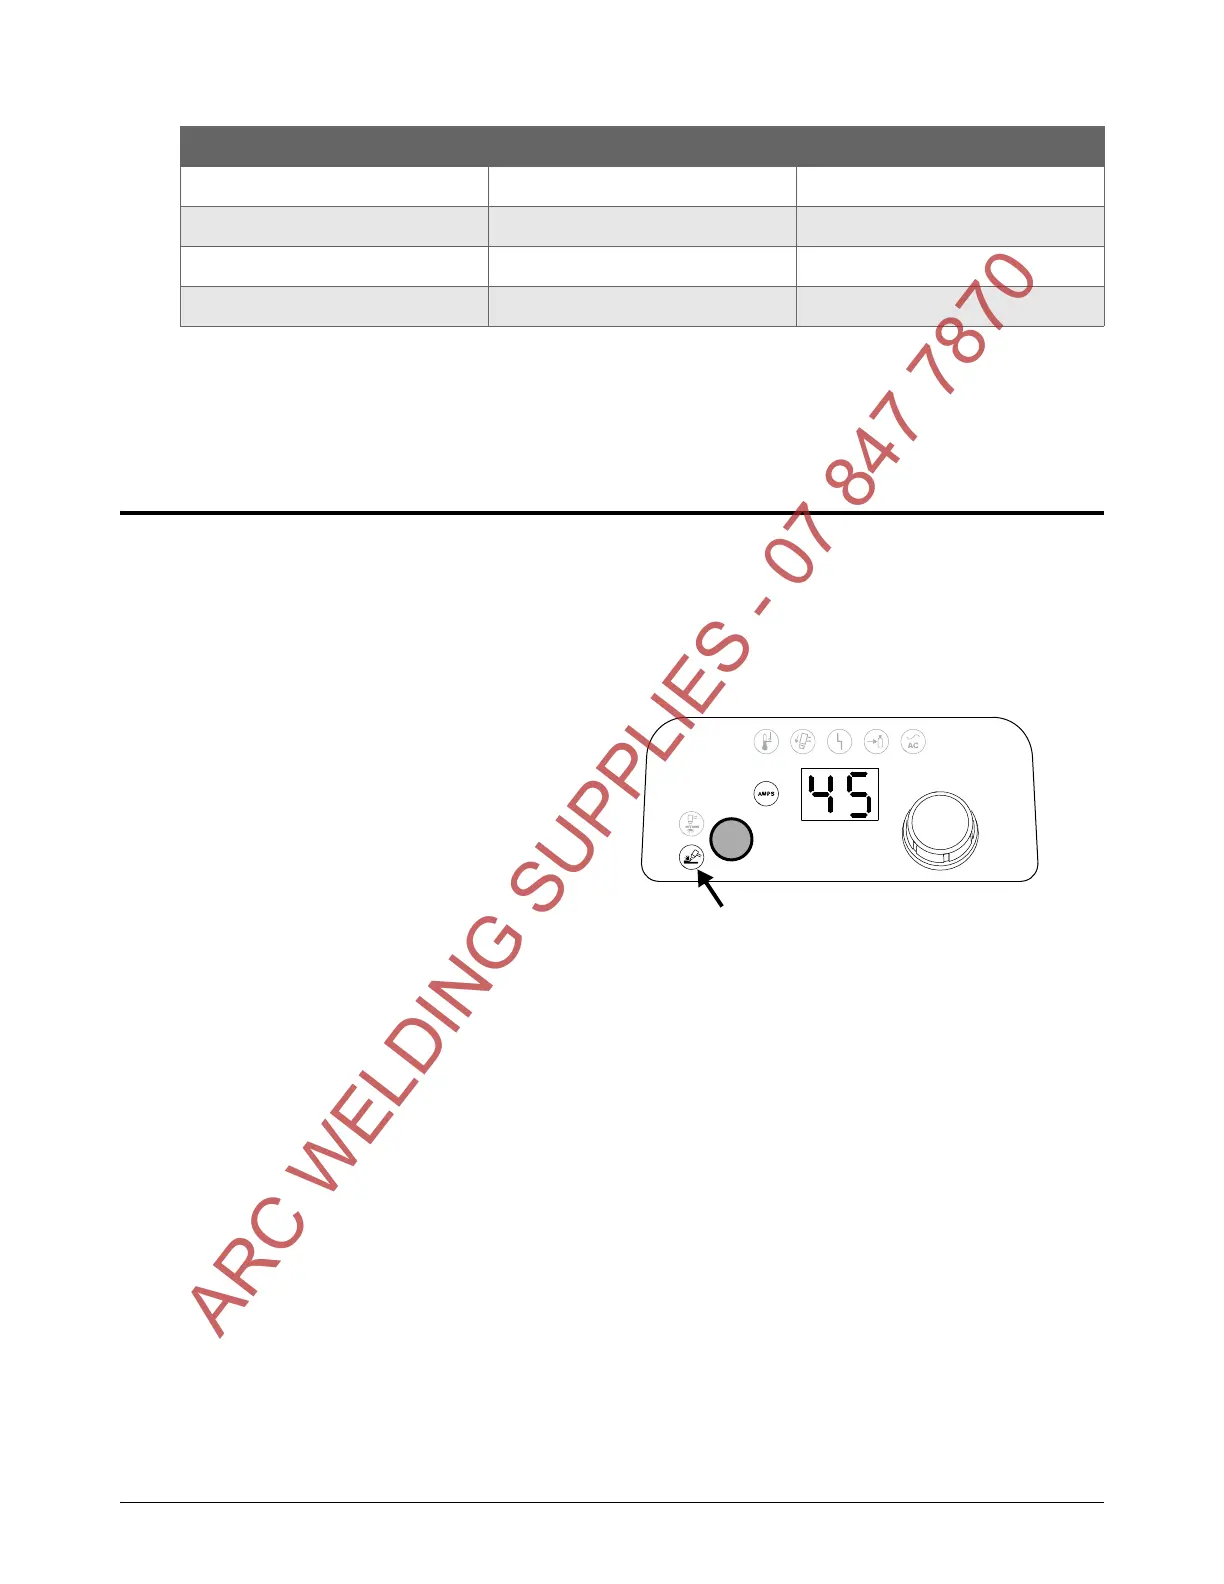
Make sure the Gouge/Marking Mode LED is illuminated.
ARC WELDING SUPPLIES - 07 847 7870