Operation
Powermax45 XP Operator Manual 809240 49
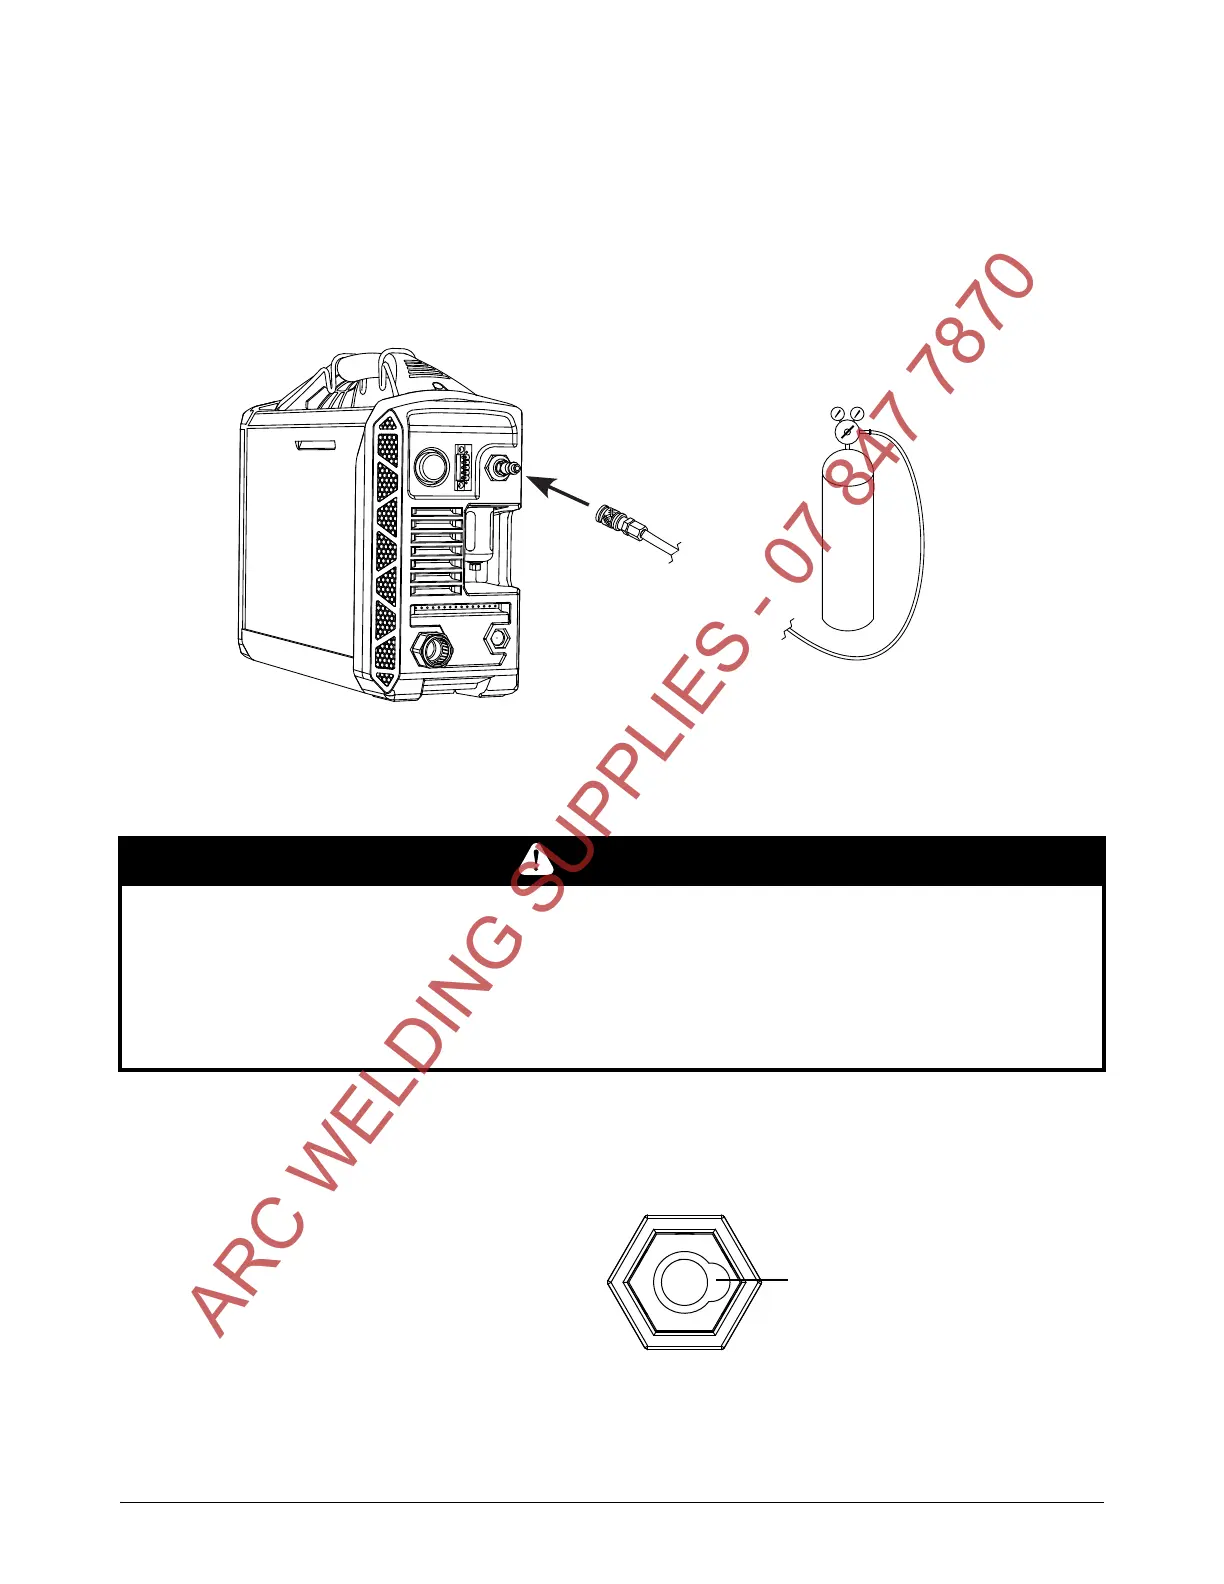
Step 3 – Connect gas supply
If needed, install the gas inlet fitting that came with the system onto the back of the power
supply. See page 34.
Connect the gas supply line to the fitting on the back of the power supply.
For gas supply requirements, see Gas supply source on page 35.
Step 4 – Connect work lead and work clamp
Work lead
1. Insert the work lead connector into
the receptacle on the front of the
power supply. Align the key on the
connector with the opening on the
right of the receptacle.
2. Push the work lead connector all the
way into the receptacle. Turn the
connector clockwise a 1/4 turn until
the connector is fully seated against
the stop.
CAUTION
Make sure you use a work lead that is appropriate for your power supply. Use a 45 A work lead
with the Powermax45 XP. The amperage is marked near the rubber boot of the work lead
connector.
To prevent overheating, check the work lead often to make sure it is fully seated in the
receptacle.
Keyed opening at right of work lead
receptacle
ARC WELDING SUPPLIES - 07 847 7870