1 Communicating with the MICRO/I
24-4 WindO/I-NV4 User’s Manual
1.2 Connect MICRO/I to a Computer
Connection type varies based on the interface between the MICRO/I and computer.
●
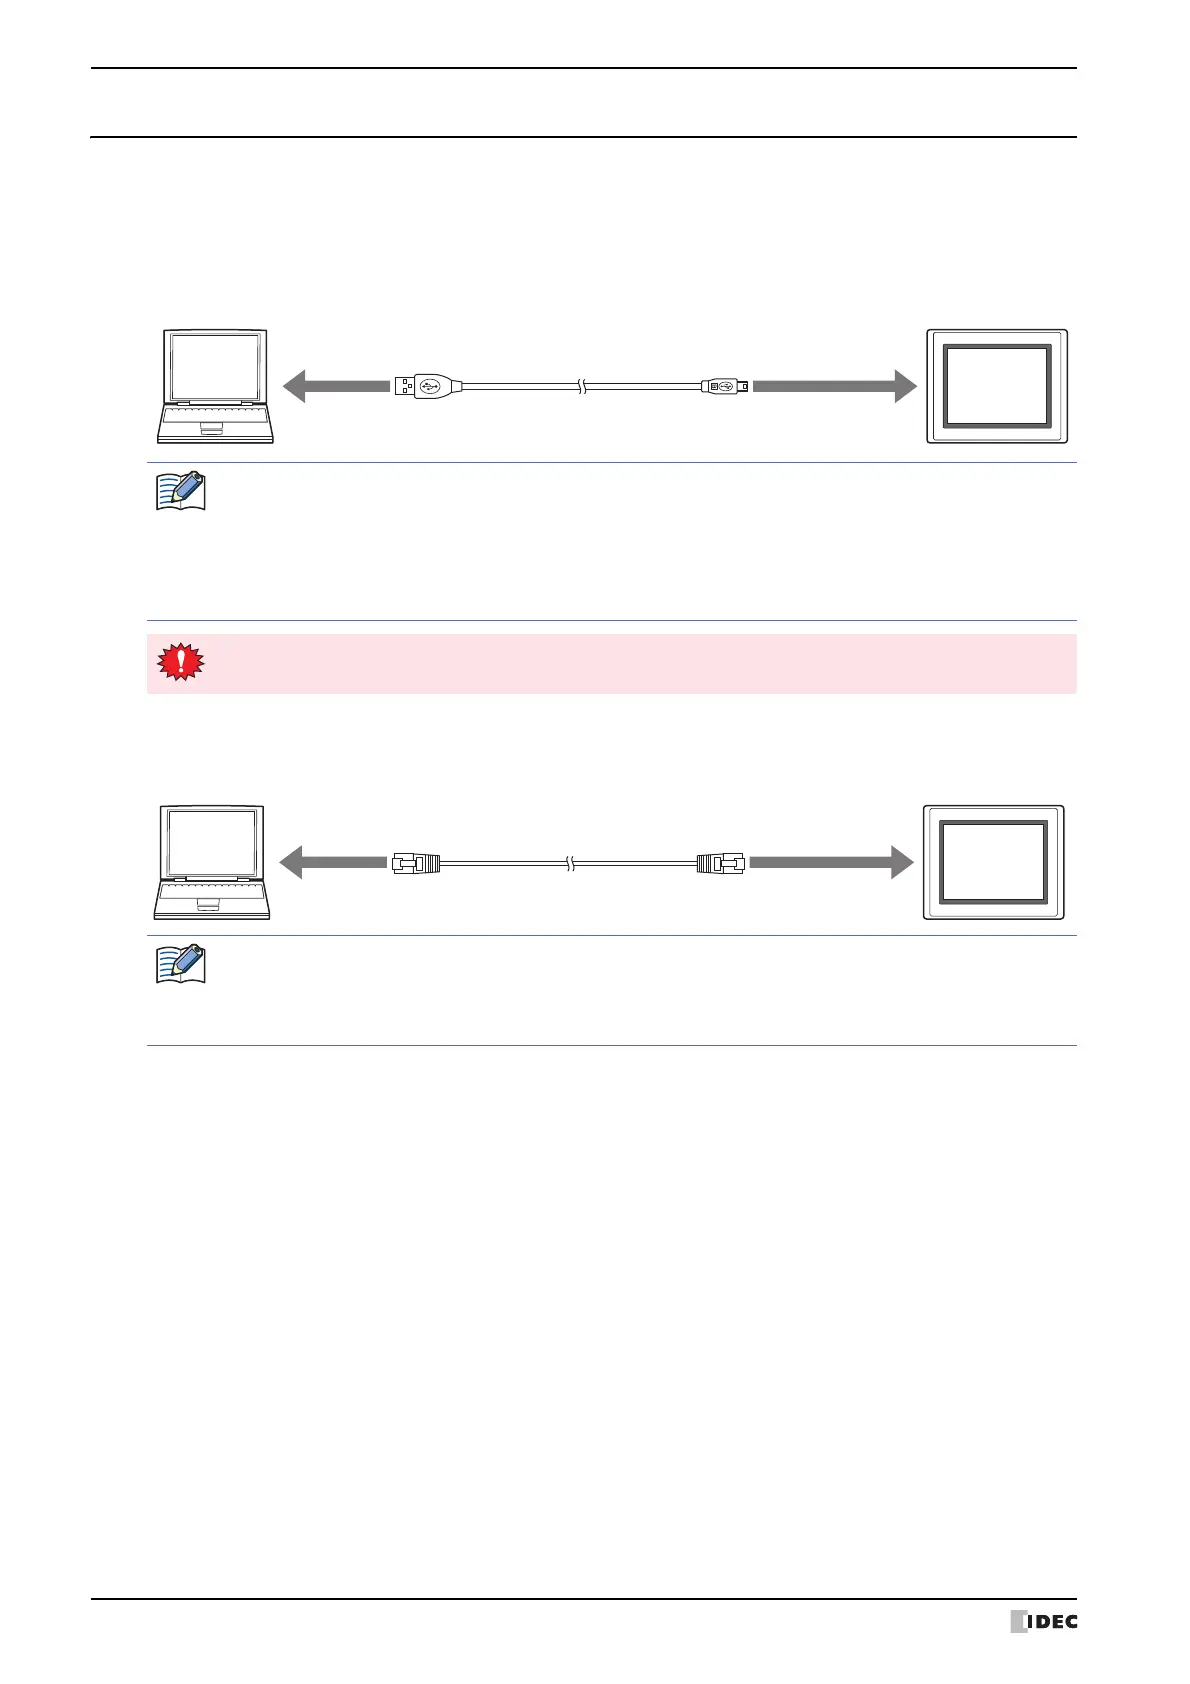
USB cable connection
The computer must be running Windows XP/Vista (32-bit edition only), or Windows 7/8/10 (64-bit and 32-bit
versions), and must have a USB 1.1/2.0 port.
●
Ethernet cable connection
The computer must be equipped with an Ethernet port.
MICRO/I
Computer
USB cable
A plug Mini-B plug
To USB port To USB interface
A USB driver must be installed when connecting the MICRO/I to a computer with a USB cable.
Install the USB driver when making the connection for the first time. For details, open Automation Organizer
V2 from the Start Screen or Start Menu and refer to "How to install USB driver".
The USB driver does not have to be installed for subsequent connections. Note, the connection must use the
same USB port that was connected to when installing the USB driver. The computer will not recognize the
MICRO/I immediately if the USB cable is connected to a different USB port.
• Multiple MICRO/I connections using different USB ports on the same computer are not supported.
• The computer cannot be connected to the MICRO/I via a USB hub.
Computer
Ethernet cable
To Ethernet port To Ethernet interface
MICRO/I
It is necessary to configure the MICRO/I according to the local network that is used.
On the Communication Interface tab in the Project Settings dialog box, specify the IP address, subnet
mask, and default gateway, and clear the Forbid Maintenance Communication check box. For details,
refer to Chapter 4 “3.2 Communication Interface Tab” on page 4-35.
 Loading...