114 Micromate Operator Manual – 721U0201 Revision 6
14.2. Installing the Geophone
The geophone installation procedures are based on ISEE field practice guidelines for blasting
seismographs (2009 Edition). This section illustrates the installation procedures recommended by
Instantel. Your particular monitoring activities may employ one, or a combination of all of the
following procedures. It is important to securely attach the geophone to the surface you intend to
monitor to ensure reliable monitoring results. The arrow on top of the geophone must be pointed
in the direction of the vibration source that is to be monitored to ensure the proper orientation of
the three orthogonal geophone sensors located inside the housing. The geophone must be level
after it has been installed. An optional leveling plate with an integrated bubble level is available to
assist in the geophone installation. It is up to you to check the surface and mount the geophone
sufficiently to ensure reliable monitoring results.
14.2.1. Soft Material Installations
In soft materials, such as earth, the best monitoring results will be from a geophone with the spikes
installed and buried at least 15 centimeters (six inches), three times the height of the sensor, in an
undisturbed location. The excavated material should be firmly compacted around and overtop of
the geophone to ensure adequate coupling to the ground. If insufficiently coupled, the geophone
will move independently of the surrounding material resulting in distorted, often higher,
monitoring results.
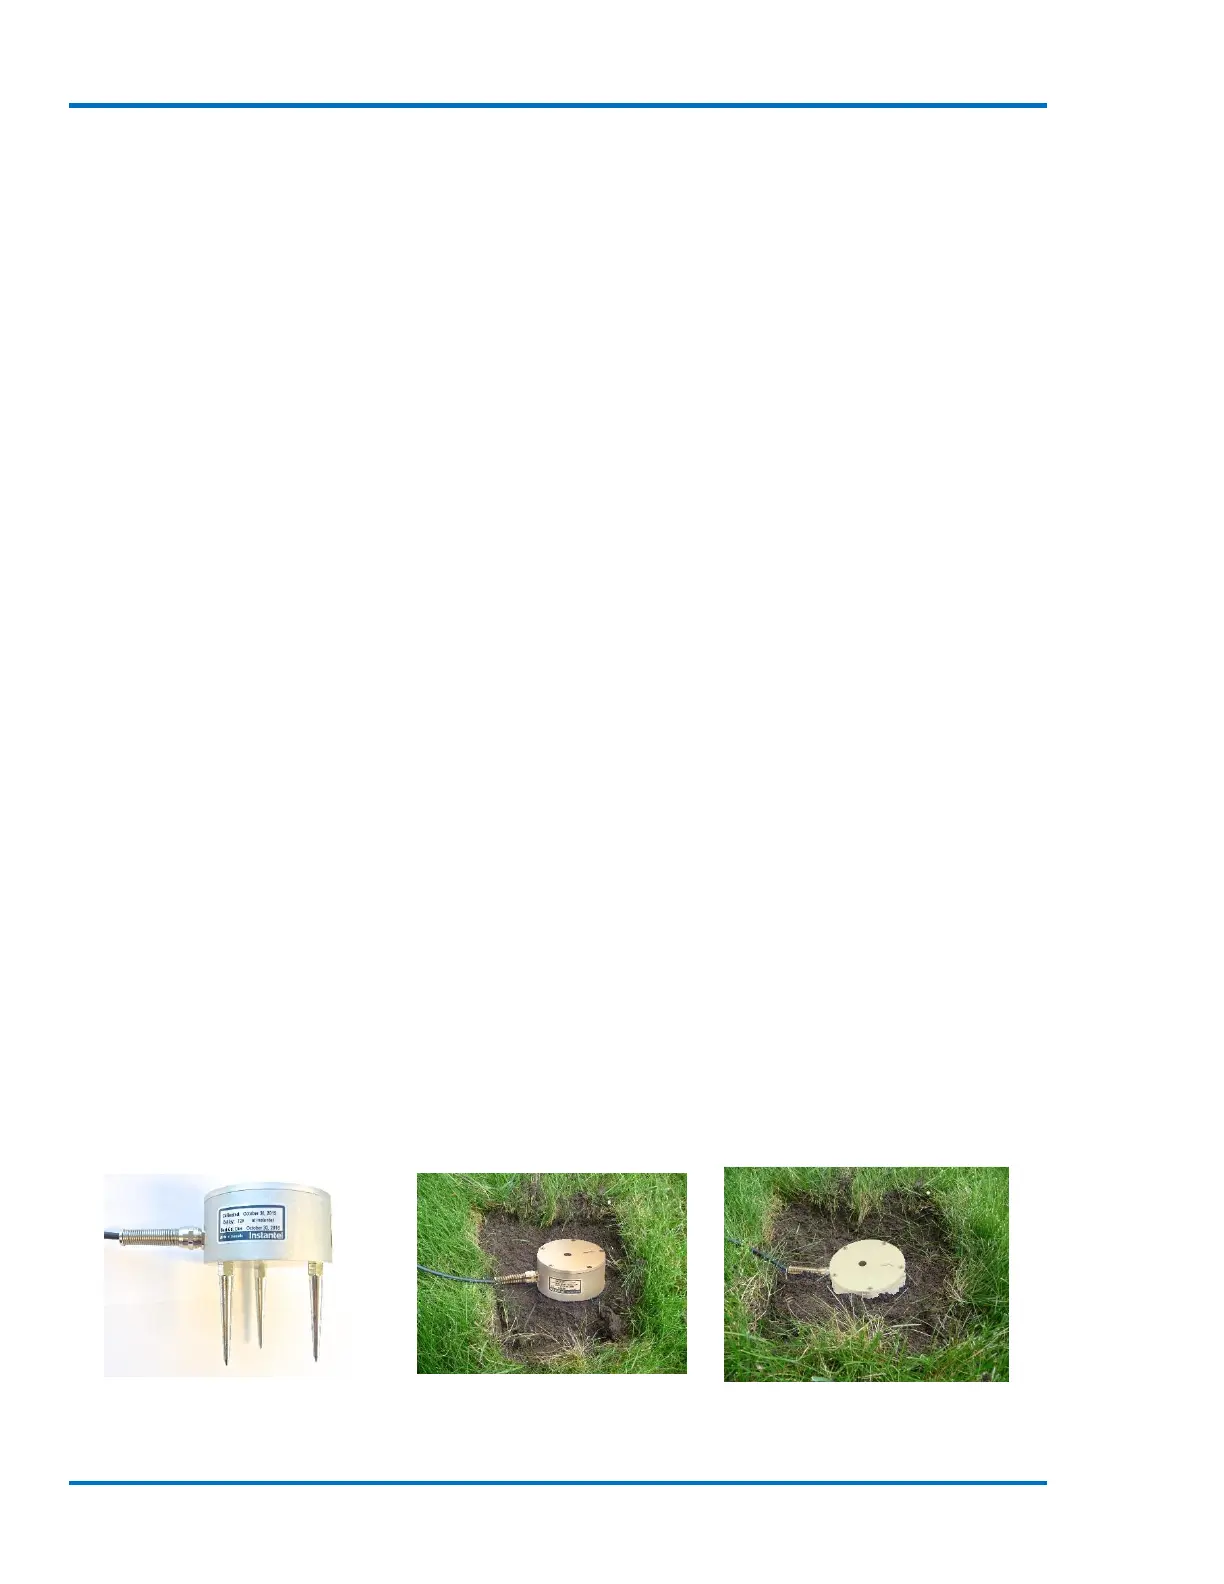
a. Spike and Bury the Geophone
1. Screw the three ground spikes into the bottom of the Geophone and tighten. Do not over-
tighten the ground spikes as this can damage the geophone casing.
2. Dig a hole at least 15 cm (6 in.) deep ensuring the bottom is level.
3. Aim the arrow on the top of the geophone in the direction of the vibration source.
4. Firmly press on top of the geophone to push the spikes fully into the ground. Check the
geophone to ensure it is securely in place and level.
5. The ground must be hard and compact with no loose material between the geophone and
the ground material.
6. Compact the material around the geophone while back filling to secure it to the surrounding
ground material.
7. Ensure that the geophone cable is securely attached to the Micromate.
8. Press the Sensor Check key on the Micromate ensuring the sensor is properly attached,
level and all sensors are passing.
Geophone - Spikes Installed Geophone - Spiked in Ground Geophone - Partially Buried