16 Micromate Operator Manual – 721U0201 Revision 6
2) Turn the unit over so the back of the boot is accessible.
3) Locate the two mounting holes.
4) Using a 6-32 by ½ inch pan head screw, #6 lock washer and #6 flat washer, insert the screw
into each of the mounting holes.
5) Tighten but do not over-tighten the screws.
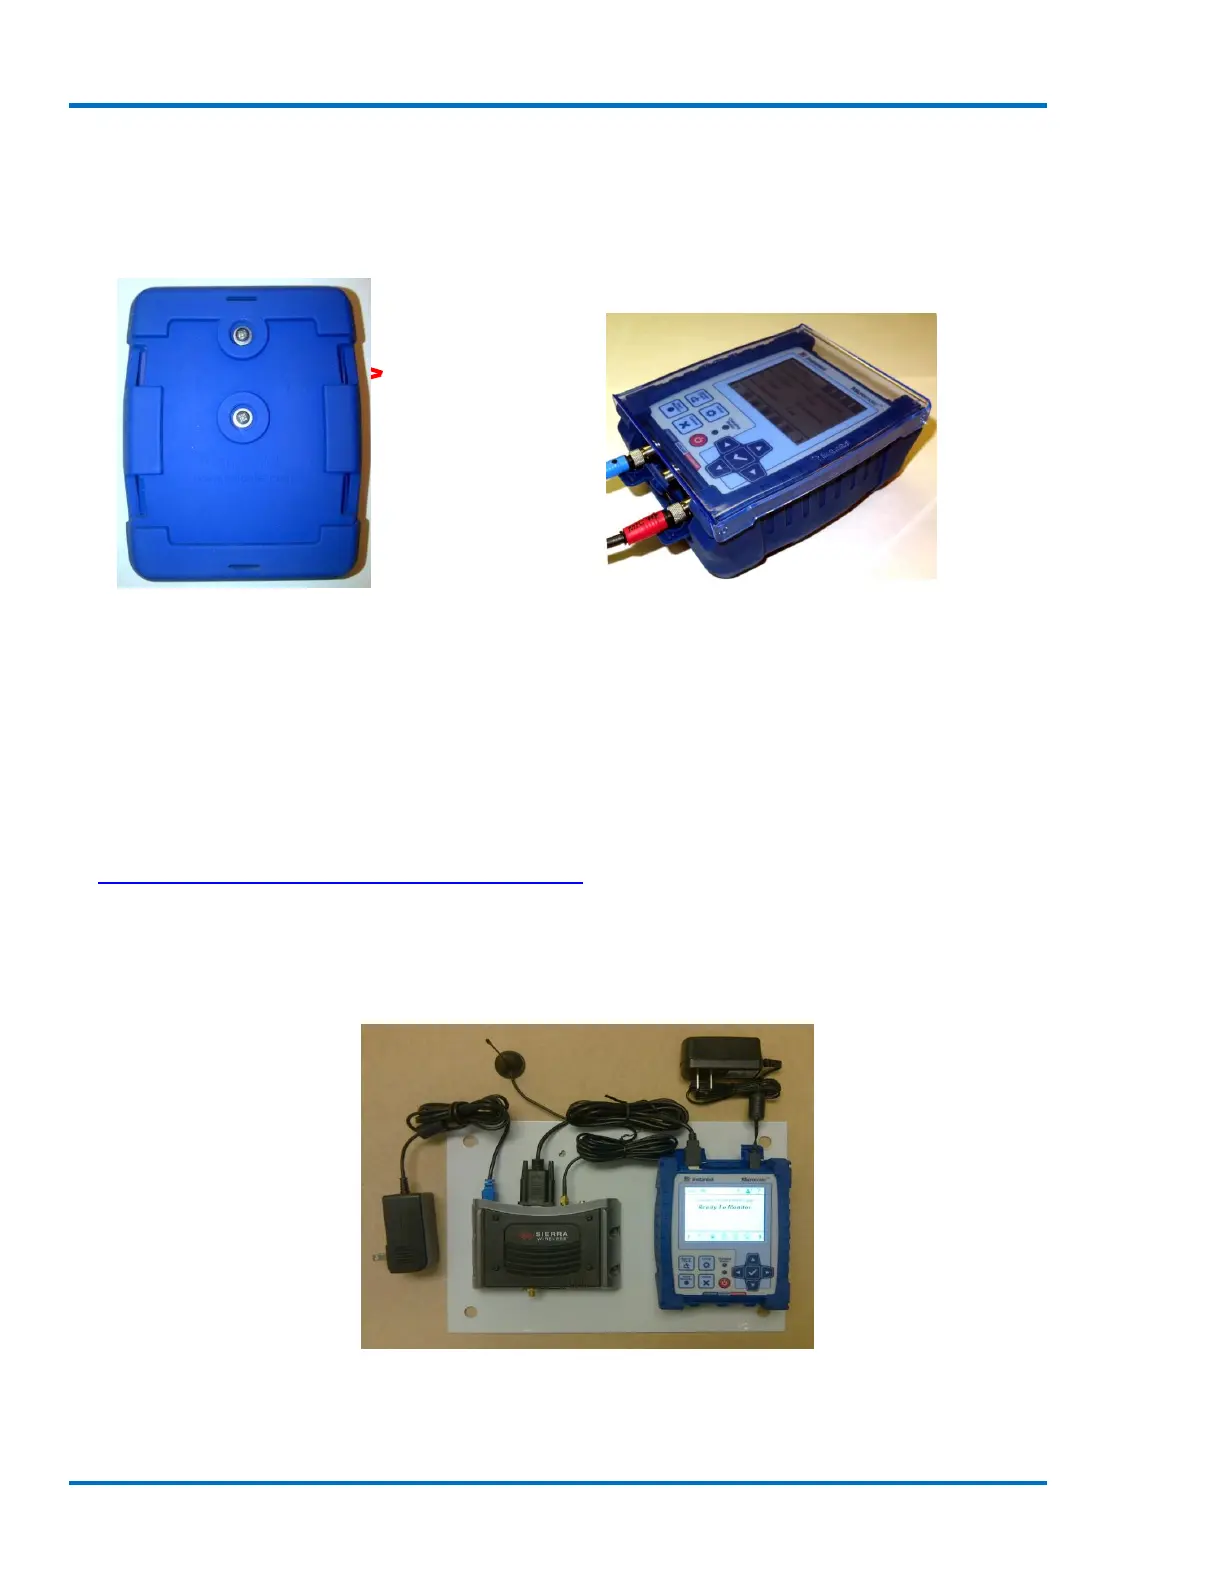
Mounting Holes
Back of the Protective Boot Micromate Installed in the Protective Boot
6.2. Installing the Micromate in a Remote Station
The Micromate Protective Boot can also be used to make the installation in a remote station
simpler and more flexible. The boot can be secured to the back plate of the remote station before
the Micromate unit is inserted into the boot. This will make your remote station quicker to install,
reduce down time for routine tasks, like annual calibration, by allowing units to removed and
reinstalled much quicker. When attaching the Protective Boot or Micromate to a secure box, refer
to Section 19.6 Torque Specifications and Guidelines. The photos below show one example of a
remote station installation. Many other options are possible.
1) Arrange all of the parts, including cables, to be installed in the enclosure to achieve the best
fit possible.
Placement of Modem, Micromate and Cables
2) Mark and drill the required holes in the mount surface.