Chapter 2 Login 19
Logging in to the web UI after the CPE is set to WISP or Router mode
1. Connect the computer to the CPE or the switch connected to the CPE.
2. Start a web browser on your computer, and visit the IP address of the CPE.
In WISP or Router mode, the CPE provides a DHCP server function to assign IP addresses to
clients in LAN. In this case, the gateway IP address of the computer is the IP address of the
CPE.
Refer to Check the gateway IP address of a computer in Appendix to get the gateway IP address of your
computer.
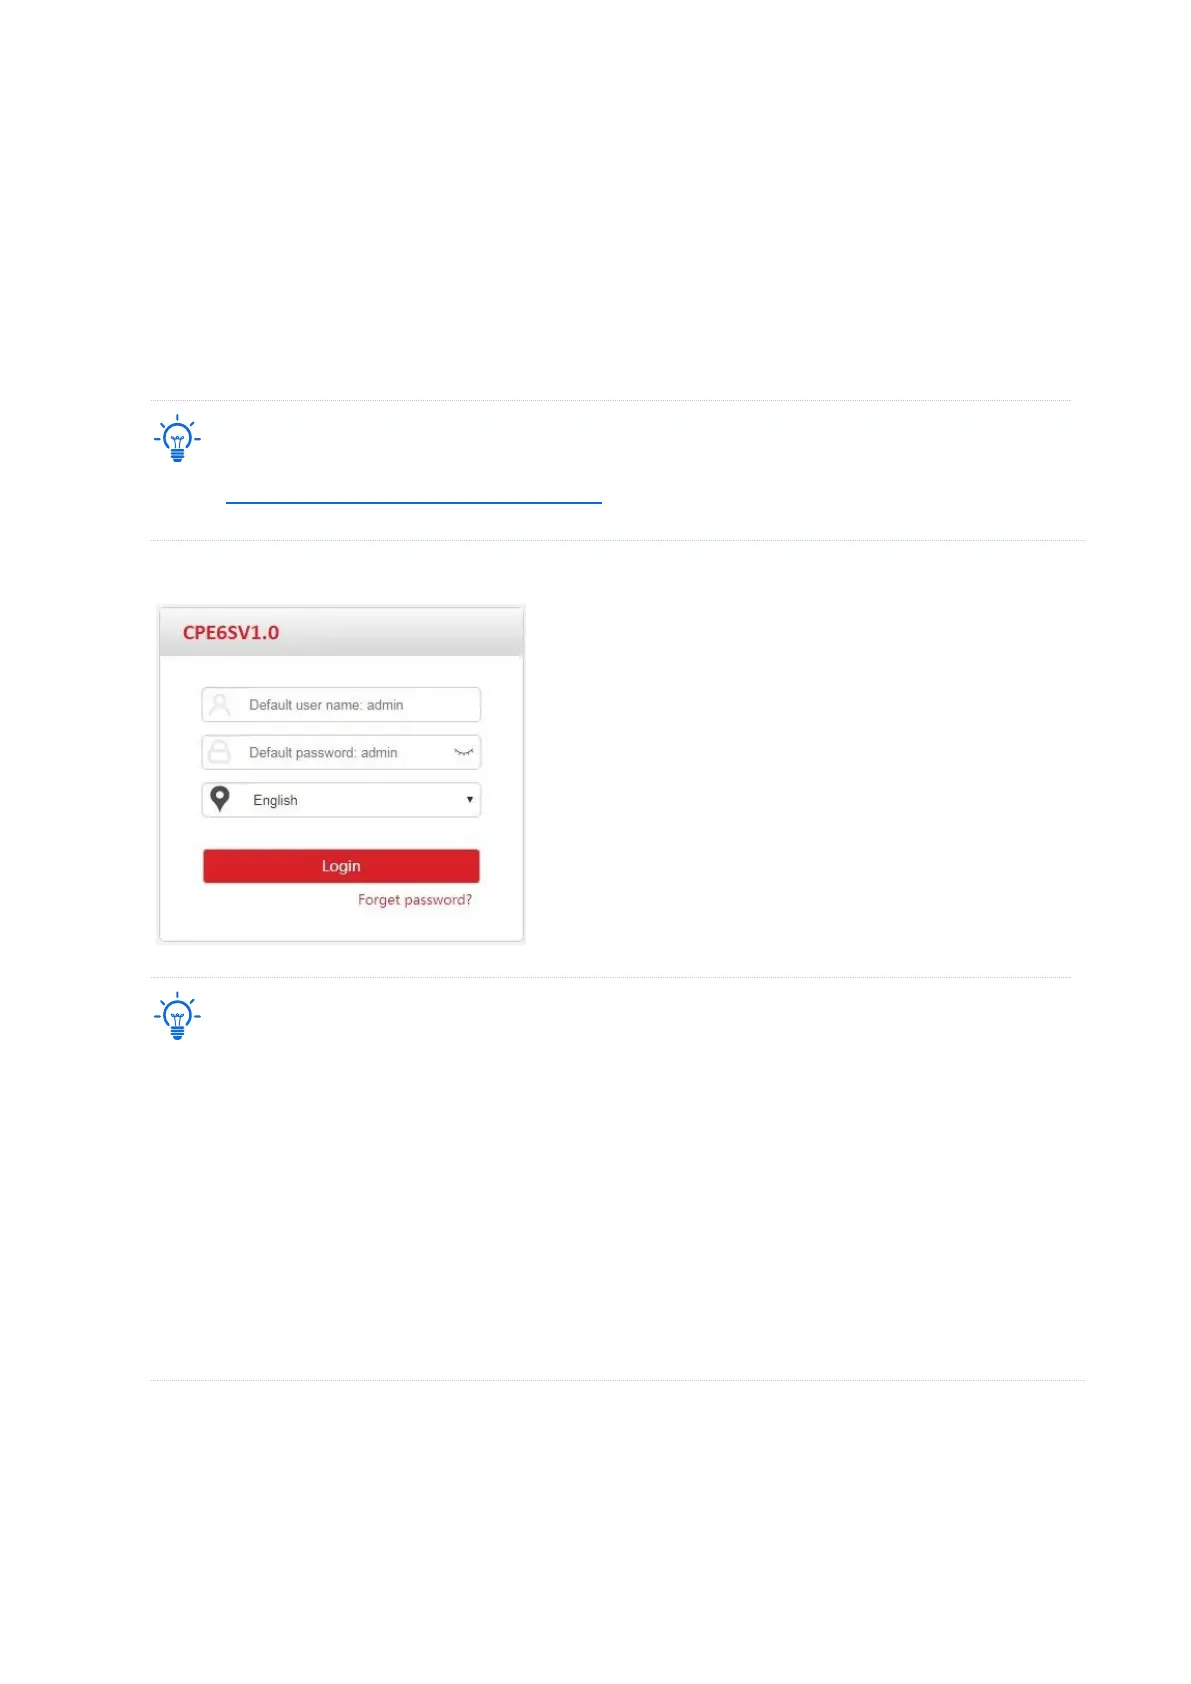
3. Enter the login user name and password, and click Login.
If the preceding page does not appear, please try the following methods:
− Ensure that the CPE is powered on properly.
− Ensure that the computer is connected to the LAN port of the CPE properly.
− Ensure that the IP address of the computer is in the same network segment of the CPE’s IP address. For
example, if the default IP address of the CPE is 192.168.2.1, you can set the IP address of the computer
to 192.168.2.X (X ranges from 2 to 254 and is not occupied).
− If more than one CPE is connected, please modify the IP address of each one to avoid the failure to log
in the web UI of the CPE due to IP address conflict.
− Reset the CPE to factory settings. Reset method: With the CPE powered on, hold down the reset button
for about 8 seconds, and then release it when all indicators light up and then turn off. The CPE is
restored to factory settings successfully.
----End