Applications 8-43
Applications
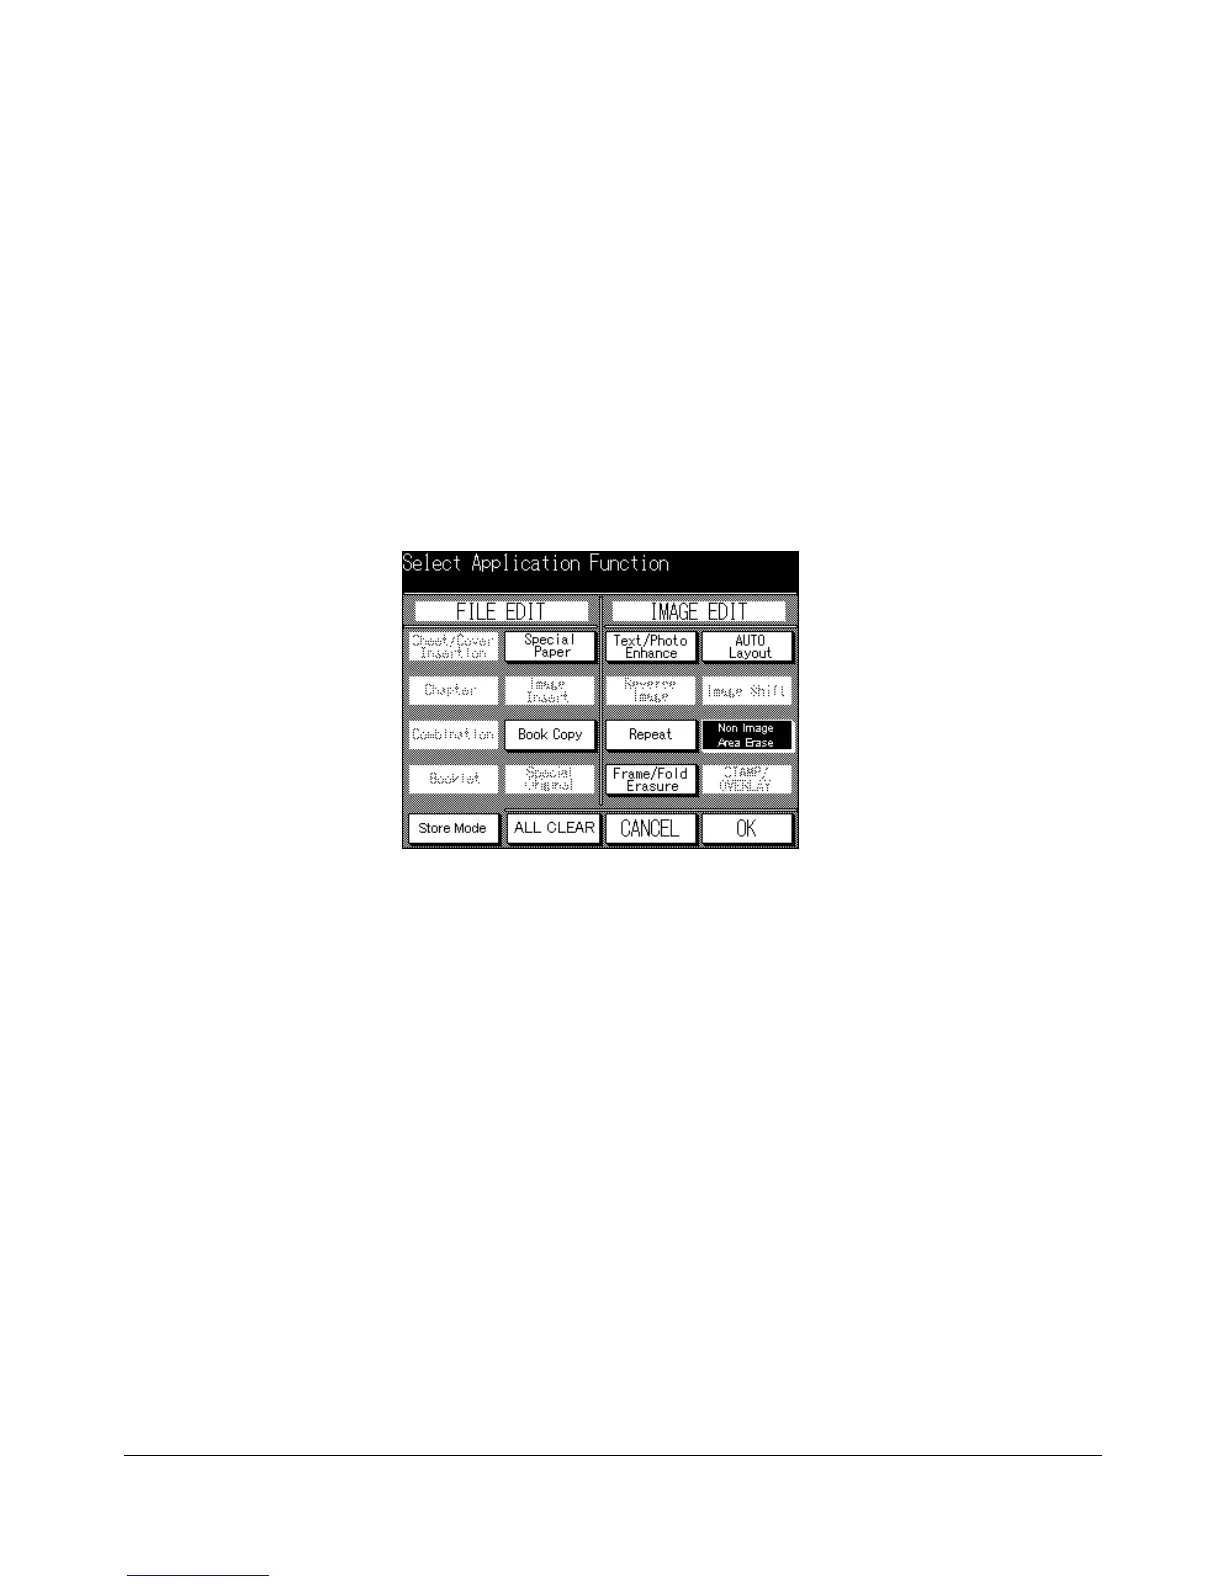
Application Selection Screen
Non-Image Area Erase (continued)
❒ Incompatible Basic Copying Conditions: Using RADF, 2-2, 2-1, APS, AMS
❒ Incompatible Output Modes: Sort, Staple, Group
❒ Incompatible Applications: Sheet/Cover Insertion, Chapter, Combination, Booklet, Image Insert,
Special Original (Mixed Original, Folded Original, Non-Standard Size, Upside Down), Reverse
Image, Image Shift, STAMP/OVERLAY
NOTE: The Non-image area erase function may not operate properly if the lighting in the work place is
directly over the platen glass. In this case, consult your service representative about an appropriate
place for installation.
1 Press [APPLICATION] on the control panel to display the Application Selection Screen.
2 Touch Non-Image Area Erase.
3 Make additional application selections, or touch OK to return to the Basic Screen.
4 APS and AMS are automatically released. Select the desired copy size and
magnification.
5 Enter the desired print quantity from the control panel keypad.
6 Position original(s) FACE DOWN on the platen glass.
IMPORTANT: KEEP THE DOCUMENT FEEDER OPEN THROUGHOUT THE
PROCEDURE.
Option: Press [CHECK] to view the selection, and make the Proof copy, if desired; then touch EXIT to return
to the Basic Screen. See p. 6-29 to p. 6-30.
7 Press [START].
After copying is completed, press [AUTO RESET] to release the mode and reset the
machine.