6-30 Basic Operations
Basic Operations
Check Mode and Proof Copy (continued)
1 Set the desired copying conditions.
2 Position original(s) FACE UP in the document feeder or FACE DOWN on the platen
glass. Scan originals, if required.
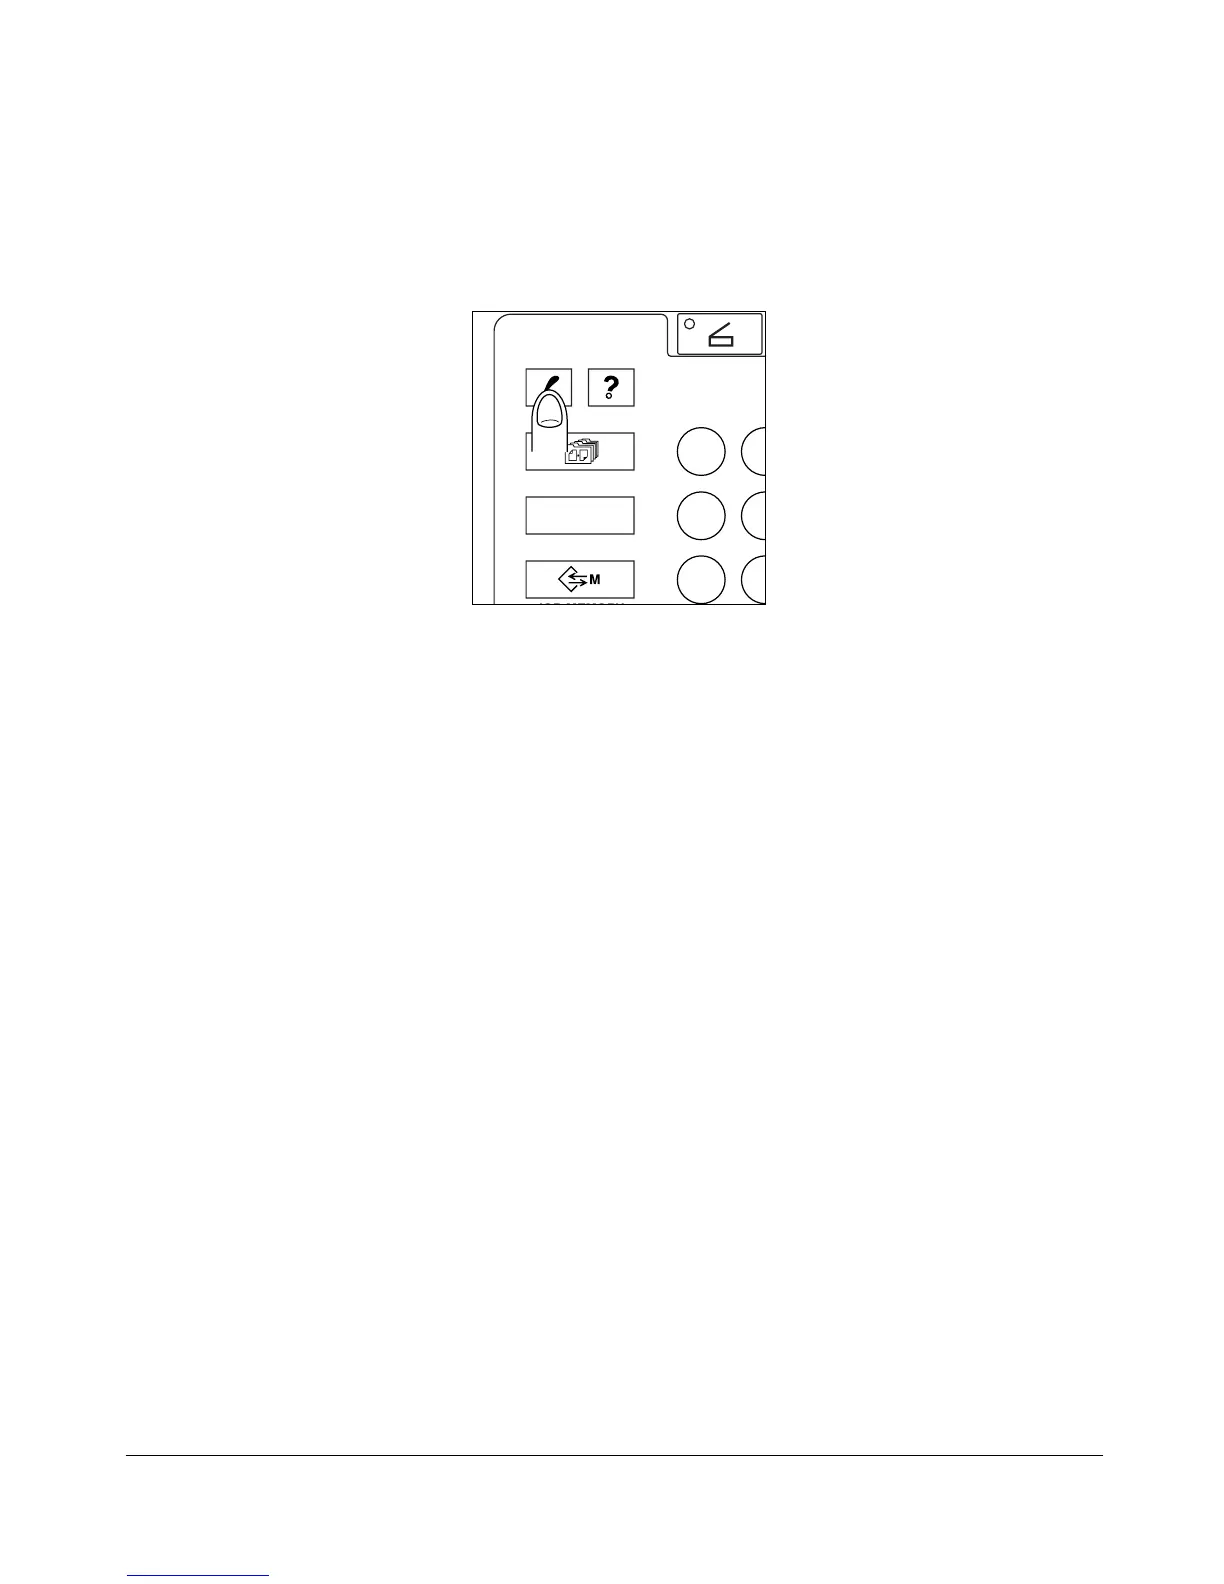
3 Press [CHECK] on the control panel to display the Check Screen.
4 Verify the settings made for the current job.
5 If necessary, press [PROOF COPY] on the control panel or touch PROOF COPY on the
Check Screen to output a set as a sample copy.
If only one copied set is needed and the sample set is adequate, press [STOP/
CLEAR
] to delete the stored data.
6 Touch EXIT (or press [CHECK]) to exit from the Check mode and return to the Basic
Screen.
7 If settings are OK, press [START].
Otherwise, change the settings as desired, restore the Check Screen to return to the
checking steps, or to the Basic Screen to start copying.
If print quantity is set for two or more, the copier will output that amount minus the
sample set(s).
Control panel
SCAN
OUTPUT
APPLICATION
CHECK