12 Pellet Stirrer Plus
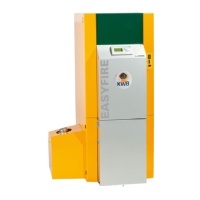
11.) Extension trough without intermediate bearing
Guide the extension trough over the projecting worm and bolt the
flanges together.
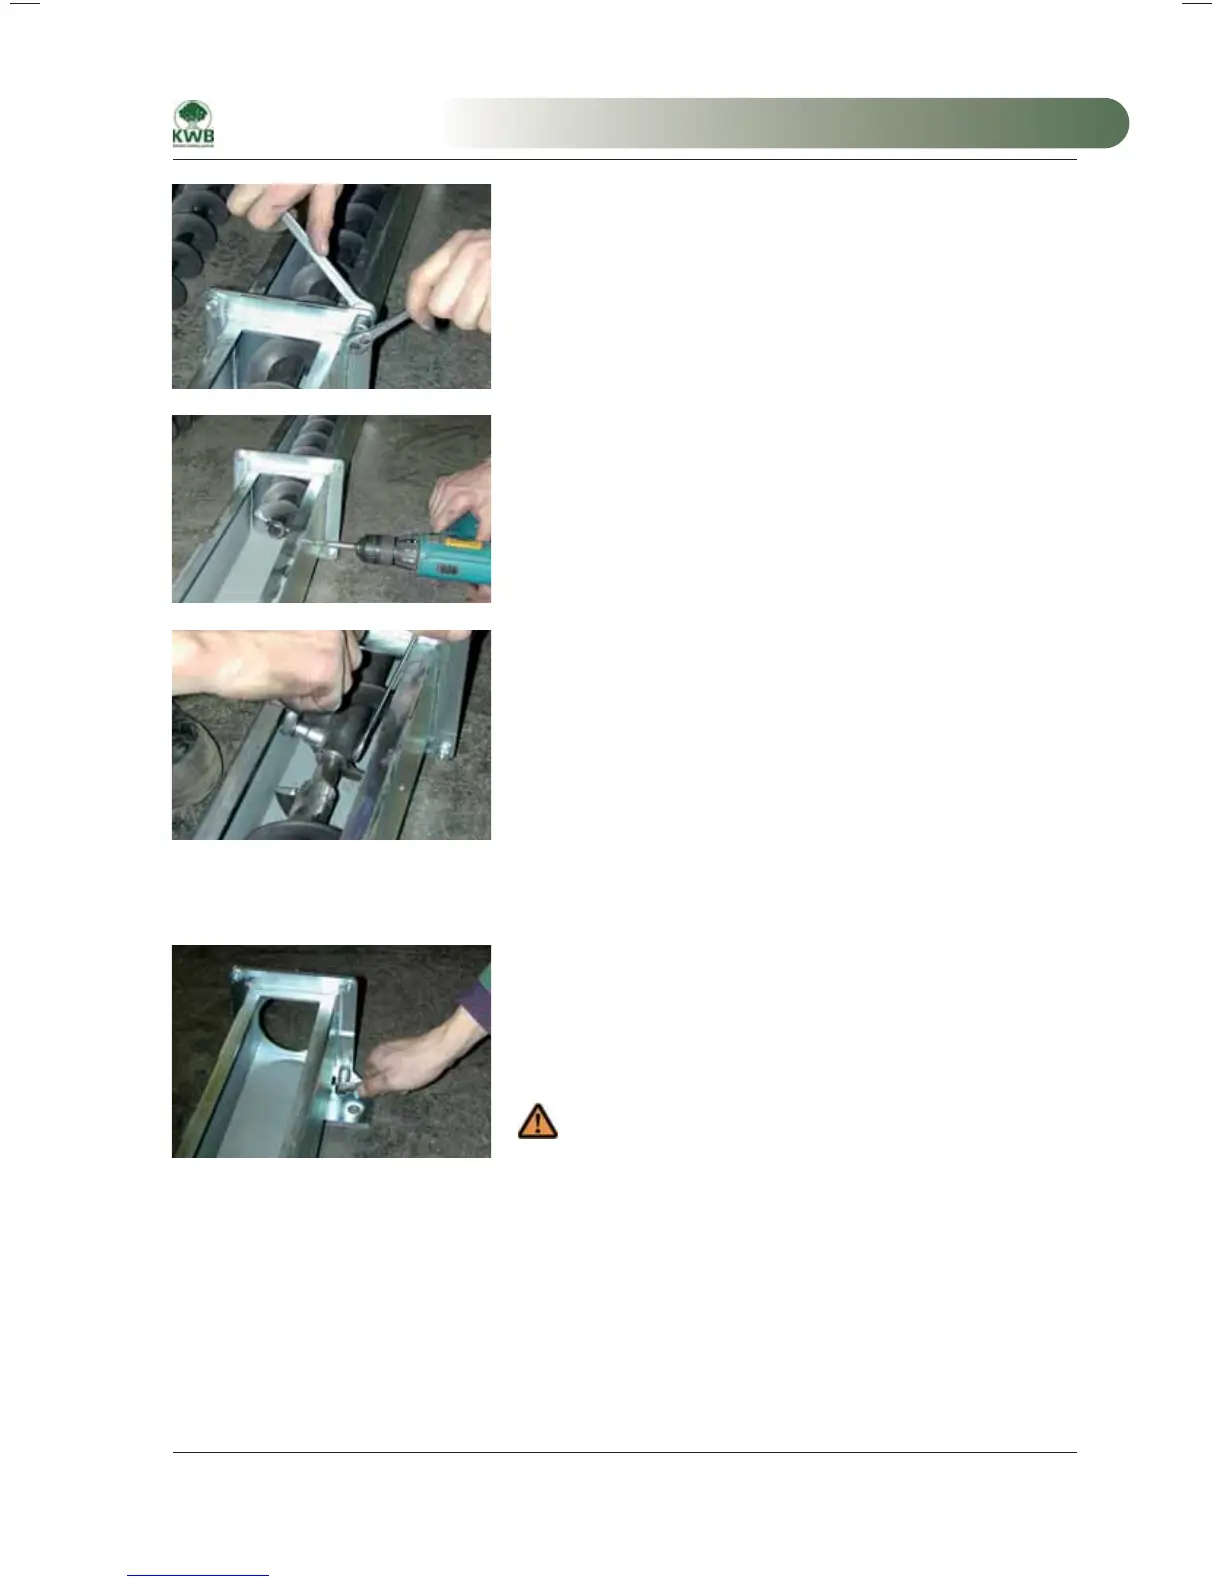
Channel extension without intermediate bearing
The prepared bore for the intermediate bearing is not required and it
must be sealed with the provided bolt.
Seal the bearing bore
12.) Install the conveyor worm extension
Guide the extension worm through the extension trough into the
hollow shaft. Twist the winding ends so that they are positioned
approximately 180° to each other and so that the cross hole is flush.
Insert the connecting bolt and bolt the connection together.
If additional extensions are necessary repeat the process from step 6
(with intermediate bearing) or step 9 (without intermediate bearing).
Otherwise continue with step 11.
If additional extensions are necessary repeat the process from step 6
(with intermediate bearing) or step 9 (without intermediate bearing).
Otherwise continue with step 11.
Worm extension without intermediate bearing
13.) Install the intermediate flange and support bracket
Guide the intermediate flange that forms the transition from the square
to the round cross section at the end of the worm trough with its four
reduced-shank bolts into the trough flange.
A support bracket is provided starting from an extension
of 1.2 m (see module drawing).
Guide the foot to the trough flange from the rear. Screw the foot onto
the bolts that protrude through the channel trough of the facing plate,
moderately tight. The support element must again be set-up at the final
installation position as part of the alignment of the fuel extractor.
When installing an elbow worm proceed with step 12.
When installing a worm with drop shaft proceed with step 18.
Install the support bracket
MA-Easyfire 10.2008_EN.indd 119MA-Easyfire 10.2008_EN.indd 119 30.03.2009 13:31:05 Uhr30.03.2009 13:31:05 Uhr
 Loading...